
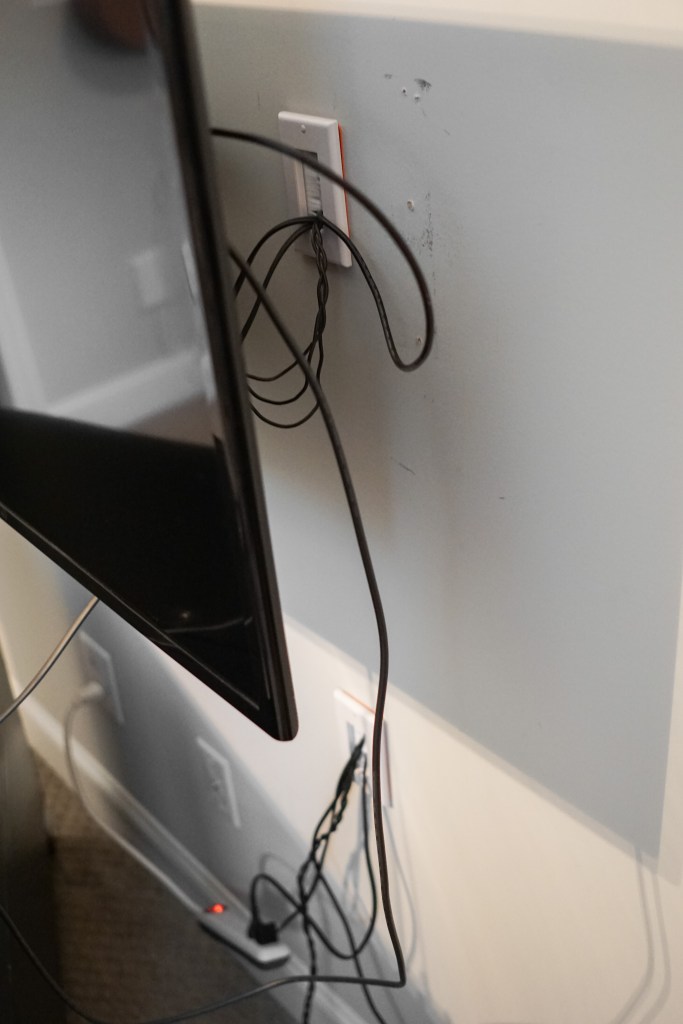
So you’ve got the TV stand, you’ve got the mount, you’ve mounted your TV on the wall, and now you’ve got to plug it in. If you’re like most people, your plug is not going to be high up behind your TV, so you’re stuck with unsightly cords running down the wall in the gap that lies between the TV and the TV stand. Sure, you can buy paint-able cord organizers that stick to the wall and conceal the cords okay, but there really is no comparison to a truly cord free wall.

Large holes and electrical boxes can sound super intimidating, but running cables through the wall is actually easier than you think! In this blog post, I’m going to give you all the details on how we ran the cords through the wall behind our mounted TV to give this space a clean, professional look!
Disclaimer: Some links contained in this post are affiliate links. That means that if you click on the link and purchase an item, I get a small percentage of that sale at no extra cost to you. As an Amazon Associate I earn from qualifying purchases. Please know that products and brands recommended here at stay home style are products that I use, love, and trust.
WHAT YOU NEED
CLICK ON UNDERLINED WORDS TO VIEW PRODUCT LISTINGS
- Low Voltage Backless Electrical Box (x 2)
- Single Brush Wall Plate (x 2)
- Drywall Saw
- Level
- Screw Driver or Drill
- Stud Finder
HOW TO GET THE LOOK

The first step to running the cords through the wall is deciding where you want the electrical boxes to go. Ideally, you want the top box to be hidden behind the TV, and the bottom box to be hidden behind the TV stand. That being said, you also want to choose a location so that the bottom box will land near an outlet, and you need to be in between two studs. In our case, the outlet was very close, we could place the boxes anywhere behind the TV or TV stand and still have the cords within reach of an outlet.
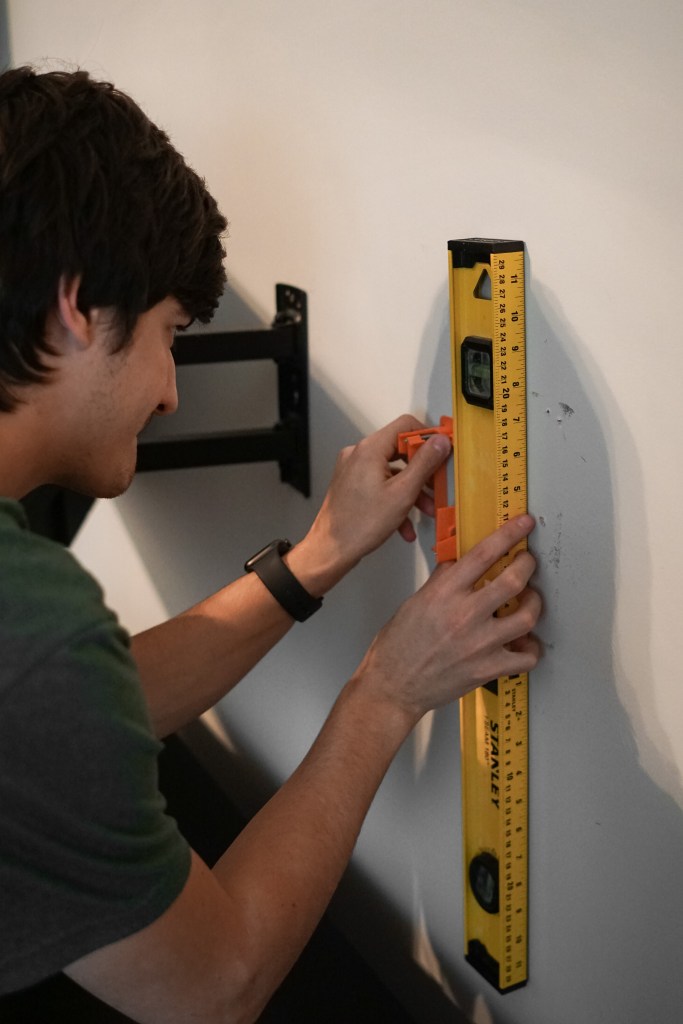
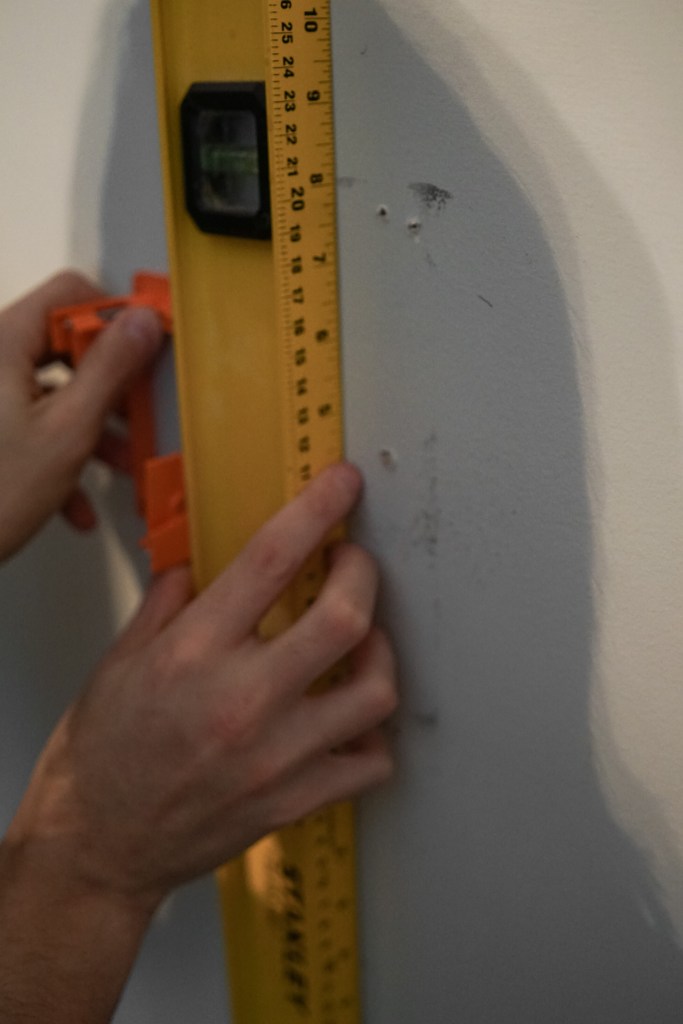
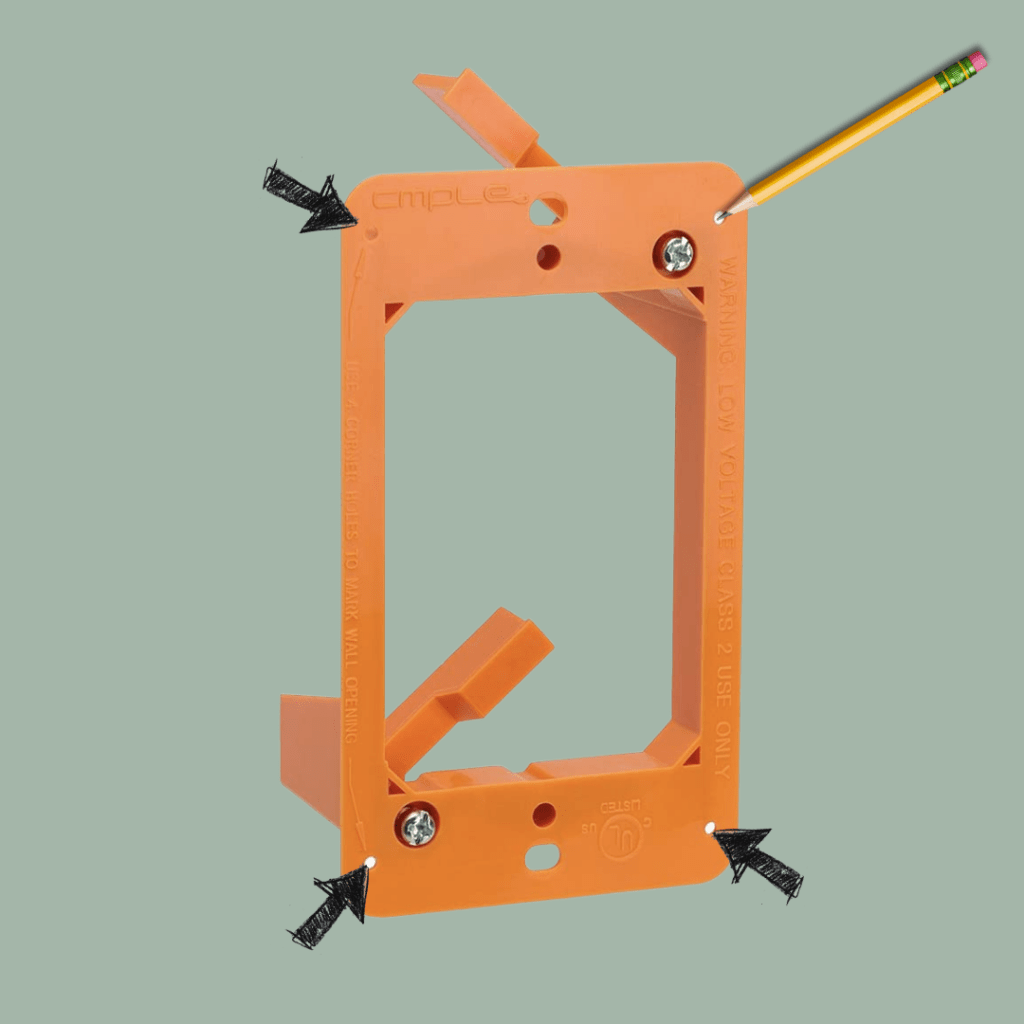
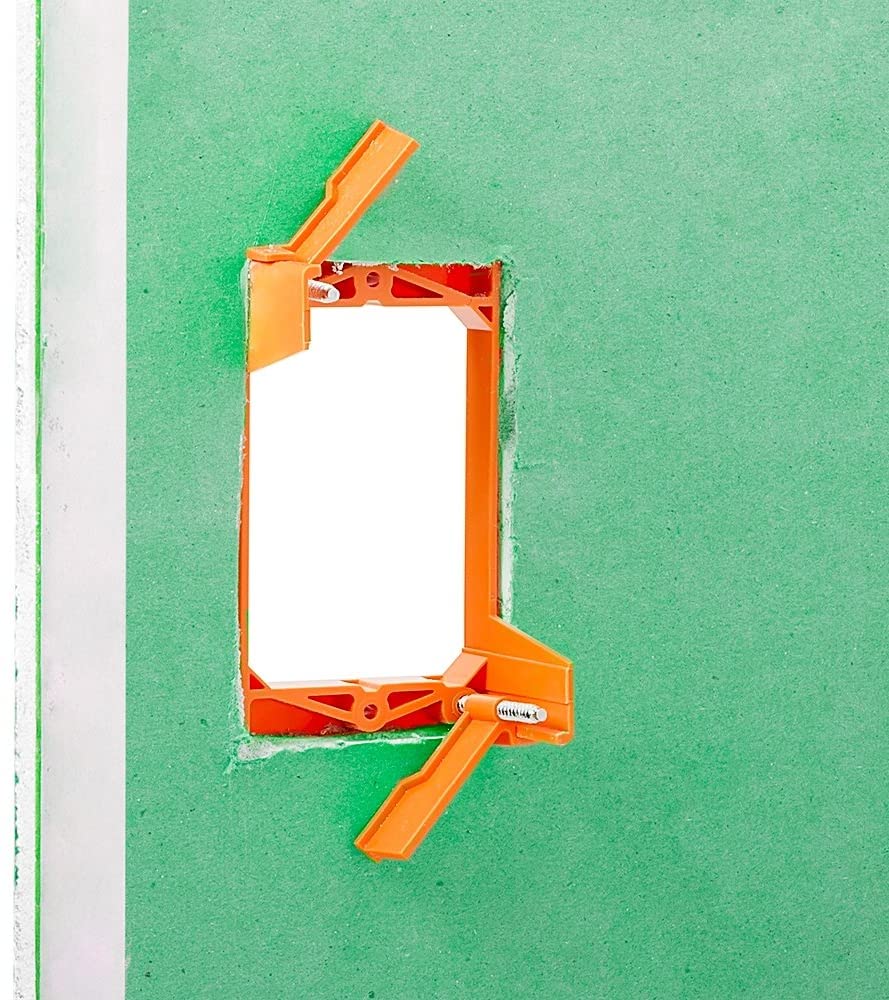
Once you’ve determined the best location for your boxes, the next step is leveling and marking your drywall cuts. Take the low voltage electrical box and place its face against the wall. You will see that the box has four small holes around the edges, which will be used to make your marks. Use the level to get the box straight and even, and then use a pencil and the holes mentioned above to mark the wall for your cuts.
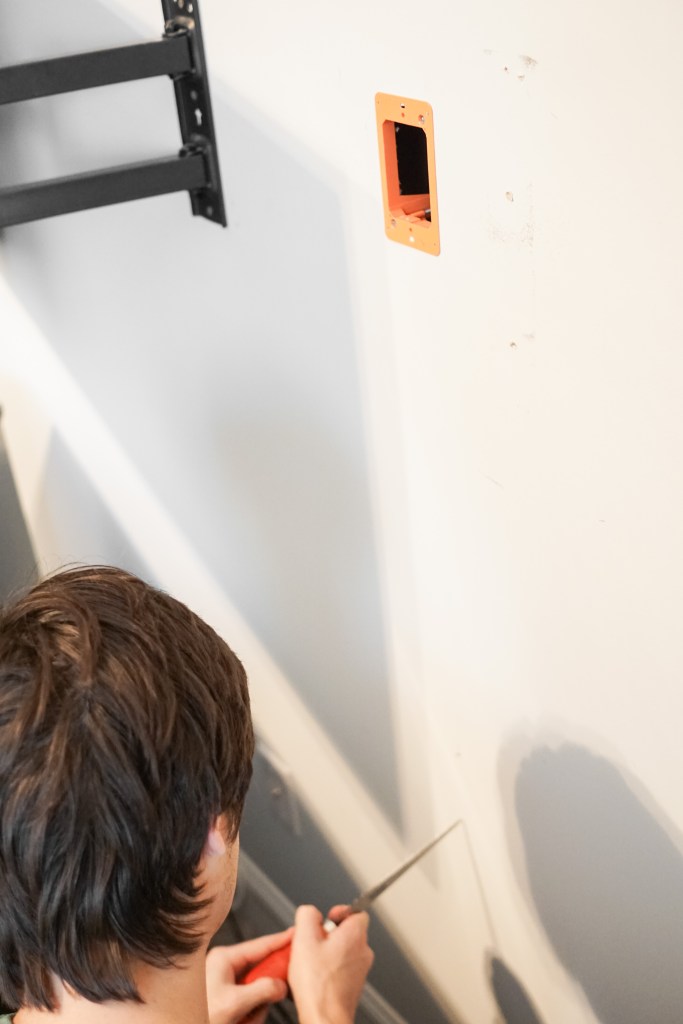
Once you have marked the holes for the top and bottom boxes, the next step is to make your cuts using the drywall saw. This is pretty easy once you have the marks made, just do your best to cut straight lines between the four dots! It’s okay if they aren’t perfect, the box will cover them up because the hole ends up a little smaller than the face of the box. You want to be careful not to cut too deep in this step, especially if you’re cutting near an outlet where there may be electrical wires in the wall. Drywall usually isn’t that thick, so you don’t have to cut super deep here.
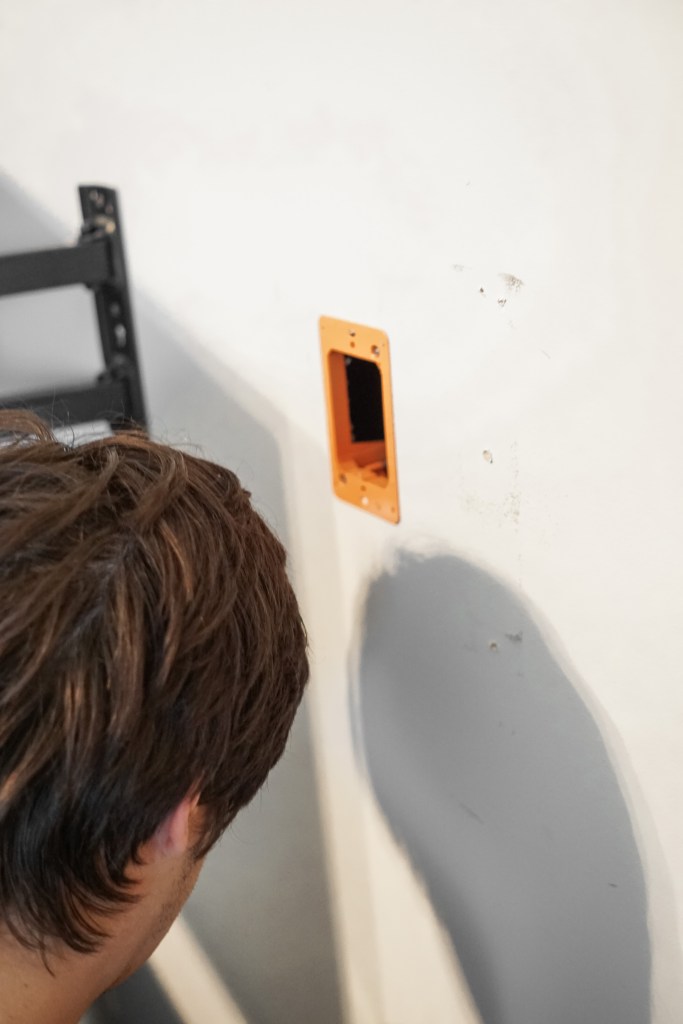
Once your holes have been cut, you’re ready to add in the boxes! These are super easy to install – just place the box inside the hole with the screws facing out, and screw them in. Be careful not to screw these too tight, as the screws are just to move the arms behind the wall to hold it in place.
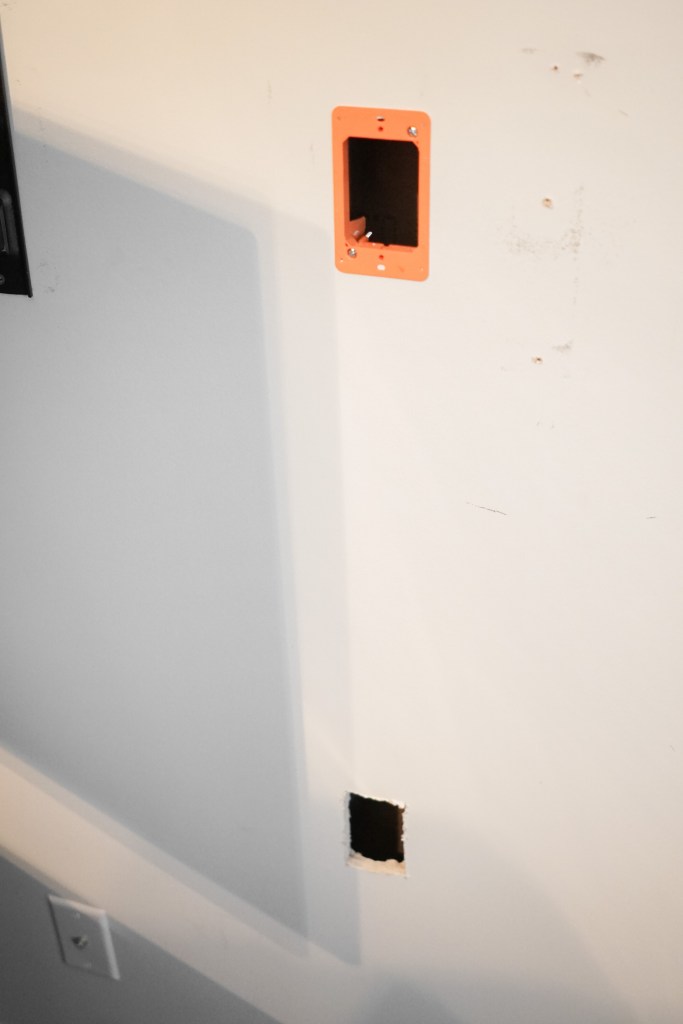
Once you have both the top and bottom boxes installed, I would recommend running the cords through before adding the brush plate! Nothing special here for running the cords, just thread the cables from the top box straight down until you can pull them out through the bottom box.
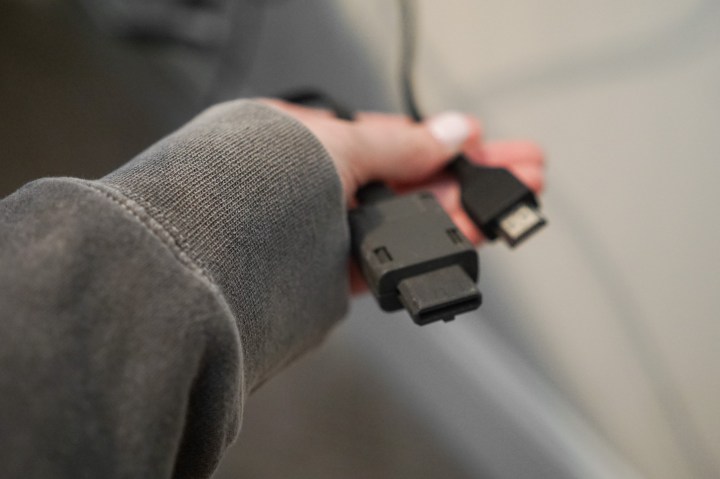
We use this space for watching TV and playing video games, so, in addition to the power cords, we decided to run every type of cord we might need for our different gaming systems through the wall so that we can just plug the system in when we want to use it, and put it away otherwise.
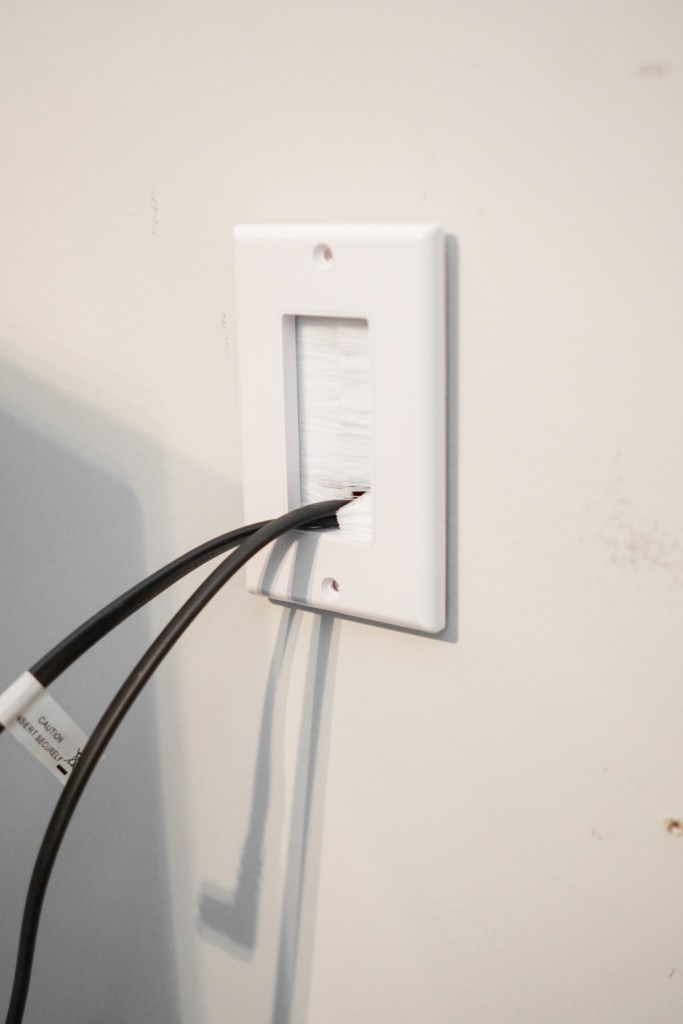
Once you have all of your cords ran through the wall, it is time to add the brush plate. This gives the boxes a more a more professional look, and protects from things falling inside the wall if you were to unplug a cable from your TV. These plates come with the hardware you need, all you have to do is screw them into place and you’re ready to go!
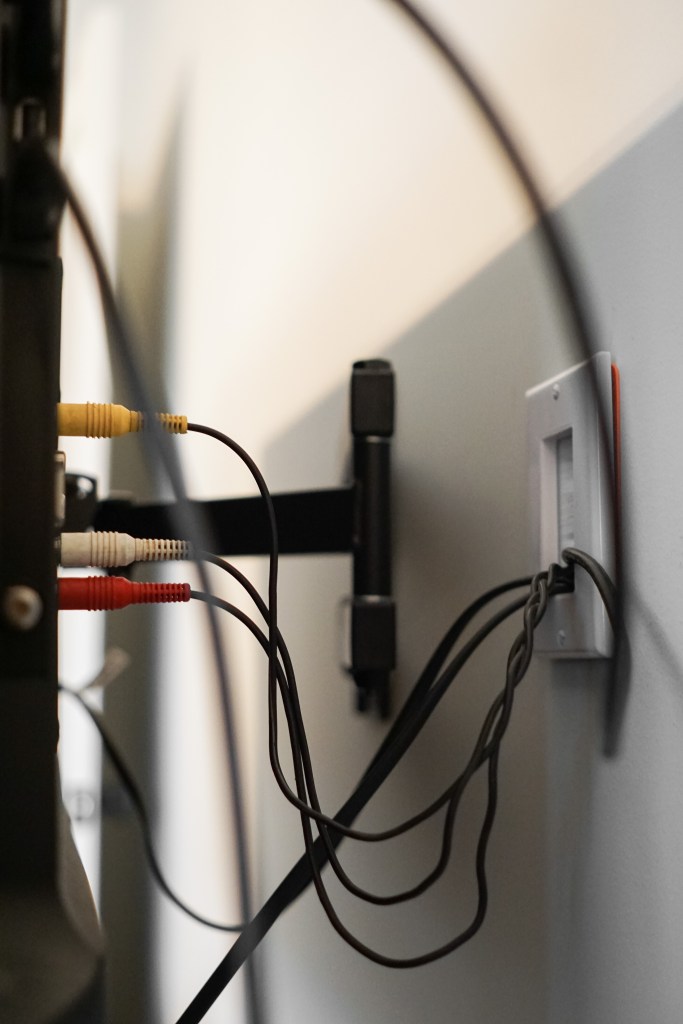
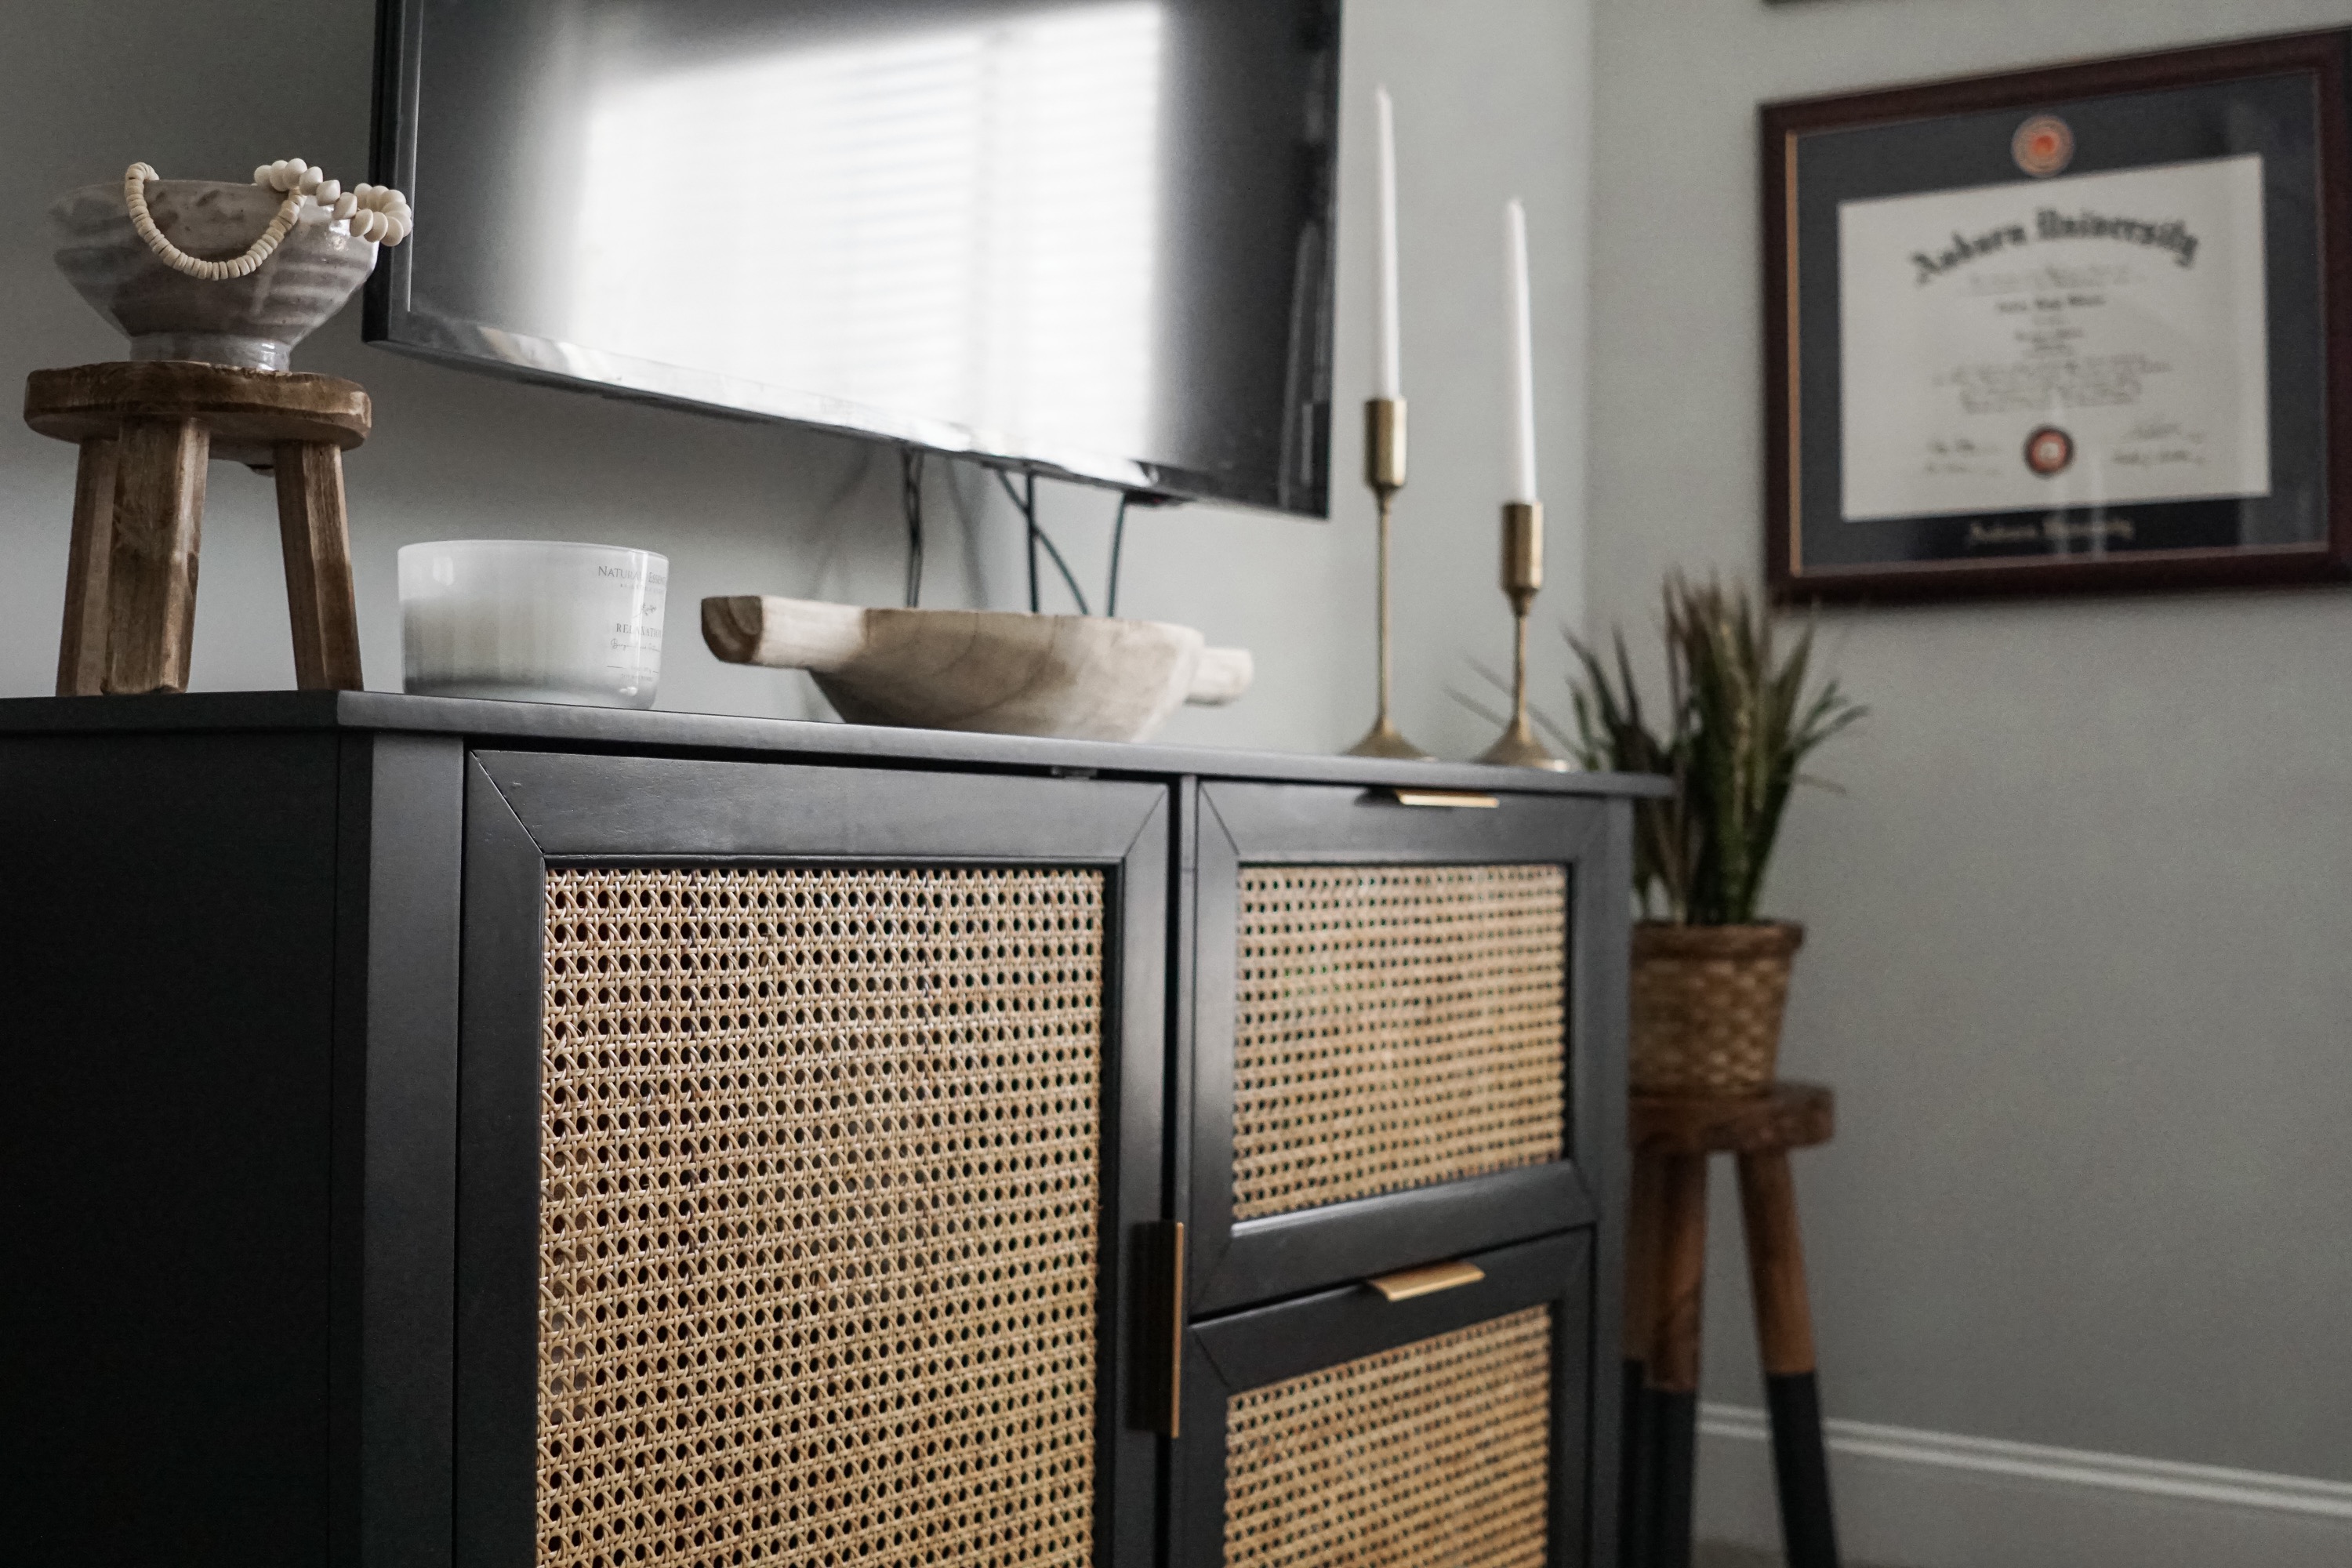
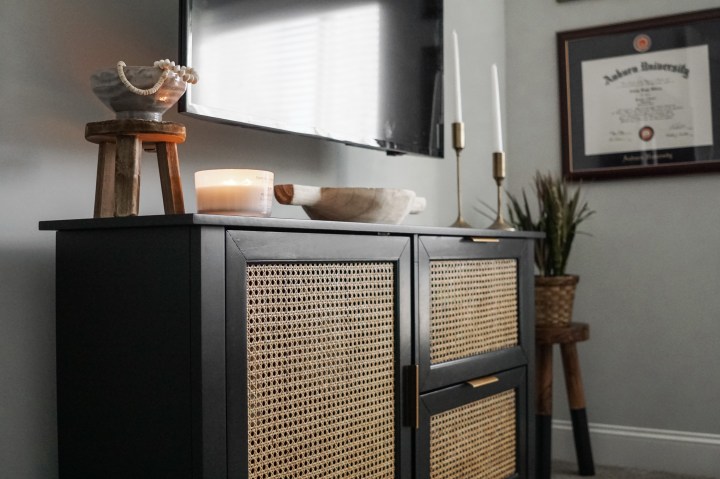
Once you have your brush plates in place, all you need to do is plug in all your cords and enjoy the clean, cable free view!

SHOP
CLICK ON THE NUMBERS BELOW THE IMAGE TO SHOP THESE ITEMS
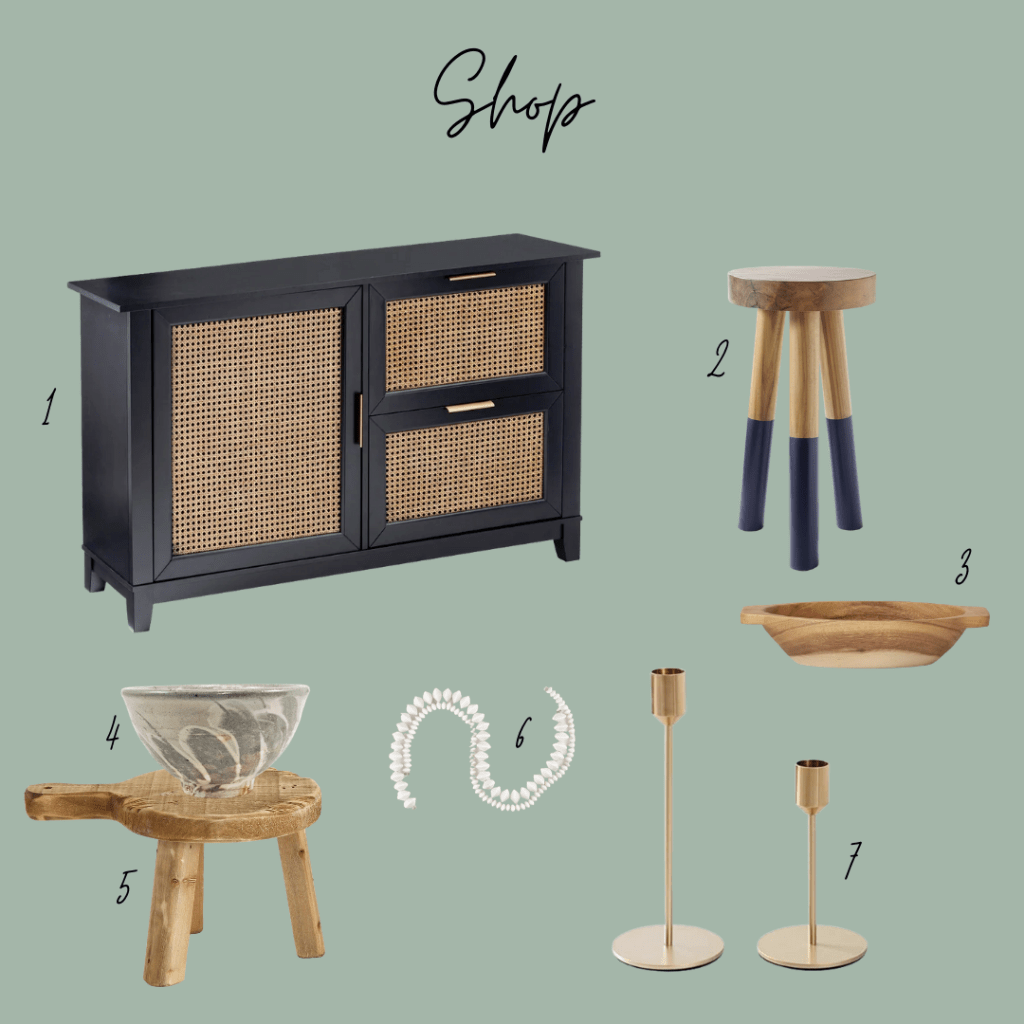
one // two // three // four // five // six // seven
That’s all there is to running your cables through the wall behind your TV! The thought of making large, permanent holes in the wall can be daunting, but the results are totally worth it in my opinion. Plus, the brush plates make everything look professional, almost just like another outlet on the wall, rather than a giant orange hole.
I really love how neat and tidy this space looks now without all of the cords hanging down behind the TV, and I hope that this blog post helps you tidy up your cords and give your TV space a clean, professional look! Thank you for reading 🙂

One response to “HOW TO HIDE TV CABLES INSIDE THE WALL BEHIND A MOUNTED TV”
[…] posts during this makeover on how to hide cords behind a desk that is against a wall or window, and how to hide the TV cables in the wall behind a mounted TV. Hiding and organizing all the cords in this space has really helped keep things looking clean and […]
LikeLike