
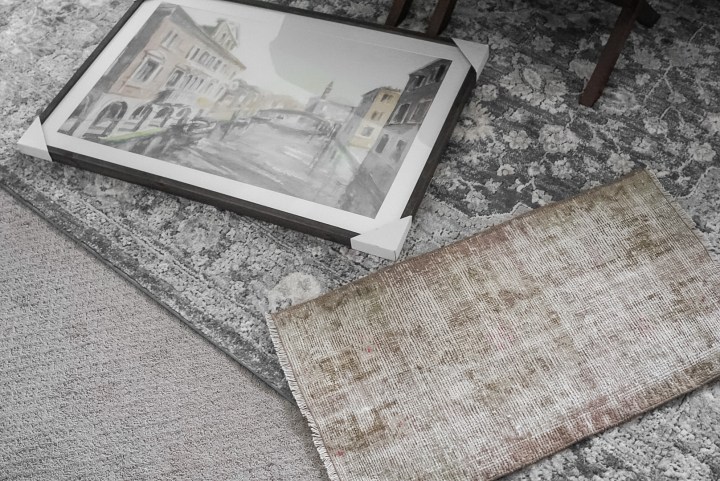
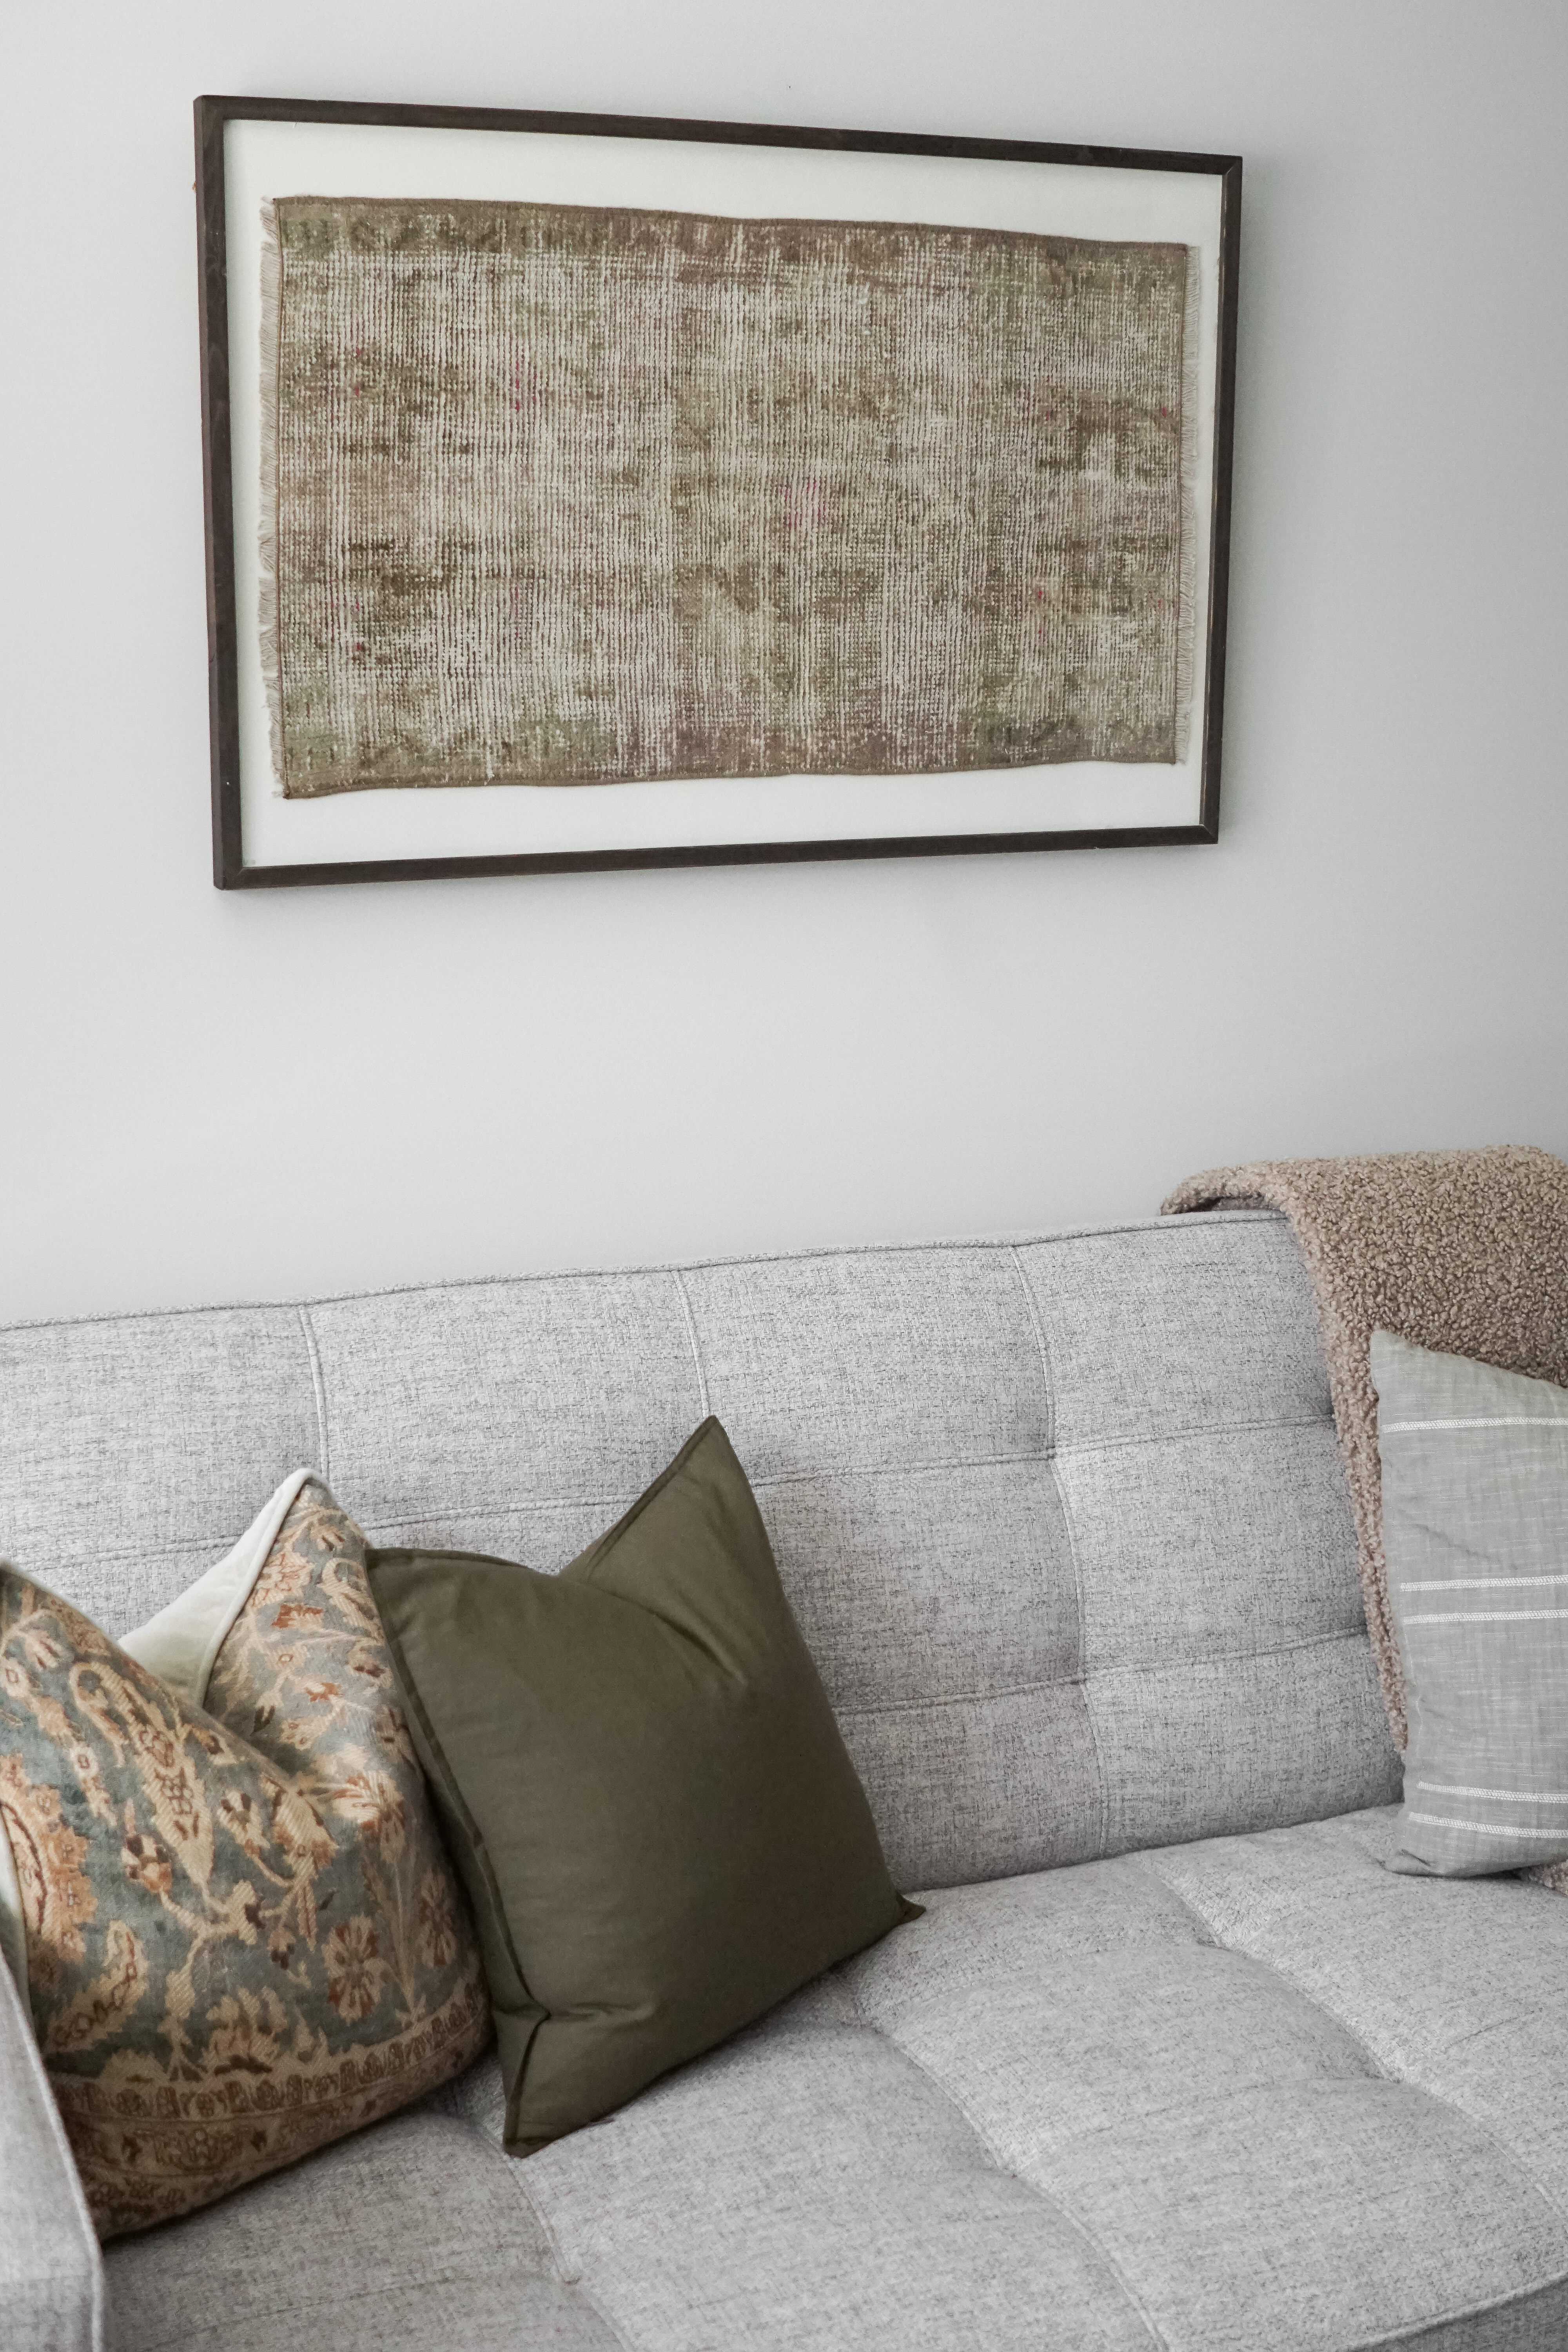
Framed textiles are a trend that I am 100% here for ! I love how much texture and interest they can bring to a space, and they are a great way to add some variety to your wall or shelf decor.
One of my favorite framed textiles that I’ve been seeing lately is the framed rug or rug fragment! I love the unique, one-of-a-kind feel these pieces bring in, and the beautiful colors, patterns, and textures that are so frequently seen among vintage rugs.
That being said, framed textiles like vintage rugs and fabrics can cost hundreds and even thousands of dollars for exactly the reasons I mentioned above: they are unique, one-of-a-kind, and often hand made. Not to mention, professional framing can be really expensive.
So, instead of paying big money for what I wanted, I decided to do it myself for less, and I am SO happy with how it turned out!

In this blog post, I’ll be giving you all the details on how I created this framed vintage rug, along with some affordable vintage rug sources; tips, tricks and thoughts for doing this easy and affordable DIY; and a round up of picture lights and a few one-of-a-kind vintage rugs that are currently in stock on Etsy!
Disclaimer: Some links contained in this post are affiliate links. That means that if you click on the link and purchase an item, I get a small percentage of that sale at no extra cost to you. As an Amazon Associate I earn from qualifying purchases. Please know that products and brands recommended here at stay home style are products that I use, love, and trust.
WHAT YOU NEED
CLICK ON THE UNDERLINED WORDS TO VIEW PRODUCT LISTINGS
- Vintage rug – Finding affordable vintage rugs can be tricky. I’ve seen small little rug fragments being sold for $50+ online, and full rugs, even the small ones, can run quite a bit more than that. The cheapest vintage rugs I have been able to find are on Etsy! I’ll link some of the more affordable rug sources I’ve found, including the one where I got mine, below for you!
- Turkish Rug Loom – This is the shop where I found my small vintage rug, and I paid just $30 including tax and shipping! Even though these rugs are shipping from Turkey, ours came in SO quickly (it didn’t even take a week!). I would totally recommend this shop if you’re looking for an affordable vintage rug. I reached out to the shop owner, and she told me that if you send her a message and mention my name (Ashley Whatley with Stay Home Style) she will give you an additional 5% off the already discounted price!
- Crafts Kilim Rug Pillow – This is another Turkish rug (and pillow) shop, and they have some beautiful vintage textiles! If you wanted something smaller than a rug, one of their vintage Turkish kilim pillows would be so beautiful in a frame!
- Vintage Wholesale Rugs – Another Turkish rug shop with beautiful vintage rugs! They have given me a coupon code for you guys to get an extra 15% off, just use YOURFAVORITE at checkout!
- Frame – As far as frames go, you are going to need a pretty solid, heavy weight frame to hold the rug. I originally ordered a cheap poster frame from target that was made of flimsy plastic, and that didn’t cut it for this DIY! Since nice large frames can be rather costly, and custom framing can get expensive, I decided to repurpose the frame off of a framed art piece from Hobby Lobby! This is a little more work than just buying a normal frame, BUT, I was able to get a large, heavyweight frame (with glass instead of plastic!) for just $35! Since most vintage rugs are very thin, you should be able to get away with most any heavyweight frame, as long as there is at least 1/8″ – 1/4″ between the glass and the back of the frame so that the rug will fit inside.
- Needle Nose Pliers – These are only necessary if you go the framing route I did! You will need them to remove the staples holding on the back of the frame.
- Paint & Roller – This is optional, but I decided to flip the back of the frame around and paint it instead of buying a new mat. The frame I used came with a mat, but the opening was too large for my rug, so I couldn’t use it.
- Command Strips – This is what I used to attach the rug to the back of the frame! Make sure you get heavy duty so they can handle the weight of the rug.
- Small Nails – These will be used to hold the back of the frame on when you put it back together.
HOW TO GET THE LOOK

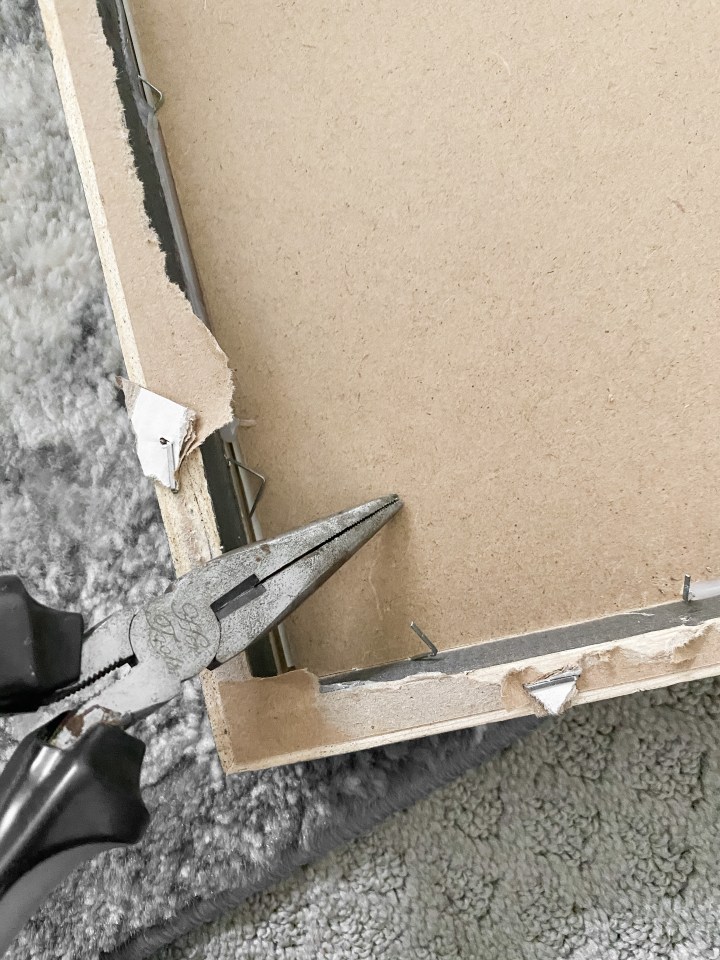
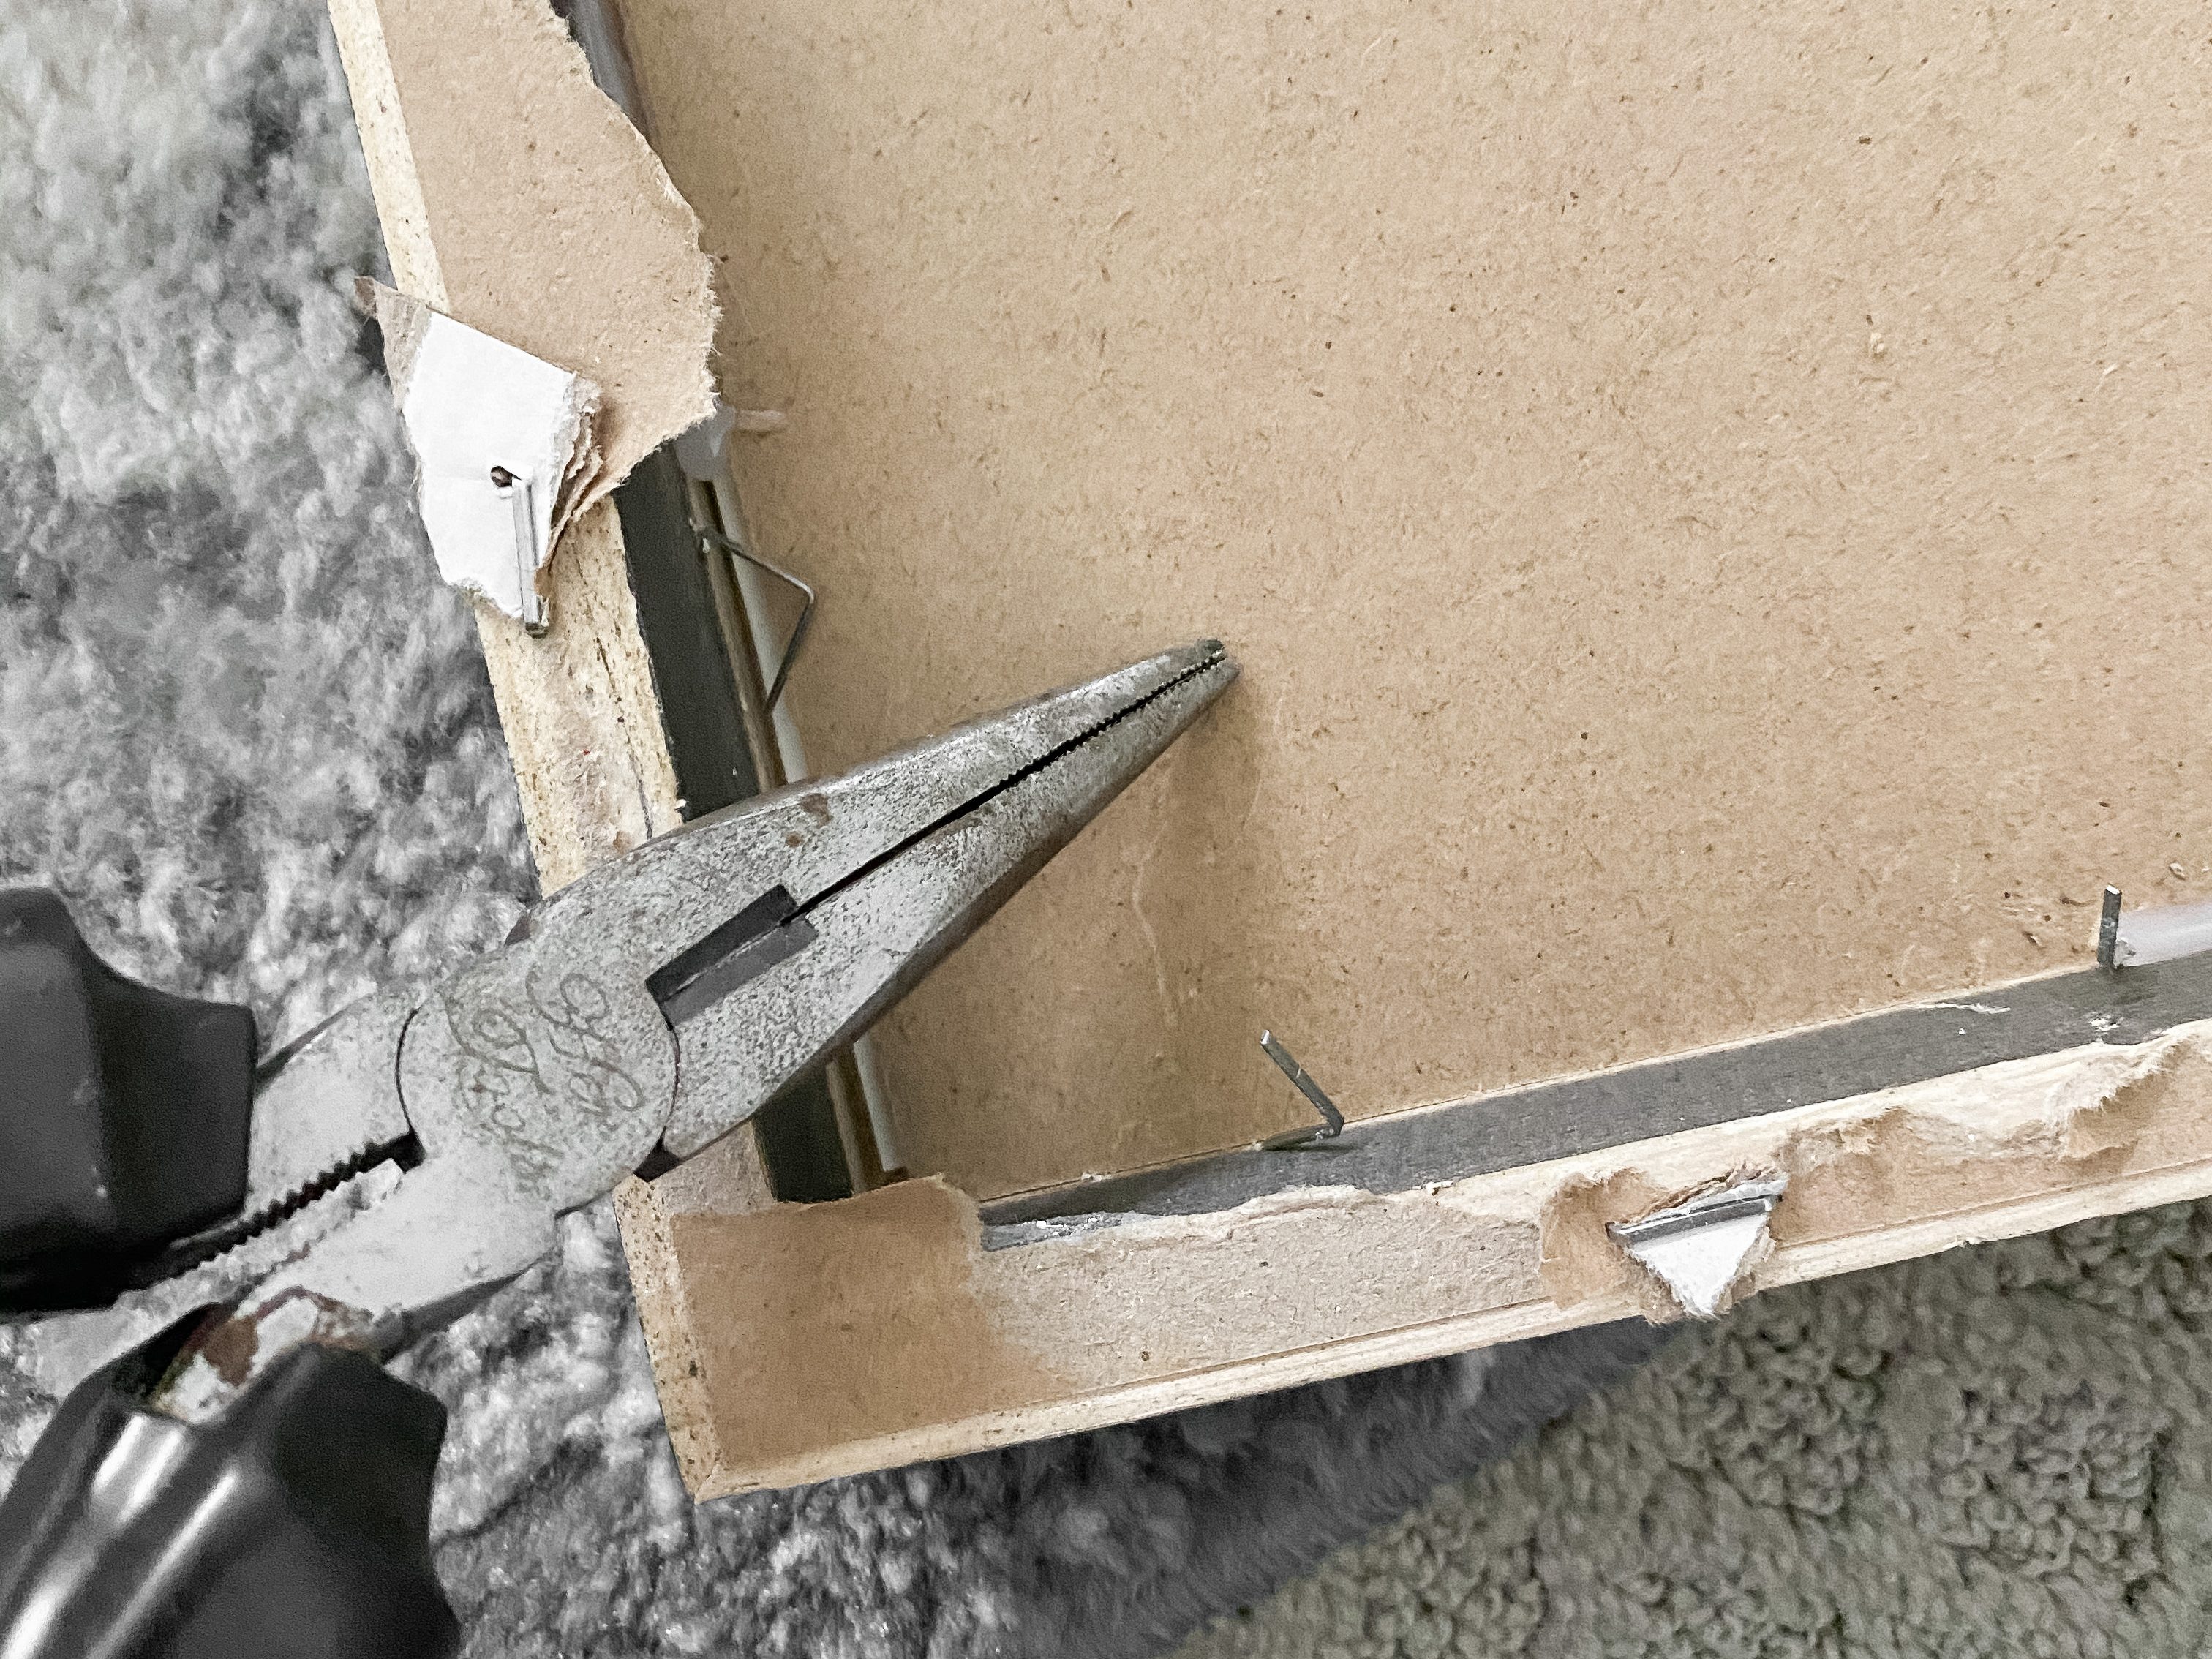
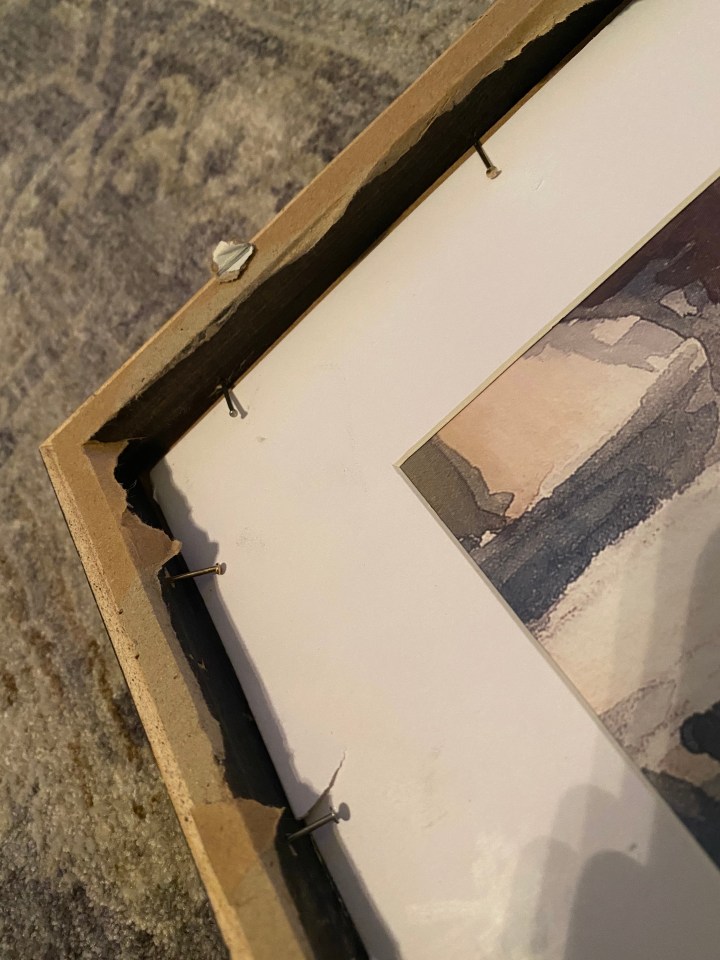
The first and hardest step for me was getting the back of the frame off. Totally worth it for the good quality, affordable frame, but it definitely takes a little bit of work.
First, you will need to rip off the paper covering on the back and see how the frame is held together. The back of my frame was held on with staples and a little bit of hot glue here and there. I started by using the needle nose pliers to remove all of the staples. Once they were all removed, the back of the frame was still holding on with the hot glue around the edges, so I used the pliers to pull this off until I was able to remove the MDF backing.
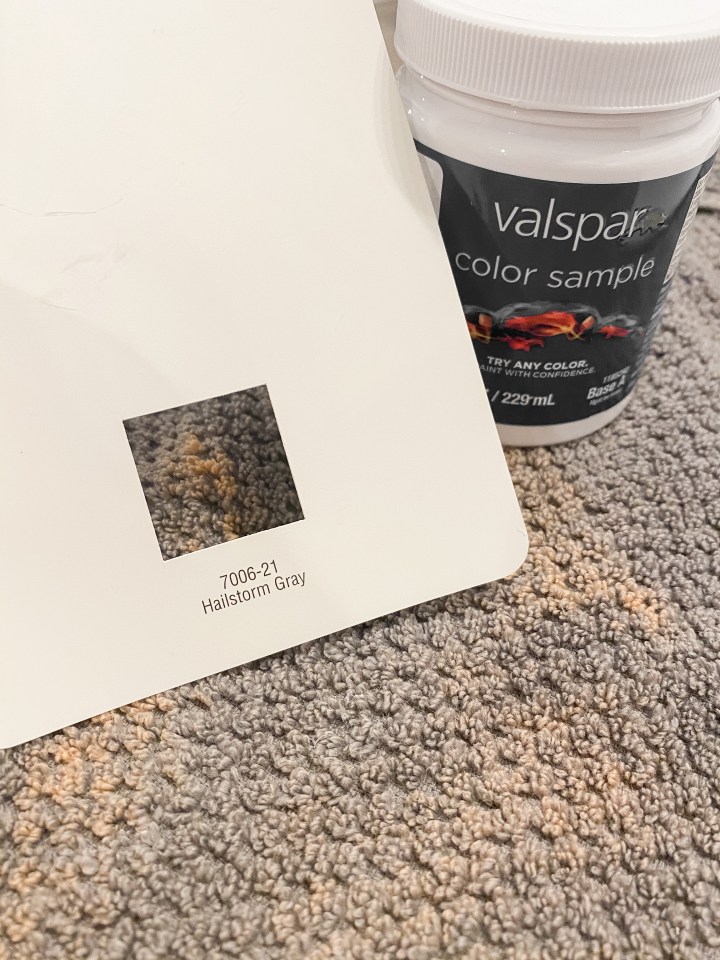
Once I got the back off, the next step was painting it. If the mat that came with the art print would have been the right size, I would have just put the rug directly on top of the mat, but since the opening was too large, I just decided to flip the backing around and paint what was originally the back of the frame. Note, I flipped this around and painted the back because the art print was glued down pretty well to the front. It was easier to use the back than to remove the print off the front. I used a creamy, light gray color with a green undertone to pull out the muted brown and olive tones in the rug. The color was Hailstorm Gray by Behr, and I was able to get a cheap sample size from Lowe’s for less than $5!

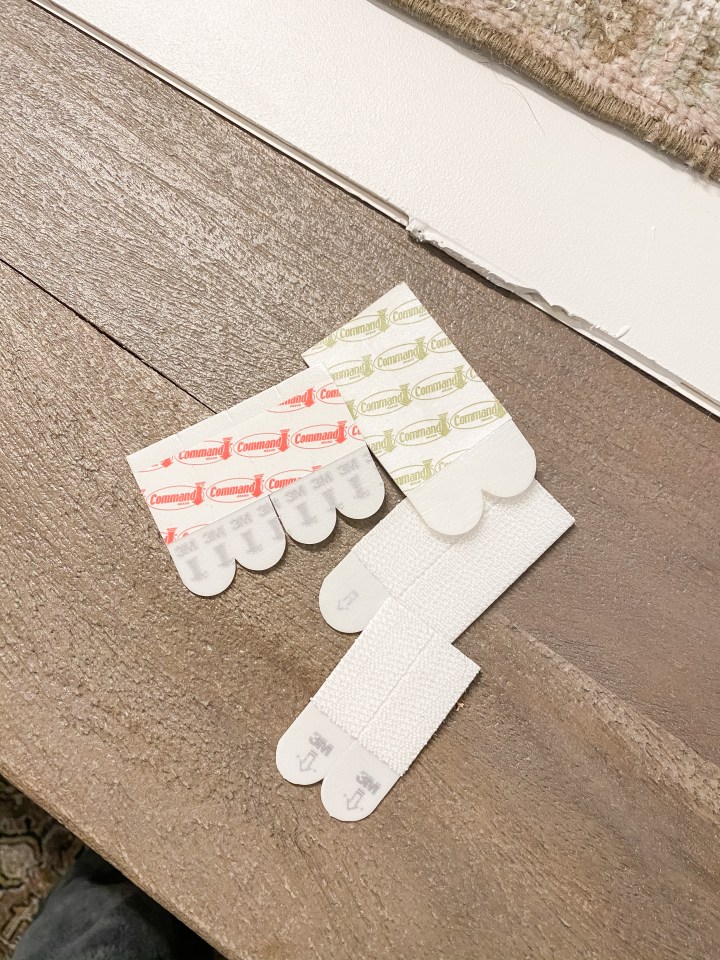
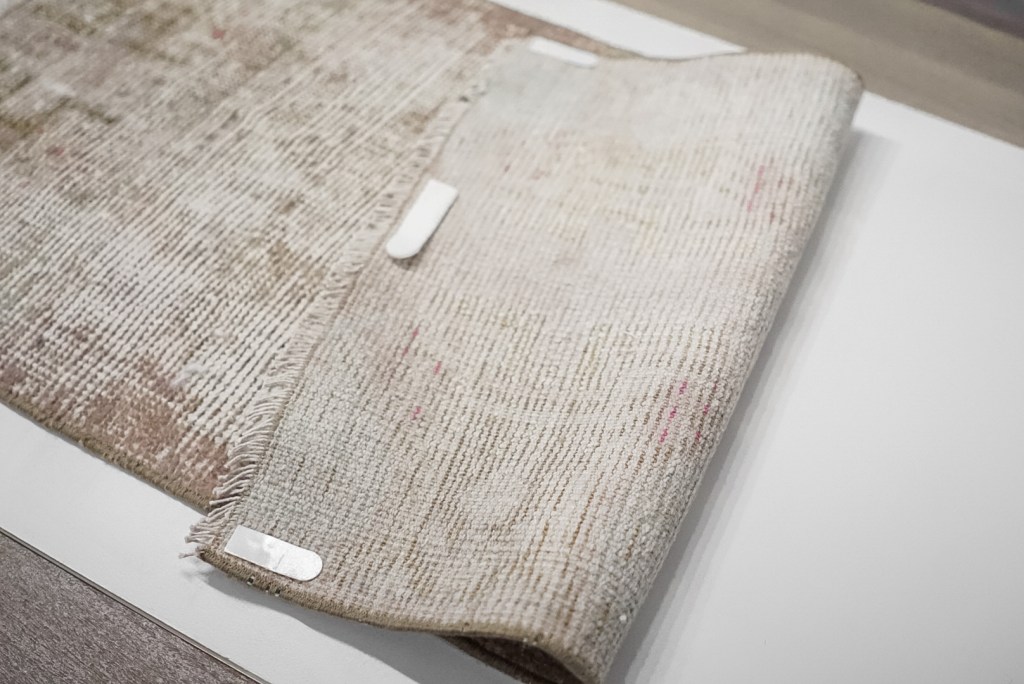
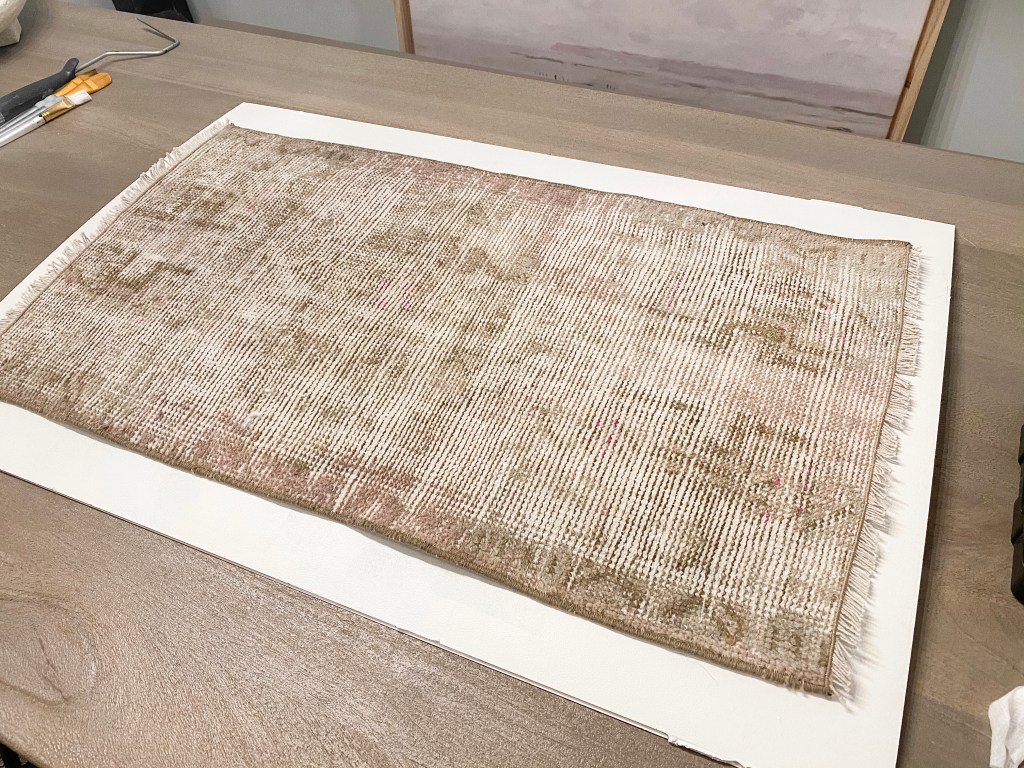
When the paint dries, the next step is to use the command strips to stick the rug onto the freshly painted backing. The number of command strips you will need will depend on the size of your rug, but I put one in each corner, one in the middle, and one in the center of each edge. Once I had the command strips on, I centered the rug on the board and was ready to put the frame back together!
I’m sure this isn’t the only way, and probably isn’t the correct way to put the back back on… but it works 🤷🏽♀️
Carefully hammer the small nails around the edges of the frame and bend them down to gently apply enough pressure to hold the back in place. I didn’t use any specific spacing of nails to do this, I just used enough to hold it together!
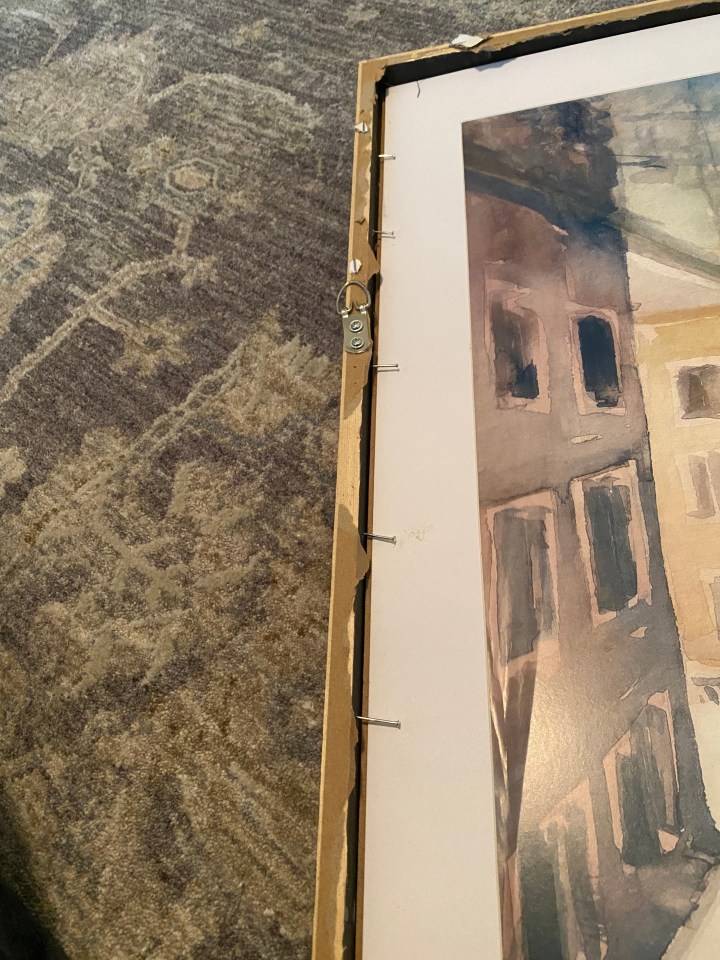
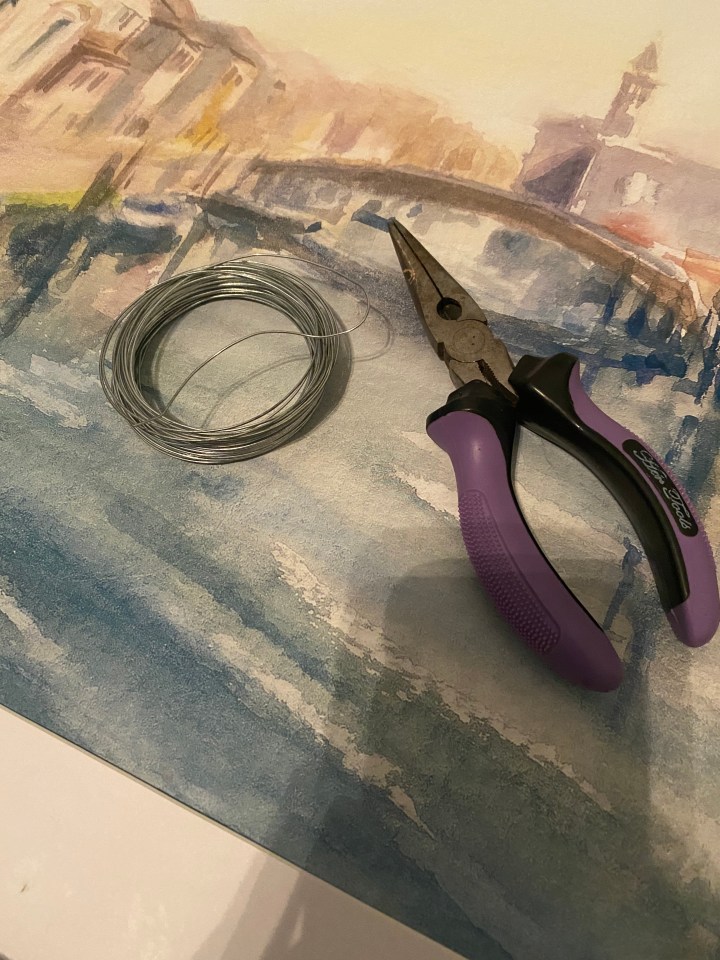
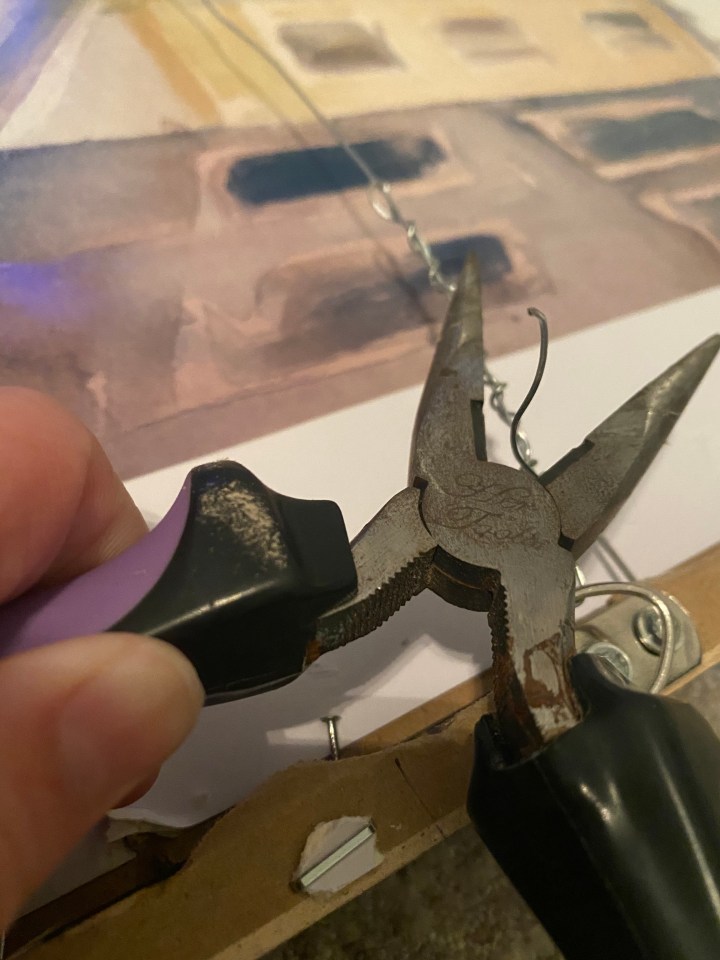
Totally optional step here, but I also added a wire for hanging (even though the Hobby Lobby website clearly says not to do this… 😅 try at your own risk)! Hanging things on the D rings can be so challenging because you have to put two nails in the wall and get them just right. By using a wire, you can easily hang the frame by one nail, and not have to worry about getting two nails even and level! I pretty much hang everything I can this way.
Okay y’all, listen to the Hobby Lobby website and DON’T DO THIS. We came back from vacation a few months later and found this framed rug on the ground with a broken wire. Thankfully, nothing else was broken though! This is the first time this has ever happened to me when using a hanging wire, but the weight of the frame, glass, and rug ended up being too much for it to handle. We removed the broken wire and hung the frame as intended after this happened, and have had no problems since!

Once you have your frame back together and everything ready to hang, you’re all done and ready to enjoy your new framed rug!
SOME MORE THOUGHTS ON THIS DIY
First, we already had a lot of the things used for this DIY on hand (paint rollers, small nails, pliers, wire, etc.), but if you don’t already have these items on hand, it may be just as cheap for you to order a custom sized frame and mat from somewhere like Frame it Easy or Art to Frames! This would save you a lot of time and effort in regards to removing staples, painting, and nailing things back together.
Secondly, another place I wish I would have looked for a frame was the thrift store! I was in a hurry to get this DIY done, so after the poster frame from Target turned out to be a fail, I decided to just get a frame from Hobby Lobby. I think you could 100% find a large framed piece of art at the thrift store and do the same thing (for probably much less). If I could do this again, I think that is what I would do!
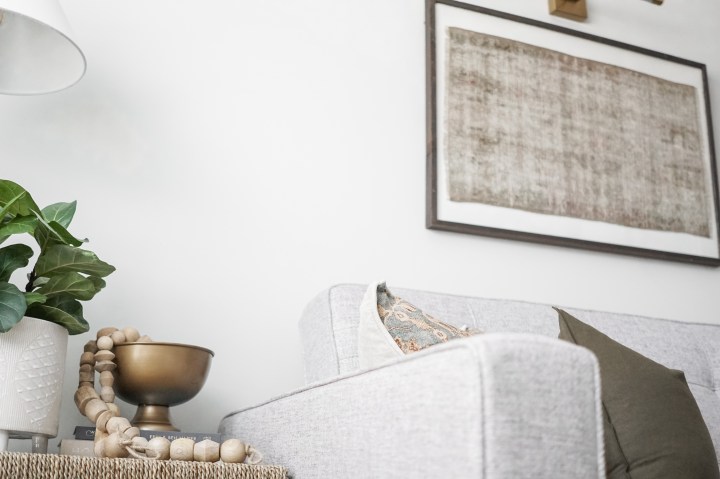
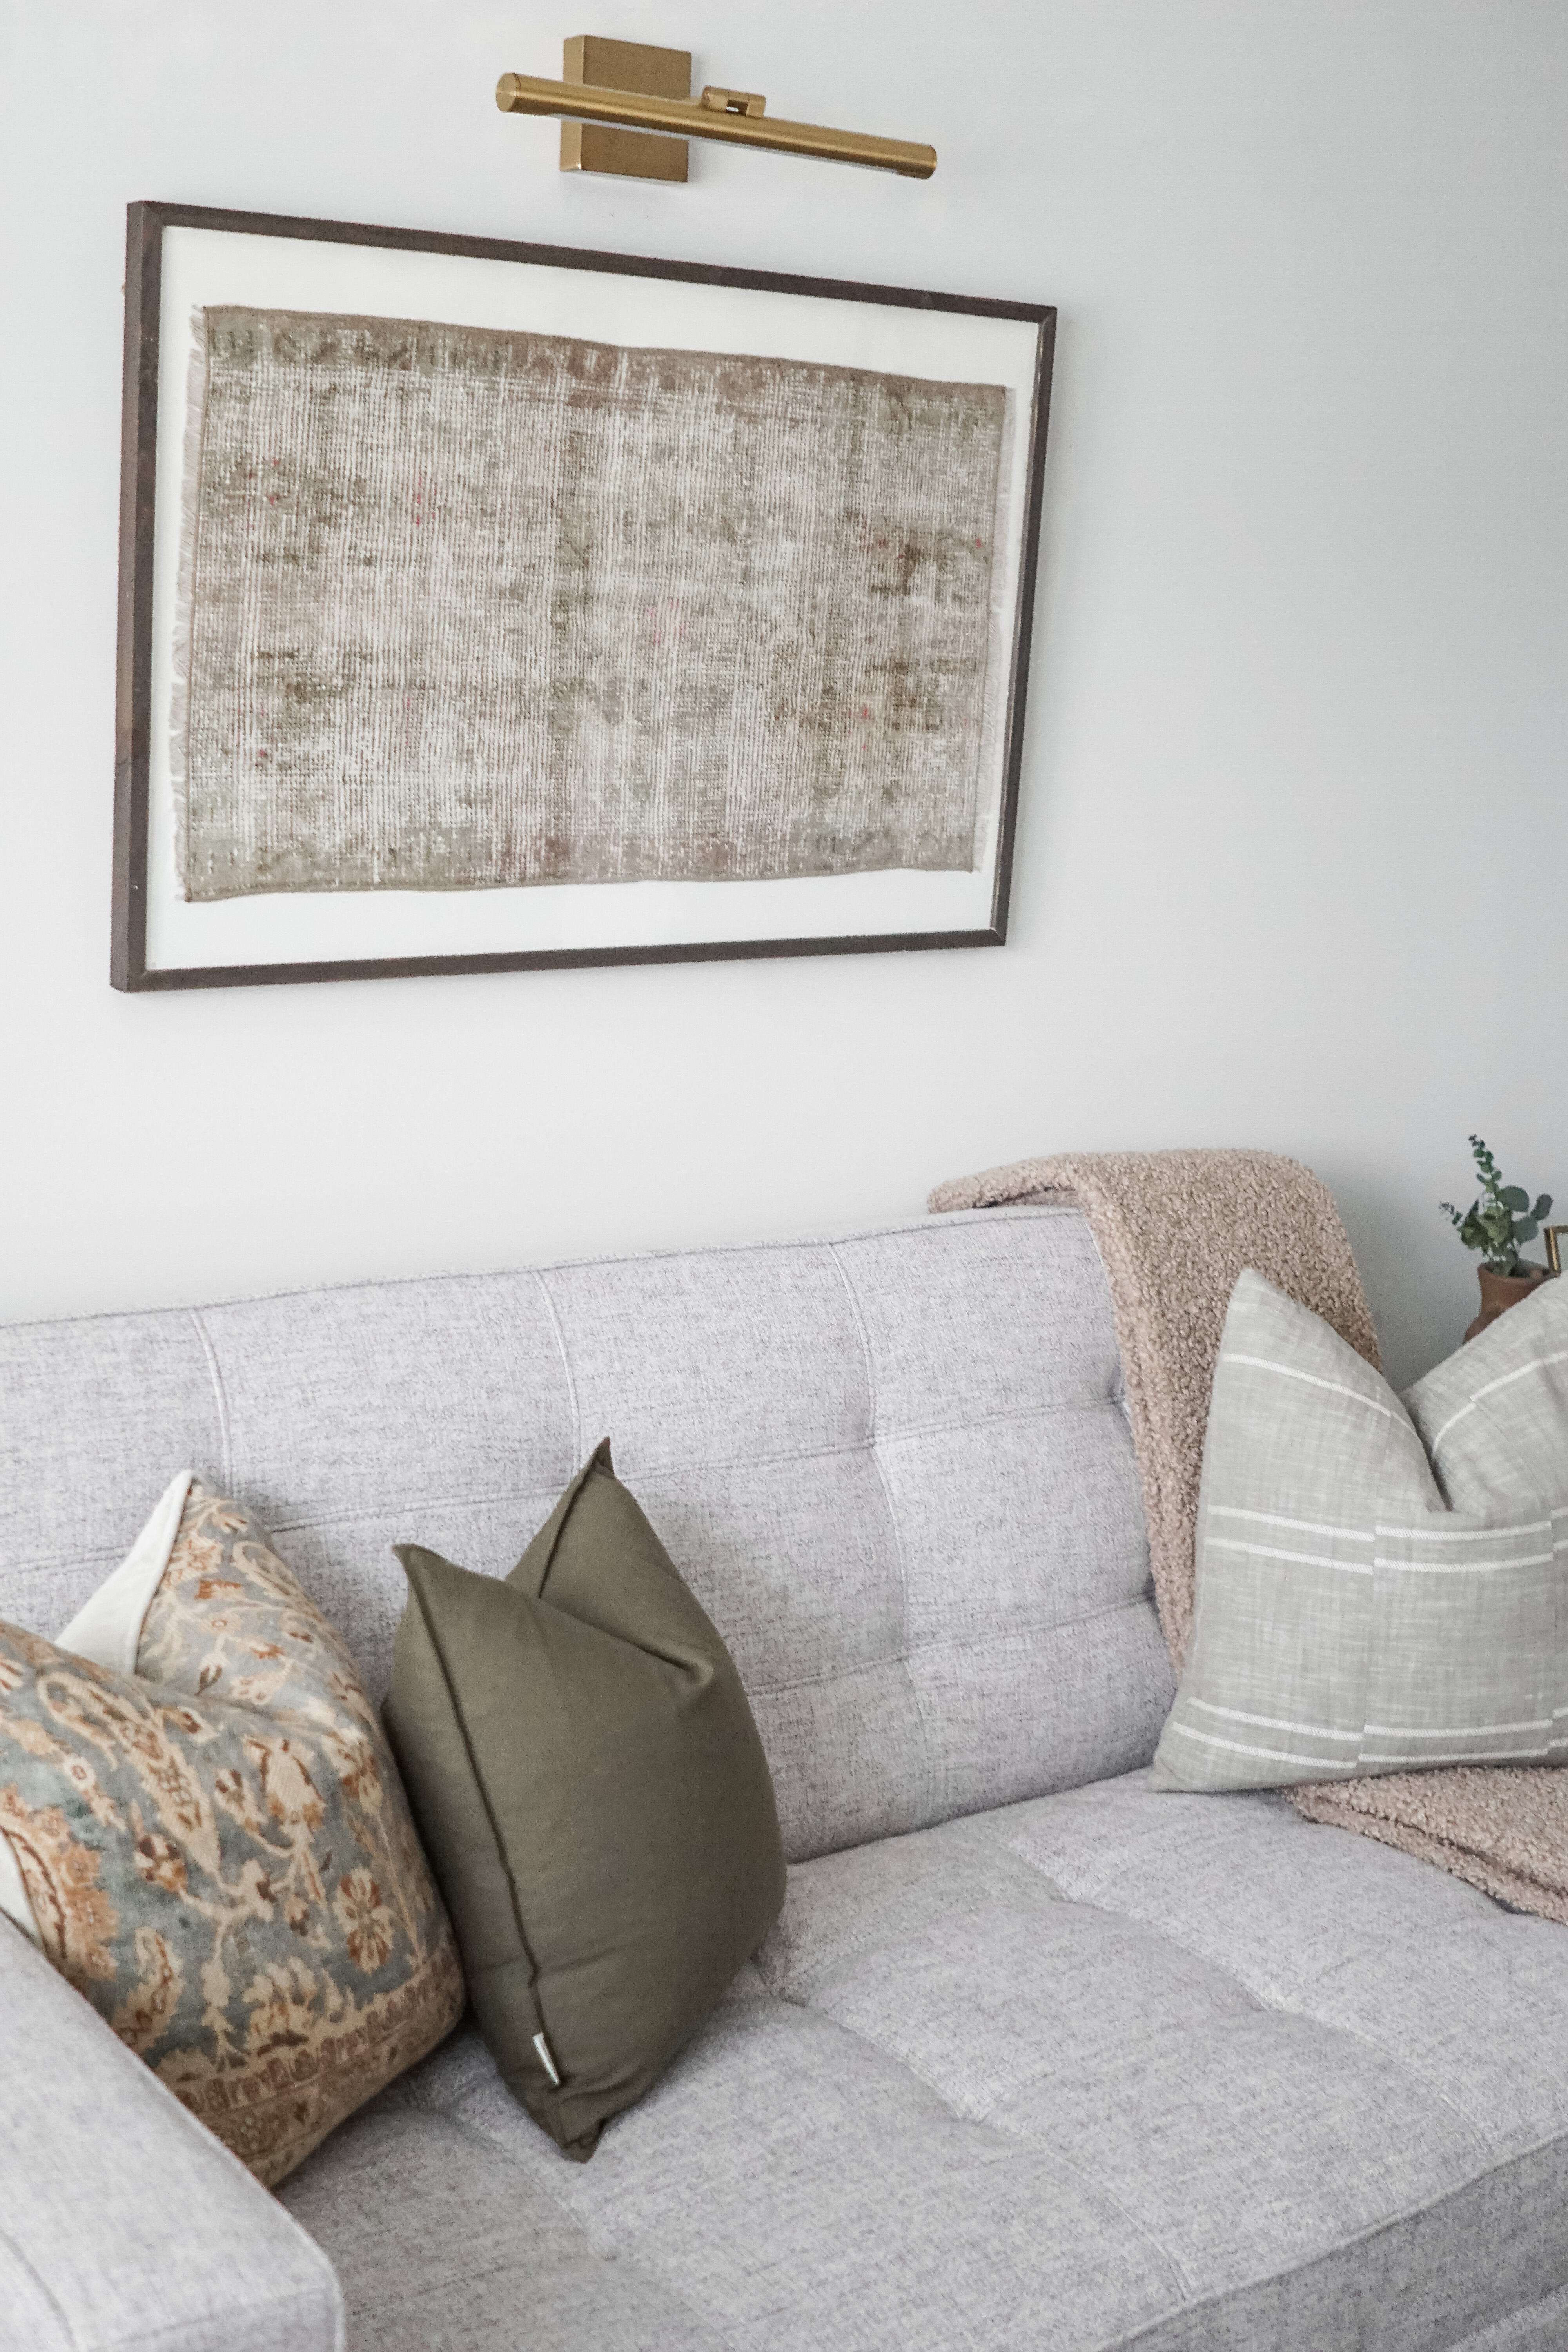
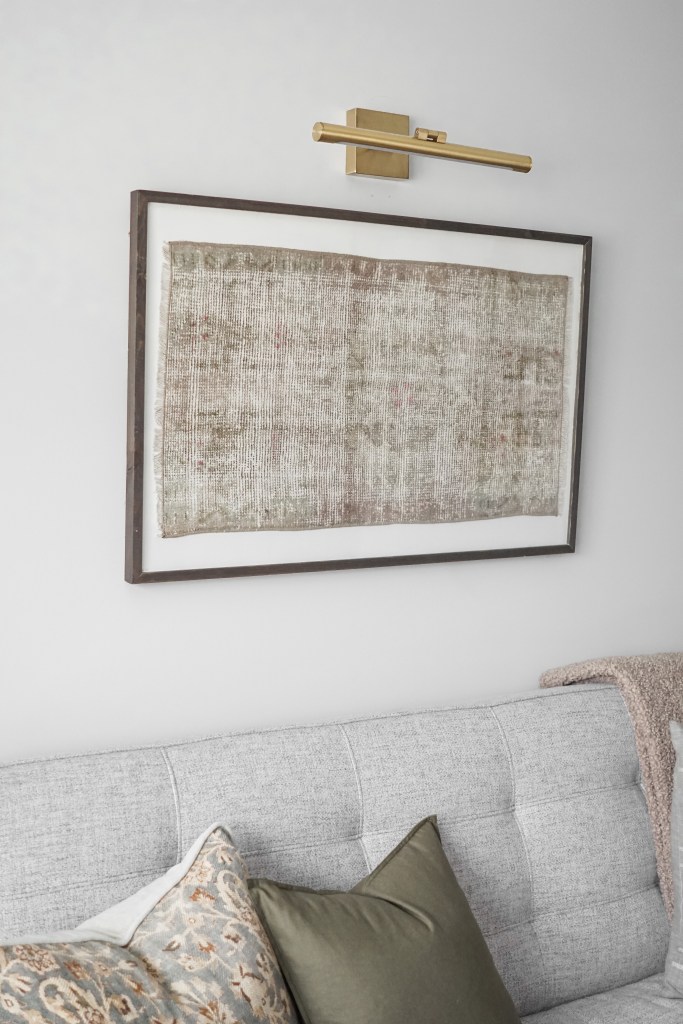
Lastly, I want to talk about our picture light! When I finished this DIY and finally hung it up in our office, it still felt like something was missing! I finally narrowed down what felt wrong to me, and the problem was that we hung it too high over the sofa. When we lowered the frame, however, it felt like there was just a little too much wall space above the frame. I could have just moved the rug somewhere else and replaced it with a larger piece of art, but I really wanted to keep it in our office… so, I added a picture light! By adding a picture light, I filled the gap between the ceiling and art, made the framed rug a focal point in the room, and brought in some warm gold tones to that side of the room that helped tie the whole space together. Our picture light is meant to be hardwired in, but we just hung it up for looks. I am linking the light we have in the next section, along with some battery operated options in case you wanted a functioning light without having to hard-wire it in!
SHOP
CLICK ON THE NUMBERS BELOW THE IMAGES CORRESPONDING TO EACH ITEM TO VIEW THE PRODUCT LISTING

one // two // three // four // five // six
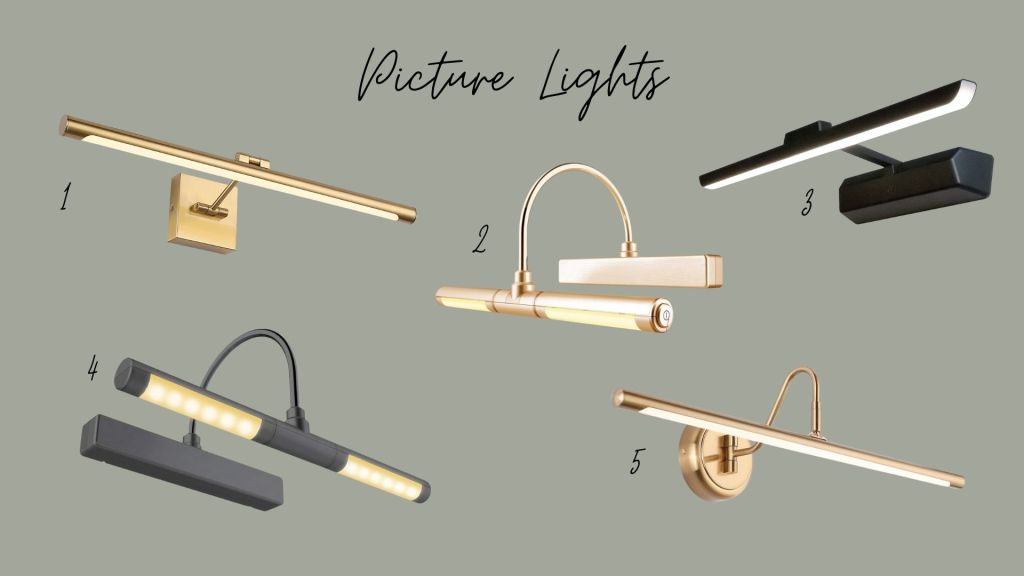
one // two // three // four // five //
That’s all for this DIY! My goal was to do this DIY for $100 or less, and we came in right around $70! This is a fraction of the cost of a framed vintage textile from somewhere like McGee & Co or Pottery Barn, and I am so pleased with how it turned out.
There are so many options when it comes to vintage textiles, and so many ways you could go about framing and displaying them! If you’re looking for an affordable framed textile option your home, I hope this blog post gives you some ideas and inspiration, and helps you get that one-of-a-kind, designer look for less!
Thank you for reading 🙂

One response to “FRAMED VINTAGE RUG : AN EASY & AFFORDABLE DIY”
[…] I did what any DIYer would do and I made it myself! All the details for this DIY can be found in this blog post! Total cost: […]
LikeLike