
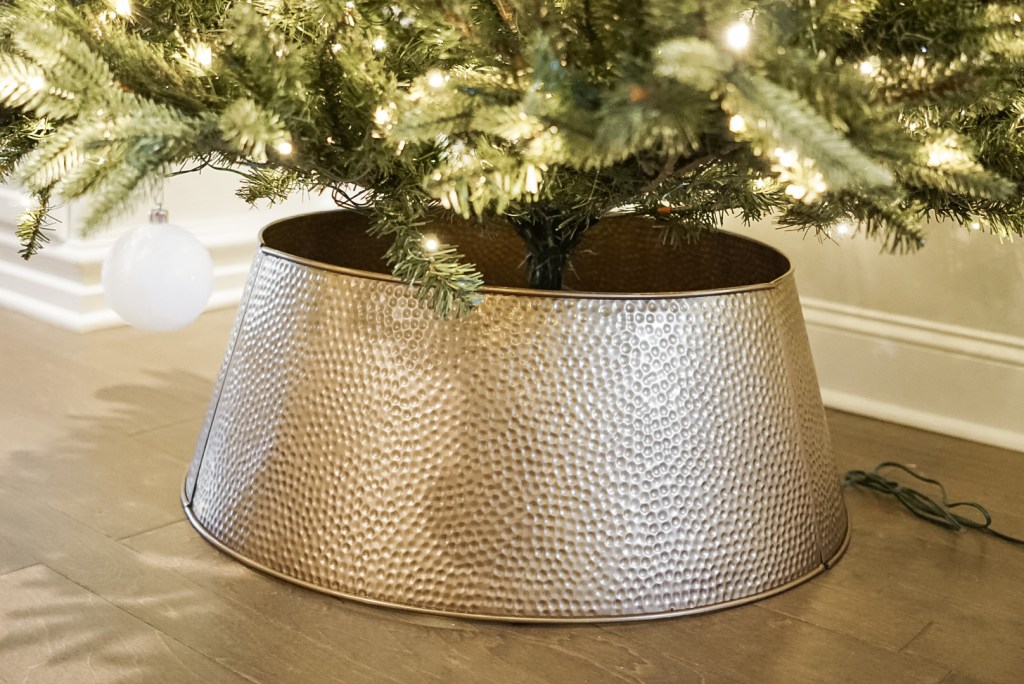
If you’ve started shopping for Christmas decorations already, you’ve probably noticed that tree collars are EVERYWHERE this year. I don’t know if I’m behind the game or what, but up until this year, I’ve always just used a tree skirt! I have to say though, I’m becoming a big fan of the tree collar. I love the clean, sophisticated look it gives, and the fact that it looks good with or without presents under the tree!
That being said, I had quite the time finding a tree collar that was tall enough to reach the bottom of our tree. The distance between the floor and the bottom branches was almost 14″, and the tallest tree collar I could find was 11″. This meant that no matter what tree collar I chose, there was always going to be a large gap between the top of the collar and bottom of my tree, exposing the ugly part of the tree that goes into the tree stand.
At first, I thought maybe our tree just happened to be really high off the floor, because I hadn’t noticed this issue in any photos I saw on Pinterest, Instagram, or product listings. After digging a little deeper and looking through some reviews on Target, however, I noticed other people were having this same problem! That’s when I began searching for a solution. I searched far and wide for a taller collar or a way to lower my tree, and I came up empty handed.
I seriously don’t understand why they don’t make taller tree collars. The whole point of them is to cover up the ugly part of the tree, right? Anyways, maybe the tree collar manufacturers will up their game in coming years and fix this (fingers crossed 🤞).
In the meantime, if you’ve jumped on the tree collar train this year, and are struggling with the same issue, I GOT YOU!! Keep reading for a quick and easy way to elevate your tree collar game (literally!).


HOW TO GET THE LOOK
If you’ve got your tree collar already, all you need is a tree skirt and some scrap wood. Seriously, that’s it!
Like I said in the beginning, we’ve always just used a tree skirt, so we already had both of these items just lying around the house! If you’re looking for a nice, affordable tree skirt though, TJ Maxx, Home Goods, and Marshall’s are always my go to!
If you don’t have any scrap wood lying around, my suggestion would be to go to your local home improvement store and find the “Cull Lumber” section. This is literally just a section of cheap lumber that is either leftover from cutting a larger piece of wood, or damaged in some way. If you can’t find any pieces that are small enough to use, you can ask a worker to cut it down for you, usually free of charge. This is a great way to get cheap scrap wood!
Once you have those two things, you’re ready to go!
If your tree collar is one continuous piece that doesn’t come apart, I would put your tree collar on first. If your tree collar comes apart into more than one piece, I would put the tree skirt on first! Either way, the first two steps are putting your tree skirt and tree collar on!
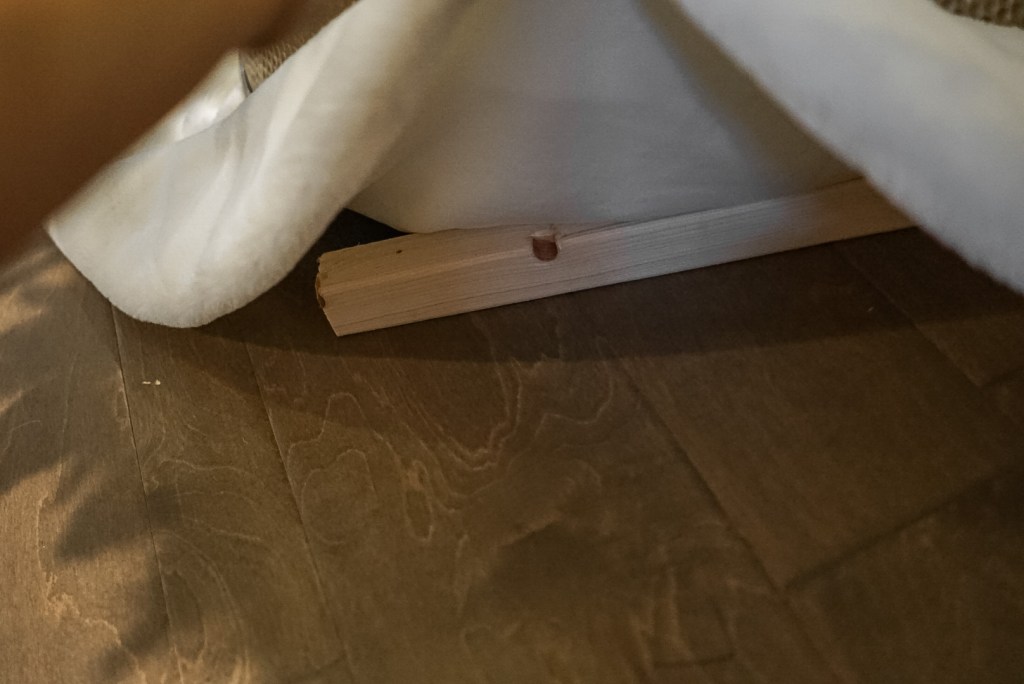

Once you have your tree skirt and tree collar on and centered, all you have to do is add in scrap wood under the the base of the collar (and underneath the tree skirt of course). If your tree collar is not one continuous piece, it can be a little tricky to get this right. You’ll want to make sure that any seams where the collar attaches rest directly on top of a piece of wood. Otherwise, if the seams are not properly supported, you might find your tree collar trying to detach (see below).

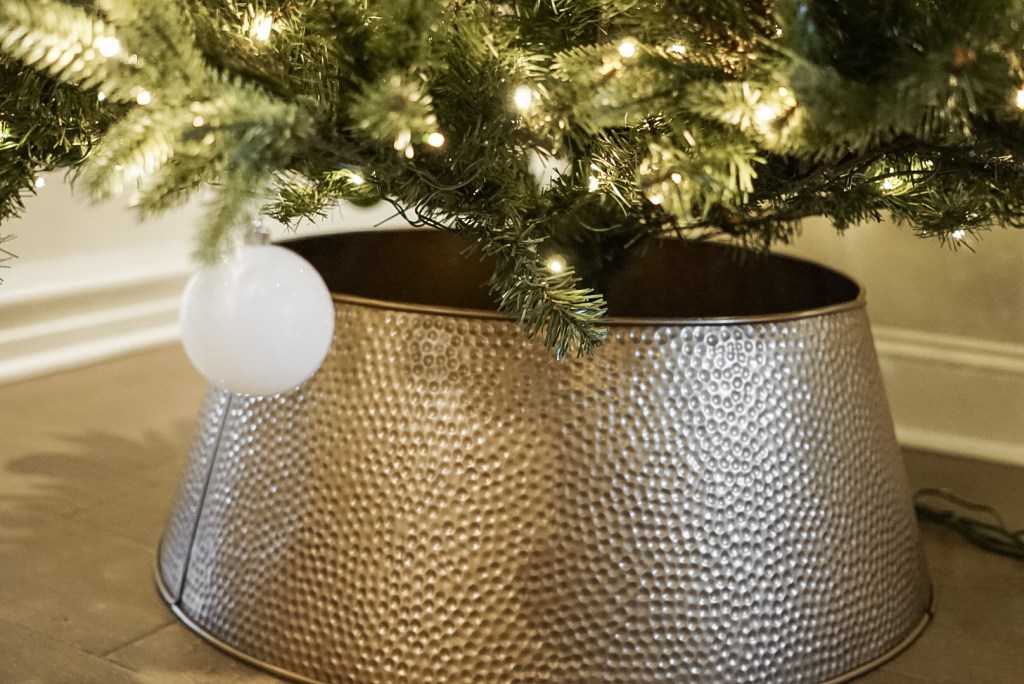
It might take a few tries to get all the wood situated perfectly, but once you do, you’ll see that it seriously makes all the difference!
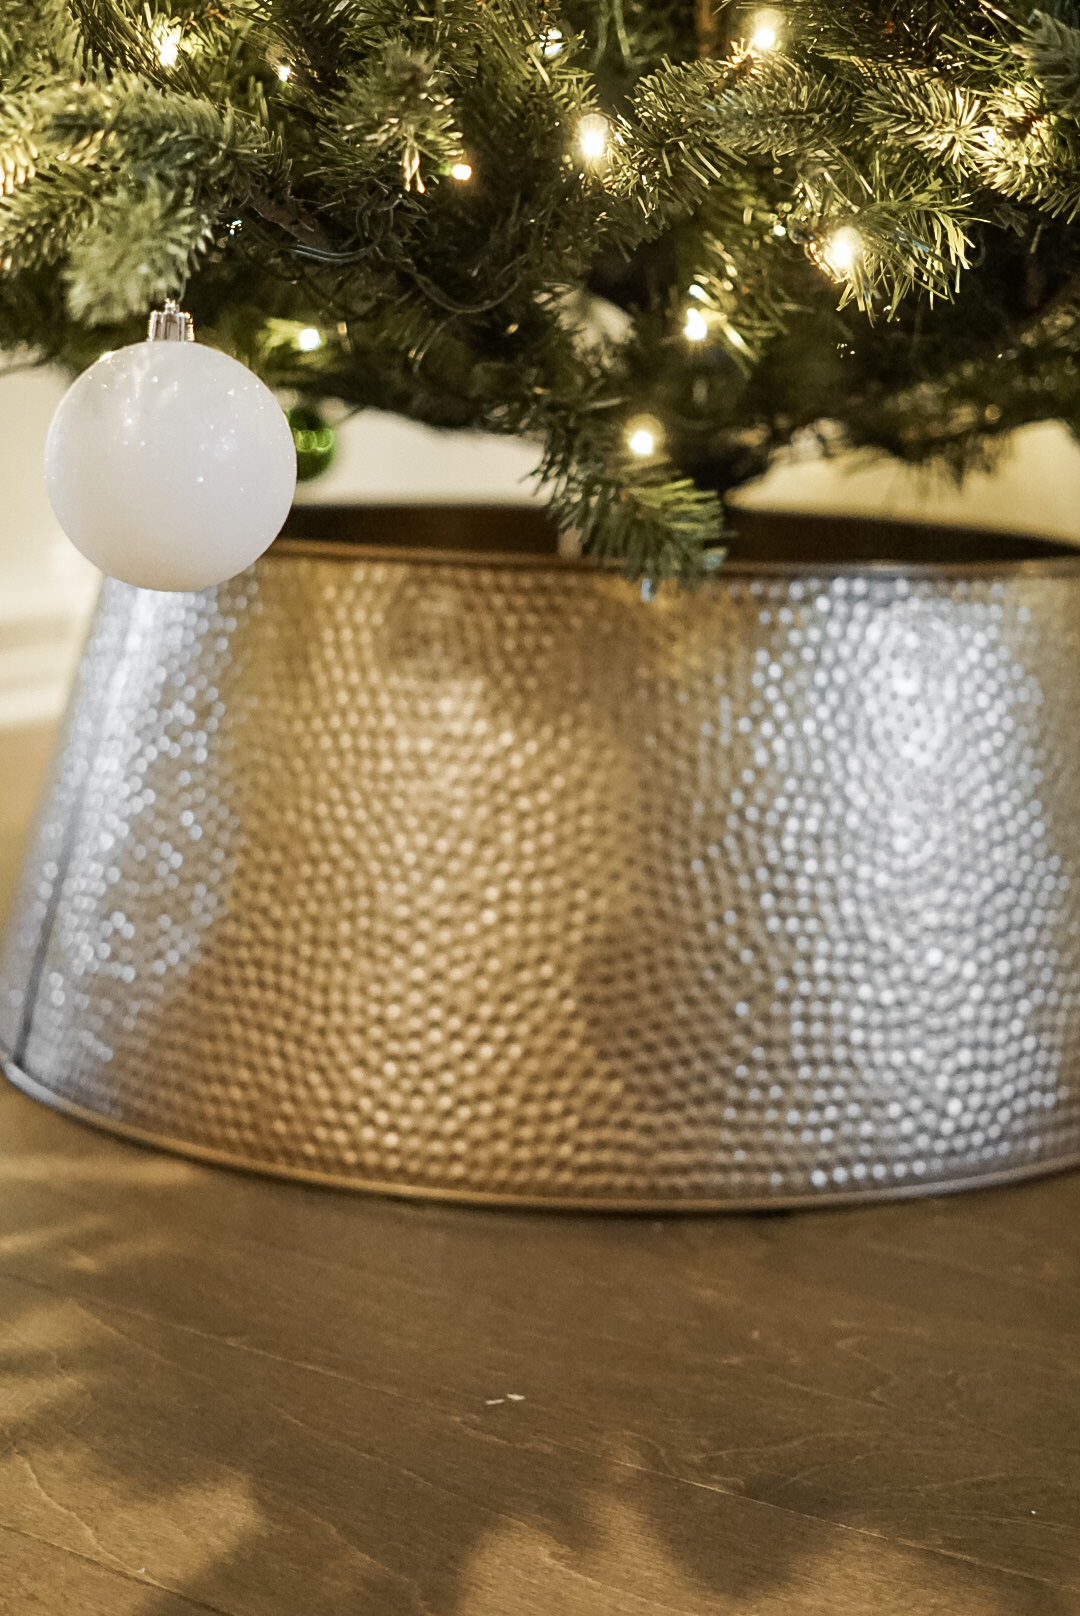
For reference, the bottom of our tree is just under 14″ from the floor, our tree collar is 10.25″ tall (and 26.5″ in diameter), and the wood scraps we used were roughly 18″ long by 2″ thick. It’s crazy what a difference 2″ can make in the overall look of the tree collar! Most standard lumber is 2″ thick, so if you find that 2″ isn’t enough to lift your tree collar up, you can always glue or nail two pieces of wood together to get a little more height!

Y’all. I seriously searched for hours online trying to find a way to get the look a wanted, and it was this easy all along. I know I’m not the only one on the tree collar struggle bus this year, so I hope this is helpful to you as you begin decorating your tree for Christmas!
I’d love to hear what you think, and if you have any other tree collar tips and tricks in the comments below! Thanks for reading, and happy decorating 🙂

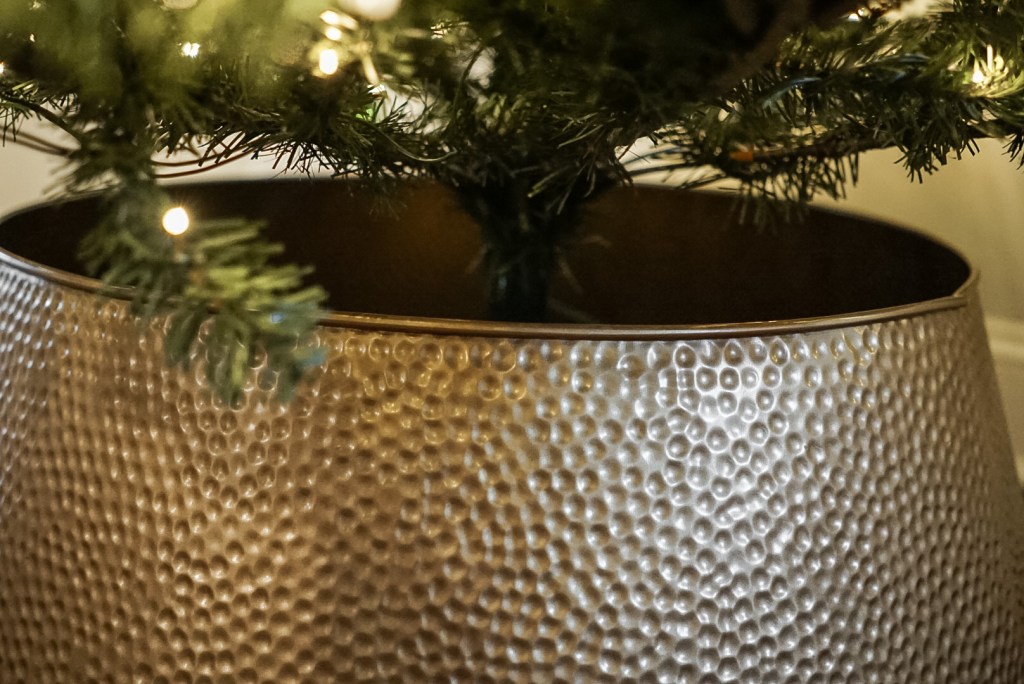
P.S., if you’re loving the hammered gold tree collar, be sure to read to my next post for all the details on this easy DIY designer dupe!

13 responses to “CHRISTMAS TREE COLLAR HACK: HOW TO MAKE YOUR TREE COLLAR TOUCH THE BOTTOM OF YOUR TREE”
[…] to find a tree collar that’s tall enough to fully cover the bottom of your tree, check out my previous post with a super easy trick to elevate your tree […]
LikeLike
[…] at resolving this issue. If you’re struggling with this as well, check out my blog post “Christmas Tree Collar Hack: How to Make Your Tree Collar Touch the Bottom of Your Tree”… for all the […]
LikeLike
Yes! Thank you! I thought I was crazy because this just wasn’t looking pretty! I don’t like a lot of the new Christmas ideas, but did like the look of the collars. I’m trying this fix tomorrow!
LikeLike
Awe yay!! I love hearing that this is helpful. I felt the same way when we first got our tree collar, so I hope this trick works for you! 🙂
LikeLike
Thank you! The look of the collar was great, but that gap between the top of the collar and the tree was driving me crazy. This is an awesome idea!
LikeLike
Awe thank you so much! I felt the same way when we got ours, and I couldn’t find a solution anywhere online, so I hope this was helpful! 🙂
LikeLike
I’m going to try this method on our work tree tomorrow. The collar sits on the rebar stand of our large fresh tree, making the collar look like it’s floating.
LikeLike
I hope this worked out for you! 🙂
LikeLike
I
LikeLike
Last year our collar worked fine. This year too many branches were cut off the bottom and the space and being able to see the stand is really annoying. I’m going to give this a try. Thank you!
LikeLike
Awe I hope this idea works for you! 🙂
LikeLike
Thank you! I got my collar and there was such a gap! I tried your idea and it works great!
LikeLike
Yay! I am so glad this worked for you!! 🙂
LikeLike