Is it just me or have Christmas decorations started popping out earlier and earlier each year? It’s only the second week of November and Christmas decor is already selling out at Target and TJ Maxx. Anyone else constantly trying to catch some of the Studio McGee Christmas line in stock at Target? 🙋♀️ It’s seriously like a treasure hunt every time I go now.
For the past few weeks, I’ve been on the hunt for an affordable and realistic Christmas garland to hang on our mantel. I’ve seen SO many beautiful garlands on Etsy, Afloral, and McGee and Co, but when you need 10-12 feet of garland, the prices add up fast! So, I did what any DIY lover would do and made one myself! This DIY garland was easy, affordable, and a complete game changer for our Christmas mantel decor. Keep reading for all the details!
Disclaimer: Some links contained in this post are affiliate links. That means that if you click on the link and purchase an item, I get a small percentage of that sale at no extra cost to you. As an Amazon Associate I earn from qualifying purchases. Please know that products and brands recommended here at stay home style are products that I use, love, and trust.
WHAT YOU NEED
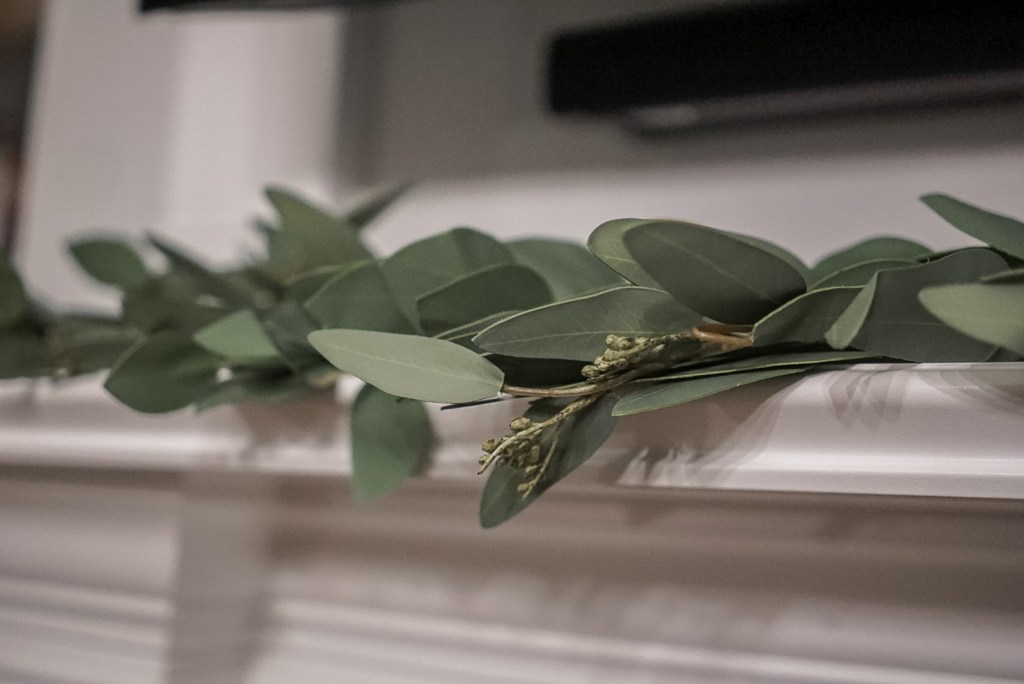
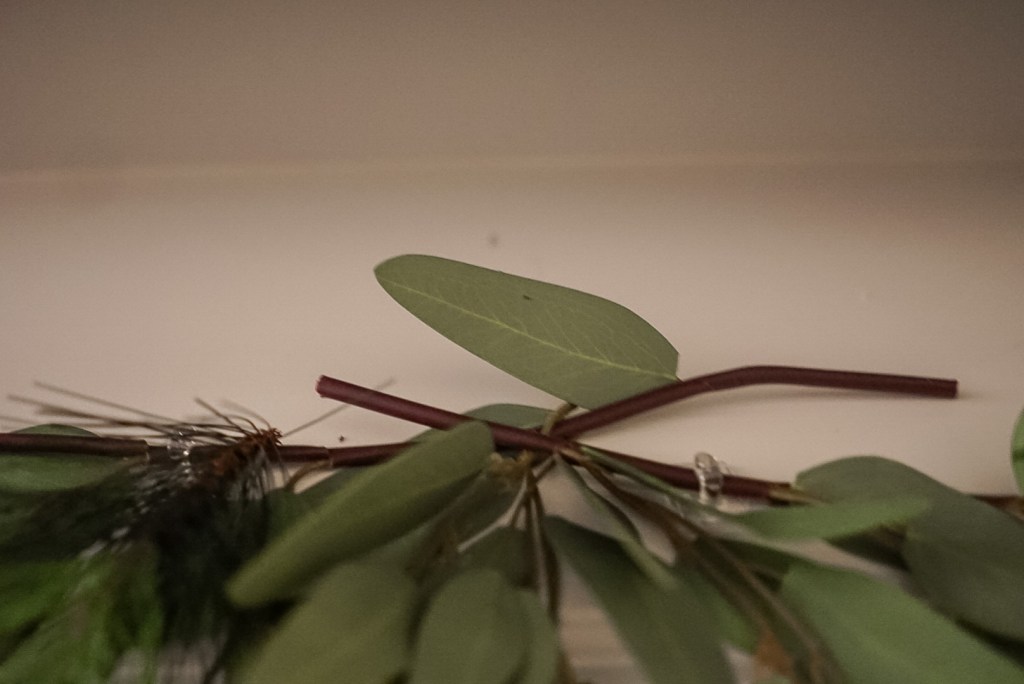
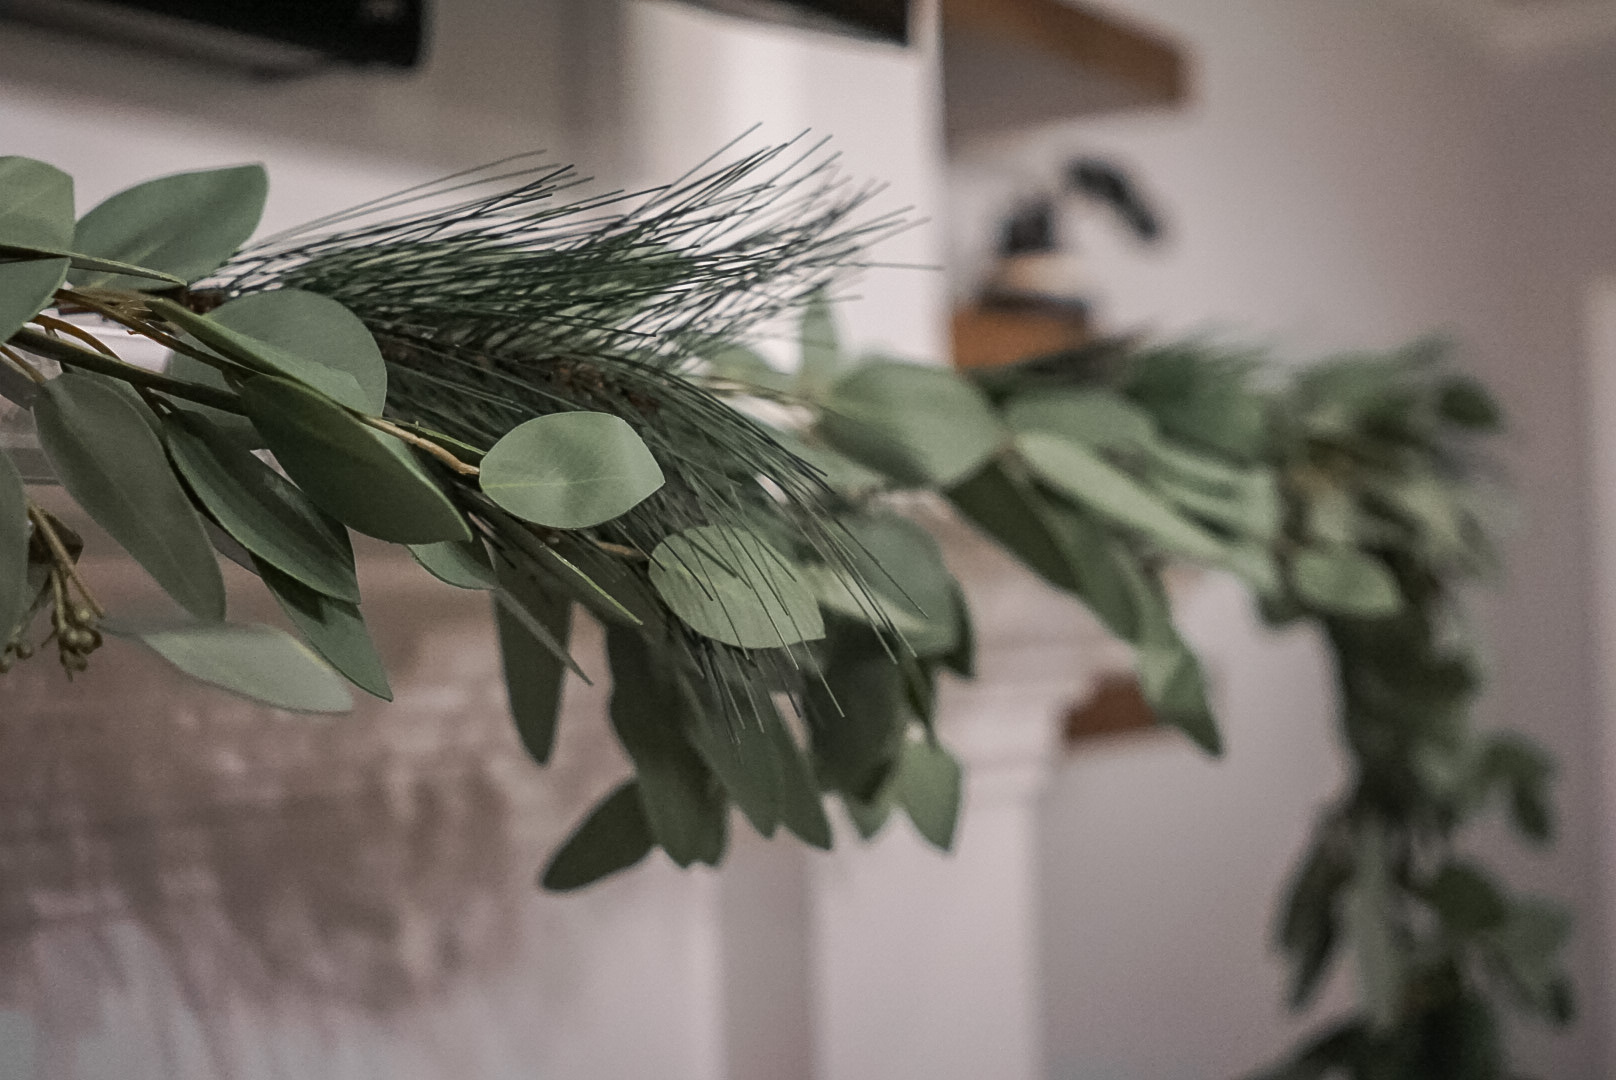
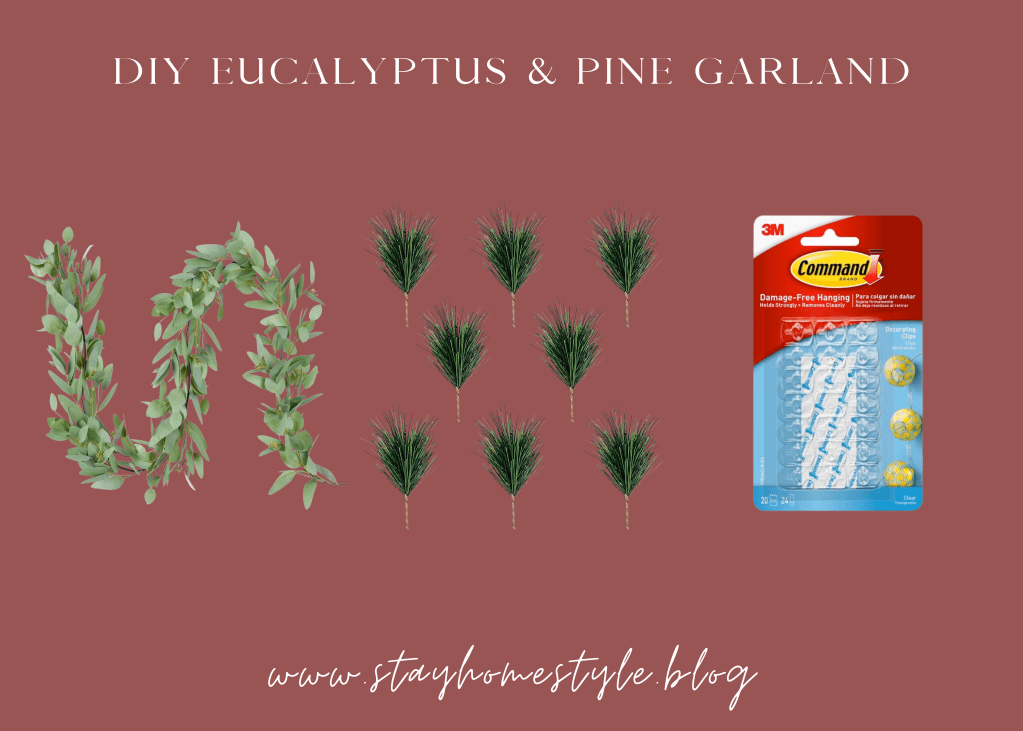
- Garland. There are lots of options to choose from, but I decided to go with this seeded eucalyptus garland. It is so beautiful, affordable, and easy to work with. Each strand is 5 feet long, so I decided to get 2 to cover the length of my mantel with a little overhang on each side.
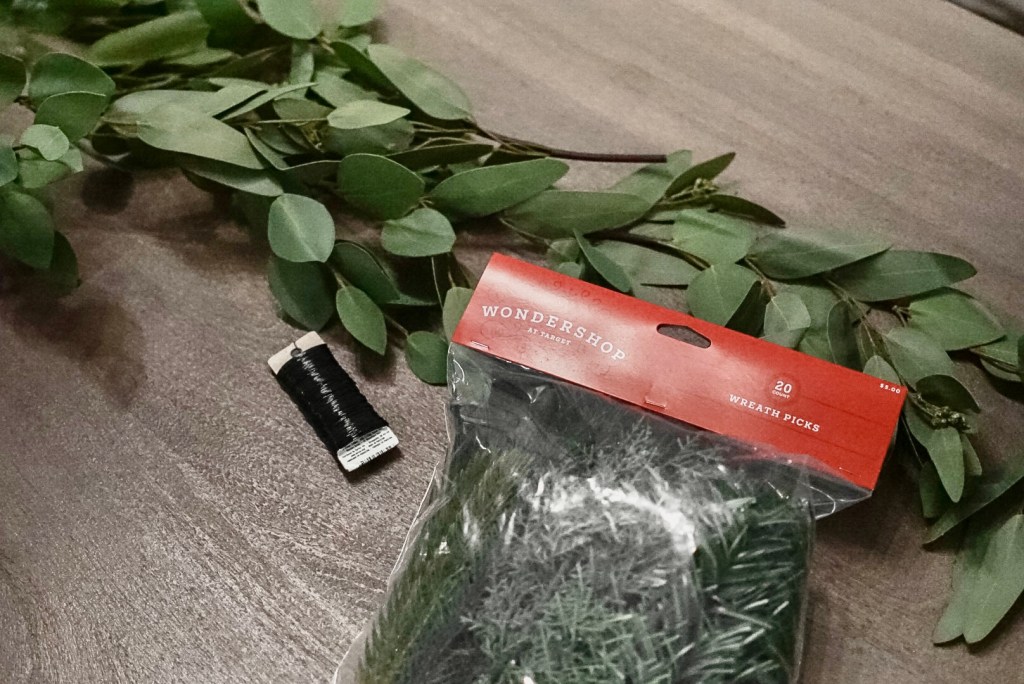
- Pine Stems. These are what really add that Christmas vibe to the plain eucalyptus garland. There are lots of options to choose from when shopping for pine stems, but this 20ct Mixed Greenery Set from the Target Wondershop was perfect for this project, and only $5! Unfortunately, Target no longer sells it, but this 30ct set of pine stems from Amazon would work great as well!
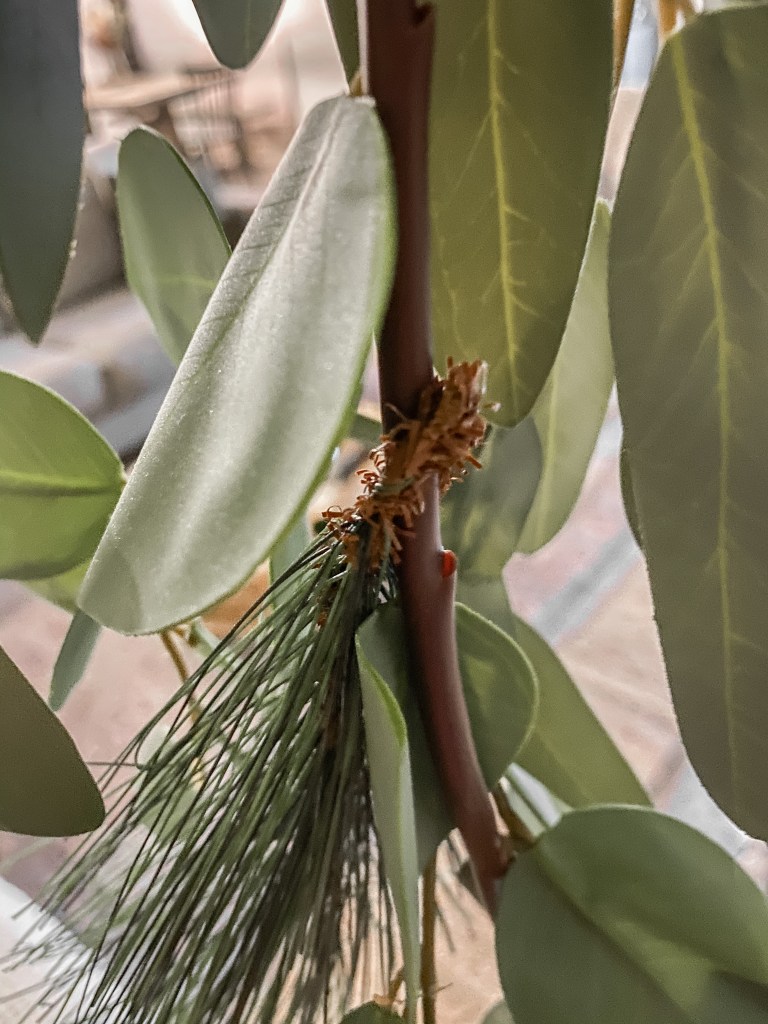
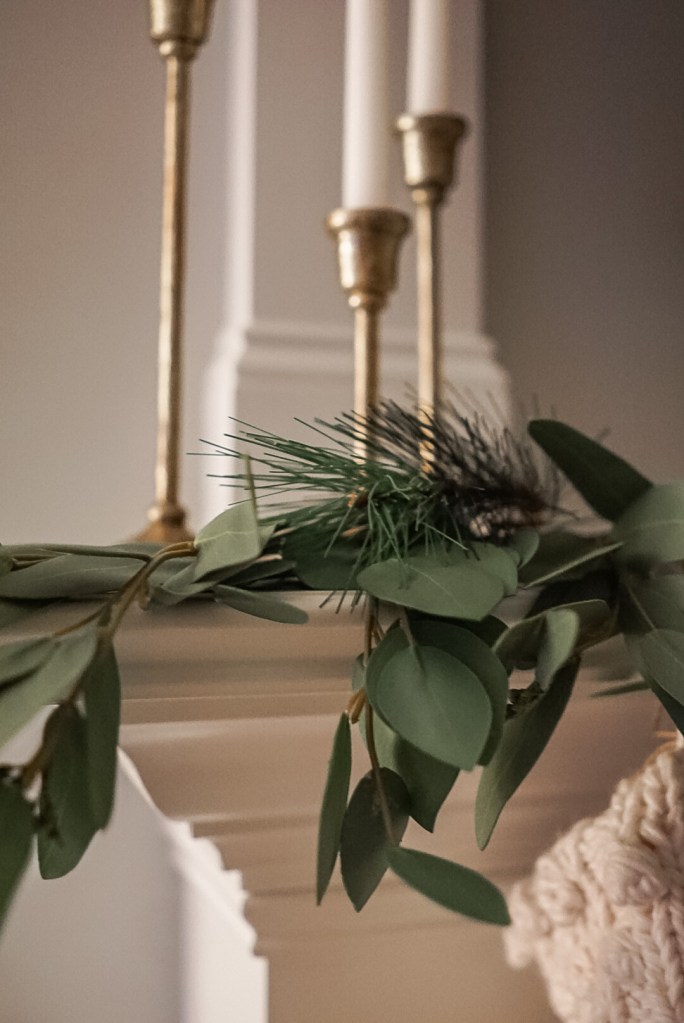
- Floral Wire. This is optional. I ordered it to attach the pine stems to the eucalyptus garland, but the stems I used (shown in the third photo above) were bendable and easy to attach on their own. If you want to add different types of stems, you might need some wire like this.
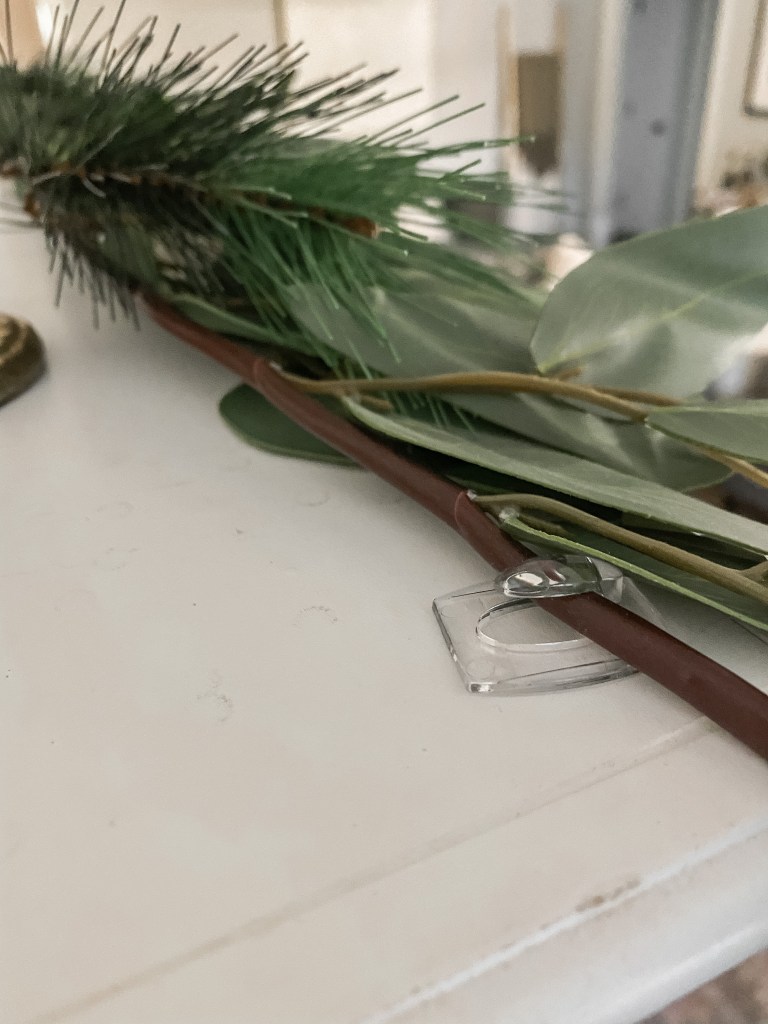
- Clear Command Hooks. These are what I used to attach the garland to the mantel. They won’t damage your paint and are essentially invisible once you hang the garland!
HOW TO GET THE LOOK

Honestly, this is probably the easiest DIY I’ve ever done. I think the hardest part is finding a realistic and affordable garland to serve as the base! Luckily, a plain eucalyptus garland usually isn’t labeled as “Christmas” garland, so it’s easier to find one for a good price this time of year.
If you’re ordering your garland online, you will probably need to let it lay or hang to fluff out a bit from being packaged up and shipped. I hung our strands on a pants hanger in our laundry for a couple of days, fluffed out the leaves, and it was ready to go!
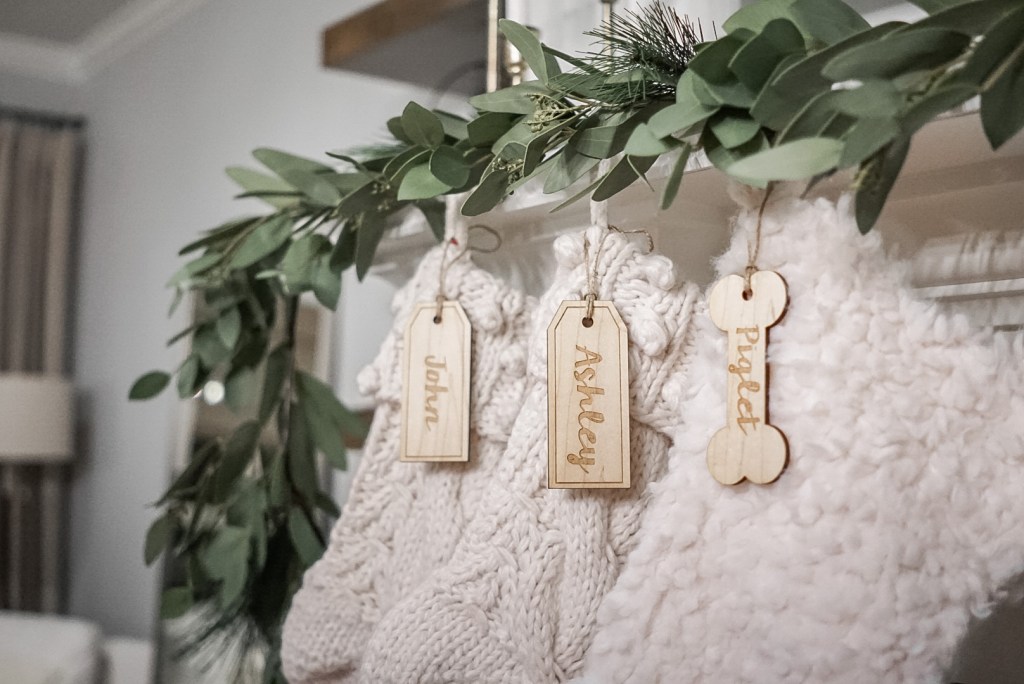
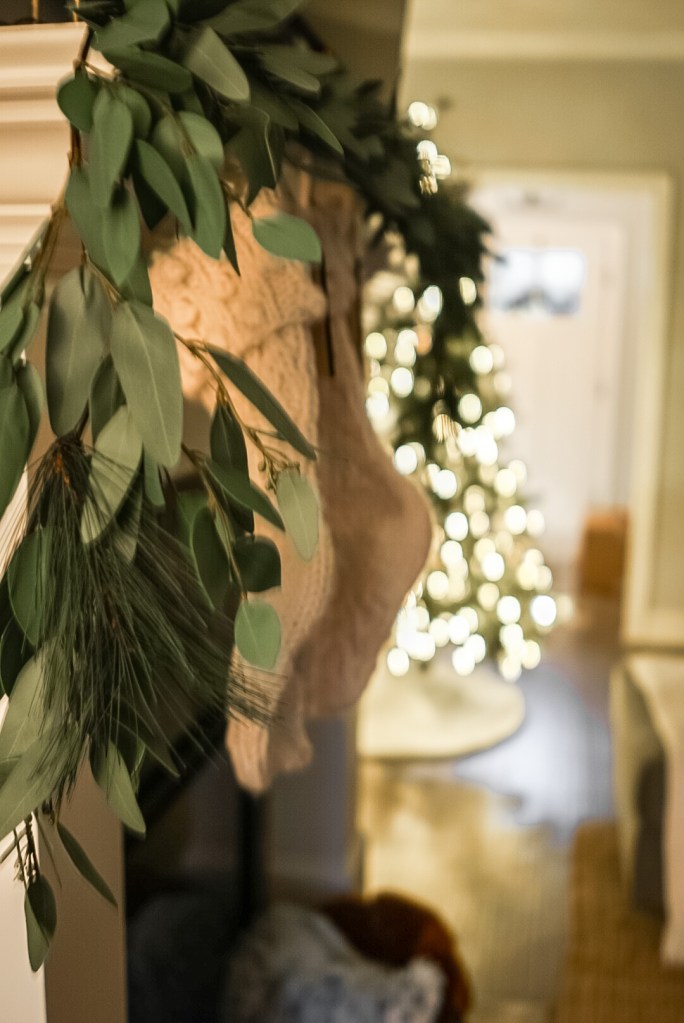
Once your garland is fluffed and ready to go, the next step is hanging it on your mantel. To me, it’s a lot easier to evenly space your pine stems if the garland is already in place. There are so many ways to hang your garland, but I really wanted to go for a clean and simple look with a little bit of overhang on the sides. Since our mantel is just over 6 feet long, we connected two garlands together with command hooks in the center of the mantel, and spread more hooks across the mantel to hold the rest of the garland in place.
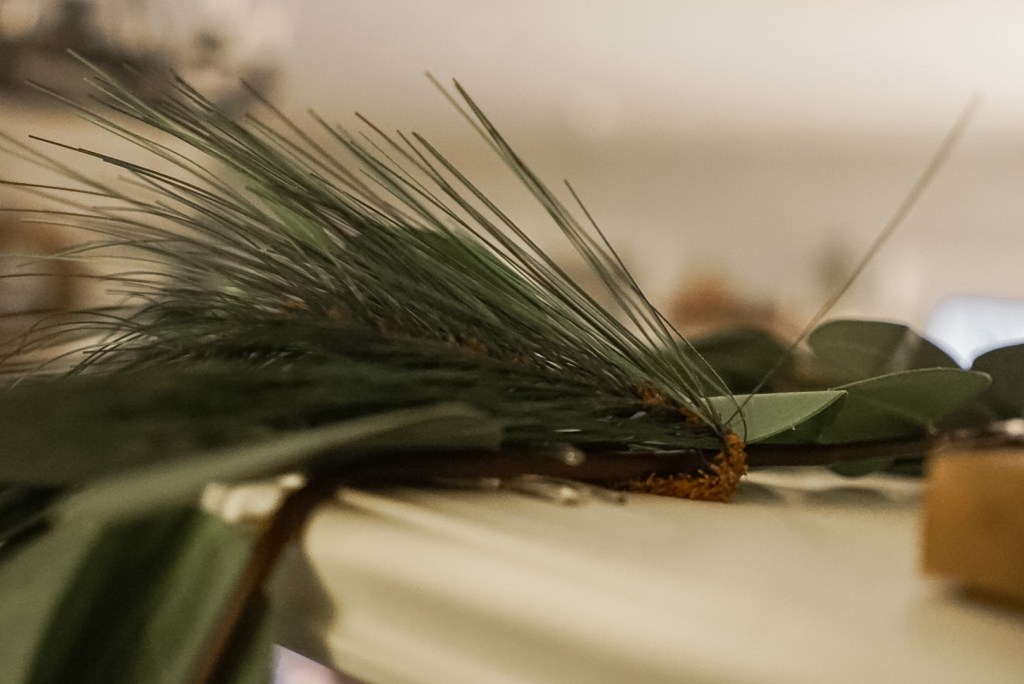
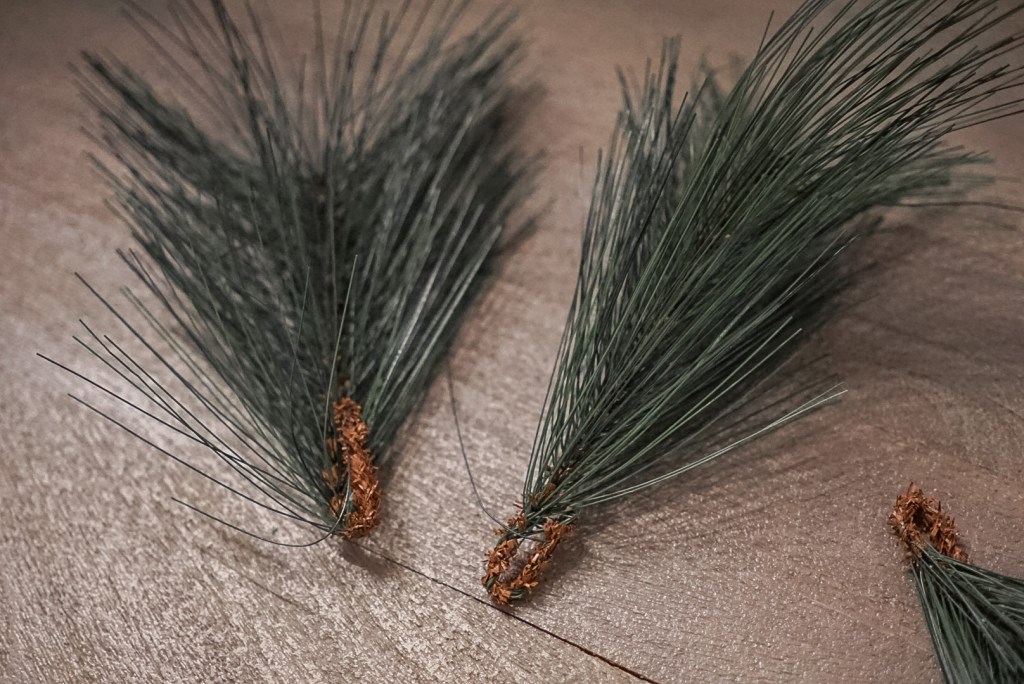
Once I had the garland secure and in place, I started adding the pine stems! The 20 count pack from Target that I mentioned earlier came with four different types of stems, but I chose to only use the fluffy pine needles. These particular stems were perfect for this project because they have a bendable, pipe-cleaner like stem that was easy to attach to the garland without the need for floral wire. They also are very full, so they add great dimension to the eucalyptus! As an added bonus, they are easy to remove, allowing you to use your eucalyptus garland year round if you wanted to!
For reference, I used all 8 of this type of stem that came in the set, and evenly spaced them across the two garlands. If you wanted your garland to be fuller, you could add some of the other types of stems, or buy a second pack to get more of these fluffy pine needles!
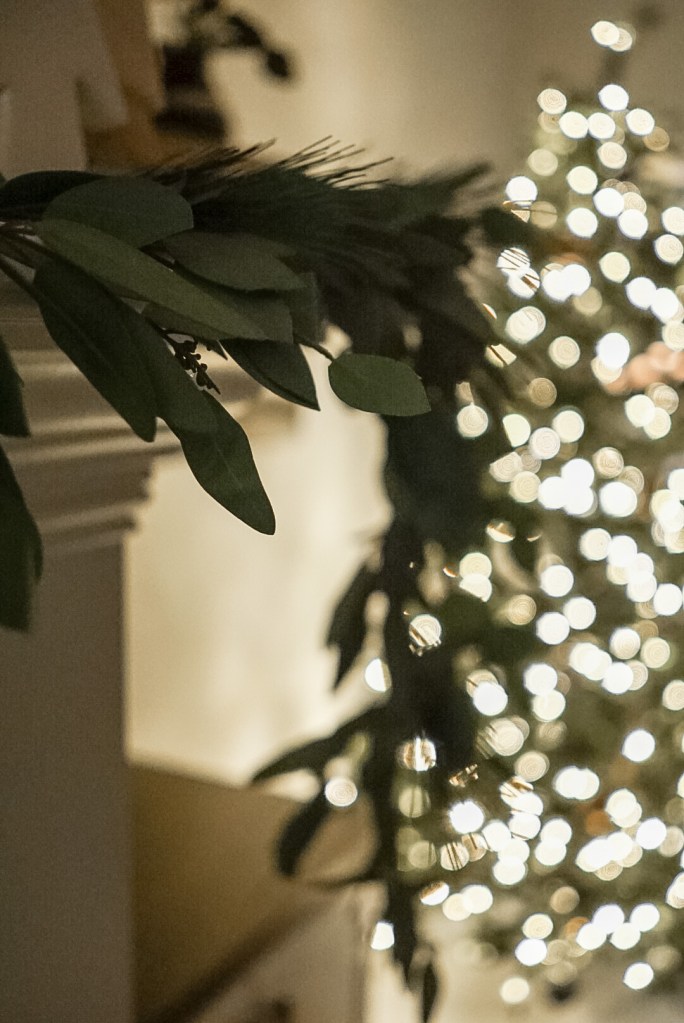
That’s pretty much all there is to this DIY garland! It’s easy, affordable, and the end result is so beautiful. I really love the look you get from mixing the modern eucalyptus with the traditional, classic pine!
I hope this DIY is helpful and inspiring as you start decorating your mantel for the most wonderful time of the year! I’d love to hear your thoughts in the comments below!
SHOP
I’ve noticed this garland has been going in and out of stock lately (and I totally understand why!), so I have found 3 different Amazon sellers that sell the exact same garland! I will include links to these listings below so you have options if you run into problems with out of stock items:
garland #1 // garland #2 // garland #3 // pine stems // command hooks
