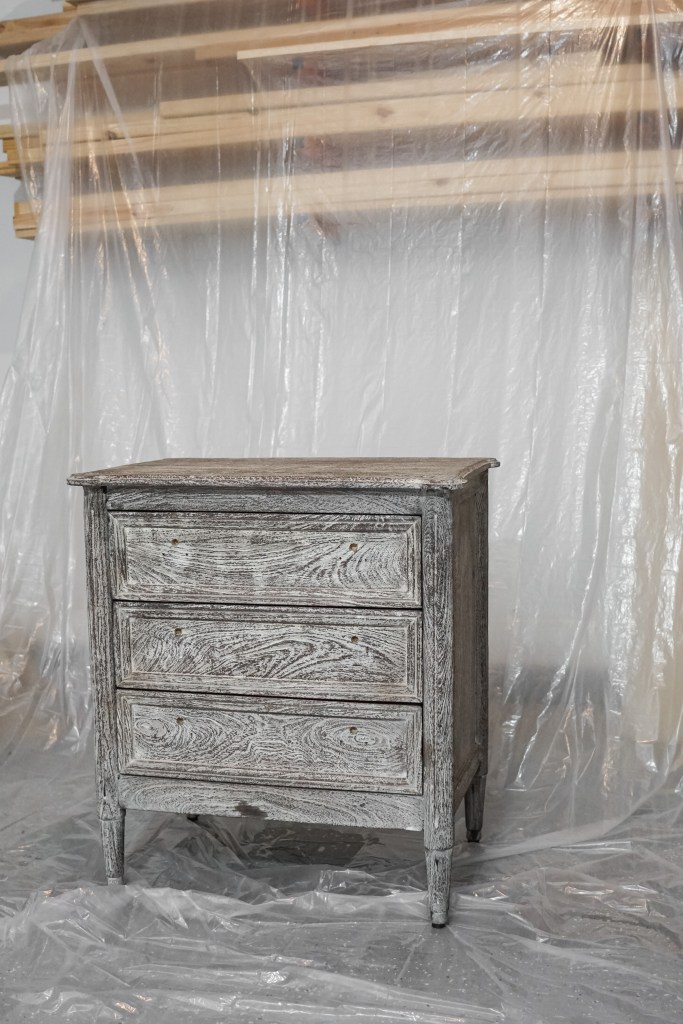
If you’ve stumbled upon this post, I can only assume that you’ve been on the hunt for the perfect modern traditional nightstands that are high quality, yet somewhat affordable, and, in your search, you’ve come across the Anthropologie Washed Wood nightstands quite a few times. They have the perfect modern traditional look, with gorgeous details, intricate brass hardware, plenty of storage, and are a great size and height. Additionally, they have a semi-affordable price tag (relative to other pieces of a similar style and quality) , especially during one of the regular furniture sales Anthro runs throughout the year. The downfall of these nightstands, however, is the color options: oreo blizzard (aka natural) or a distressed shabby chic blue (aka indigo).
If you’ve been eyeing these nightstands, but have been refraining from adding them to your cart because of the color options, let me just say that I FEEL YOU. I came back to these nightstands so many times, but I never could make the splurge because I knew that I didn’t love either of these color options. So on I went, continuing to search for the perfect modern traditional nightstands. I kept hoping that I would come across the perfect vintage pair on Facebook Marketplace or at an antique store, but after months of waiting and searching, what I ended up stumbling upon was none other than one of THE Anthropologie washed wood nightstands that I had been eyeing for so long!

During Memorial Day weekend (which also happened to be the weekend of one of Anthro’s 20% off furniture sales), I came across one of these nightstands on Facebook Marketplace for $250. I know, I know…not cheap… not really a steal… but still much cheaper than retail (even during a sale). So, despite the not so great oreo blizzard color, I decided to message the seller and see if it was still available. To my excitement, it still was, so I went to pick it up that very same day! My thoughts were that, I could bring the nightstand home, decide if I thought it could be painted, and if so, I would order its match while they were on sale, and if not, I would just resell it again on Marketplace. No harm, no foul right?
So… spoiler alert!! I decided they were paint-able, and I ordered a second one that weekend. With the 20% off sale, I was able to get it for $358… but I had to pay shipping. Anthropologie generally offers free shipping on orders over $50 if you sign up for their loyalty program, but unfortunately for furniture, they charge a flat rate of $149. I did check our local store and call around to other ones nearby to see if any of them had it in stock, but I didn’t have any luck, so I ended up just paying for shipping. This put us right around $750 total for both nightstands, which is A LOT, I know… but let me show you why I was okay with paying that price.

From left to right, top to bottom:
one // two // three // four // five // six
Above are a few of of my top picks that I continued to come back to for inspiration in my search for the perfect nightstands. Almost every single one retails for more than what I paid for BOTH anthro nightstands + shipping. Not to mention that a majority of these have additional shipping costs added on top of the price shown above.
So while $750 is no small amount, I do believe these nightstands were worth that price, and that they compare well in both quality and style to some much more high end pieces.
So, without further ado, let’s jump into how to paint these Anthropologie washed wood nightstands to achieve that neutral, modern traditional look!

Disclaimer: Some links contained in this post are affiliate links. That means that if you click on the link and purchase an item, I get a small percentage of that sale at no extra cost to you. As an Amazon Associate I earn from qualifying purchases. Please know that products and brands recommended here at stay home style are products that I use, love, and trust.
First, let me start by saying that painting brand new Anthropologie furniture was SCARY. To spend that much on furniture with the sole intent to make them into a DIY project is definitely a little intimidating. So intimidating, in fact, that I put it off for months after the second nightstand was delivered 🙈
I debated writing this blog post to be honest with you, because there really wasn’t a lot to say about the process: you buy the paint, you spray it on, and BAM, you have painted nightstands! While there are obviously tips and details I’ll share with you about the process, the ultimate goal of this blog post is not to give you a spray paint tutorial, but to give you some encouragement and peace of mind that you CAN spray paint these nightstands, they WILL turn out beautiful, and you are NOT crazy for wanting to paint Anthropologie furniture.
I scoured the internet looking for this sort of encouragement and reassurance before we painted the nightstands, and came up empty handed as far as finding a blog post or tutorial from someone else who had painted these exact ones. I did, however, stumble upon an Instagram post that featured a white nightstand that was shockingly similar to these… all the way down to the grooves in the legs!
So obviously I sent Molly over at heyfeatherstone a message asking her about the nightstands and, wouldn’t you know it, they were the SAME EXACT ONES! She told me that she also painted over these washed wood nightstands (which turned out amazing) and this gave me so much reassurance in my decision, which was exactly what I needed!
So, if you’re looking for encouragement, reassurance, a sign that you can do this, or anything else of the sort, I hope this post does that for you.
And if you’re looking for all the tips, tricks, and details from my experience painting these, let’s get to…
DOING THE DANG THING
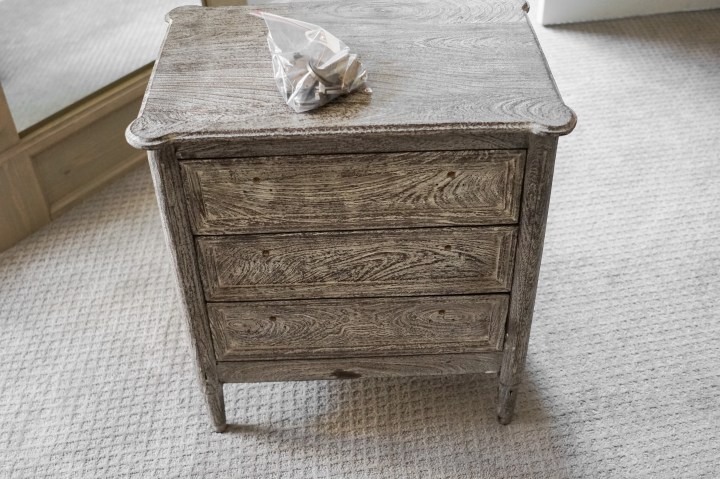
So the first thing I did was remove the hard ware from the nightstands. At first glance, I was worried these were not going to be removable, but they are indeed attached by some tiny little screws! I would recommend placing all the pulls and screws in a Ziploc until you are ready to reattach them so you don’t lose one while you’re painting.
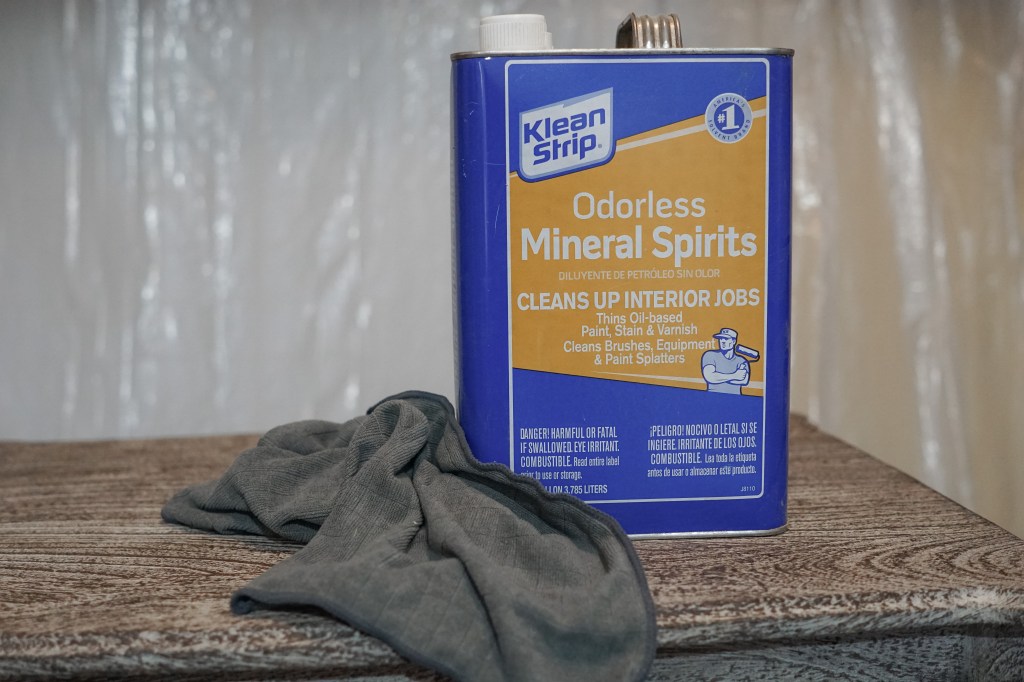
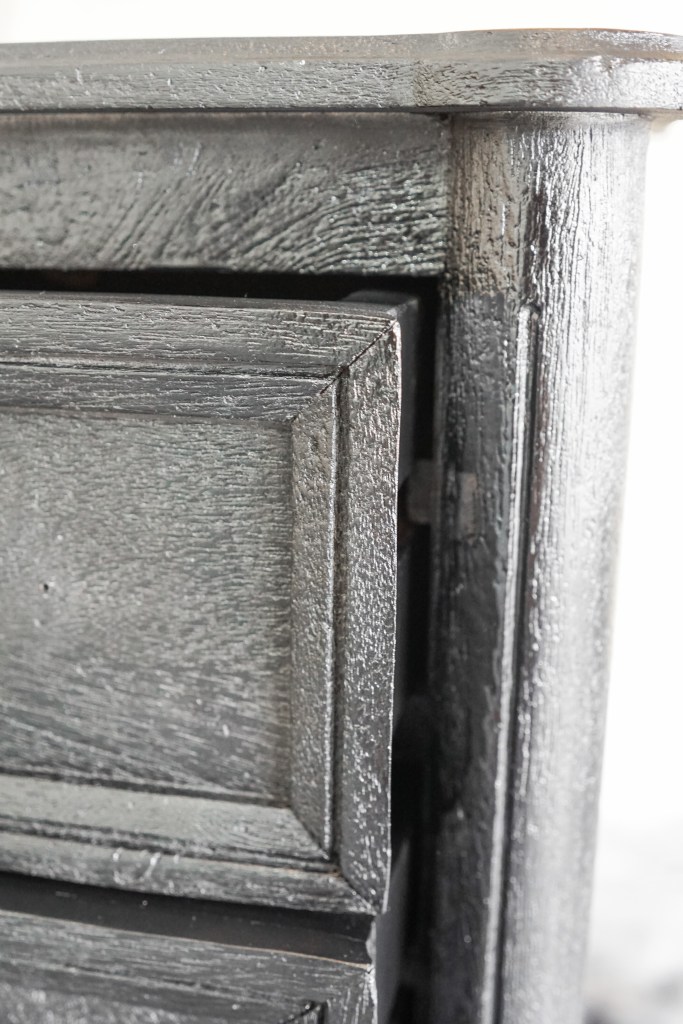
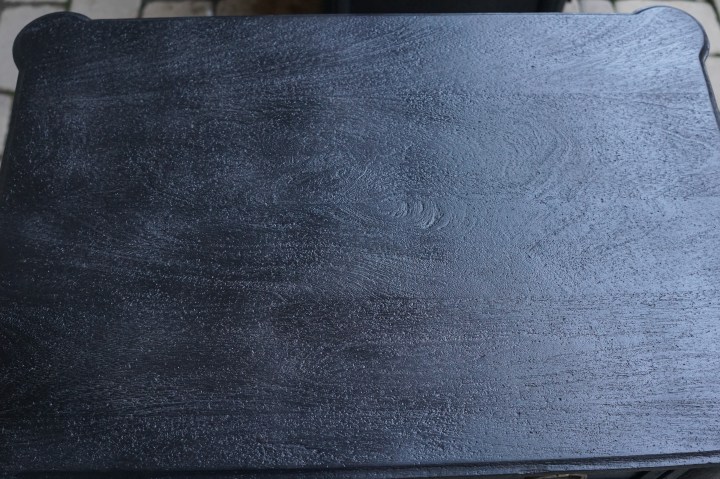
The next thing I did was wipe down the nightstands with mineral spirits. These nightstands are very textured, and we had been using them as is for a couple of months, so I wanted to make sure I removed any dirt, oil, or dust that may have gotten into the grooves and crevices to ensure a smooth paint finish.
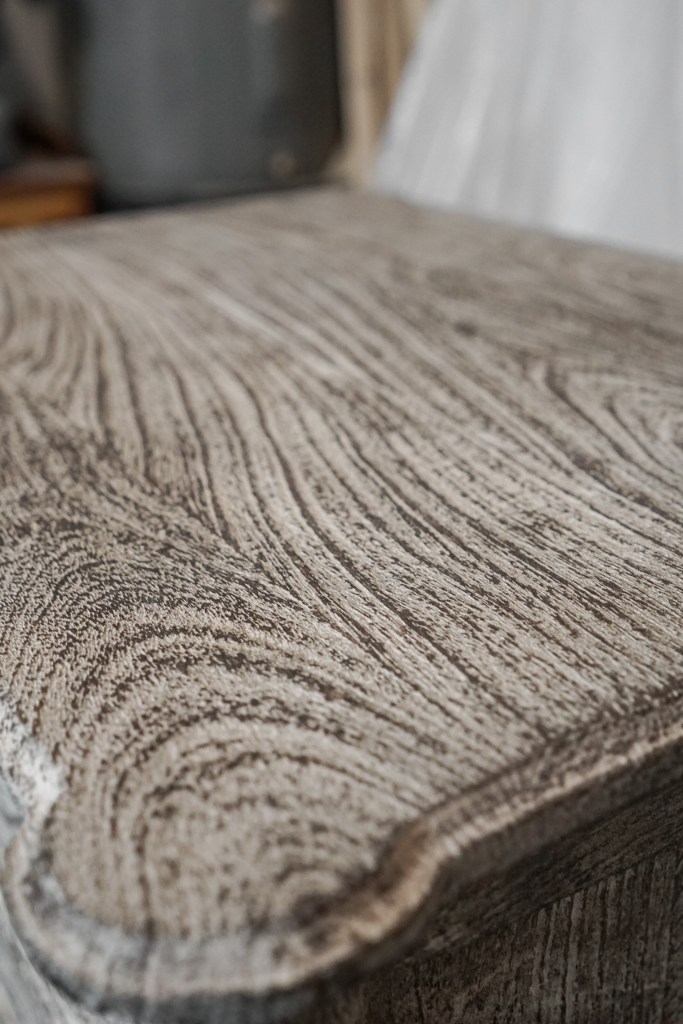
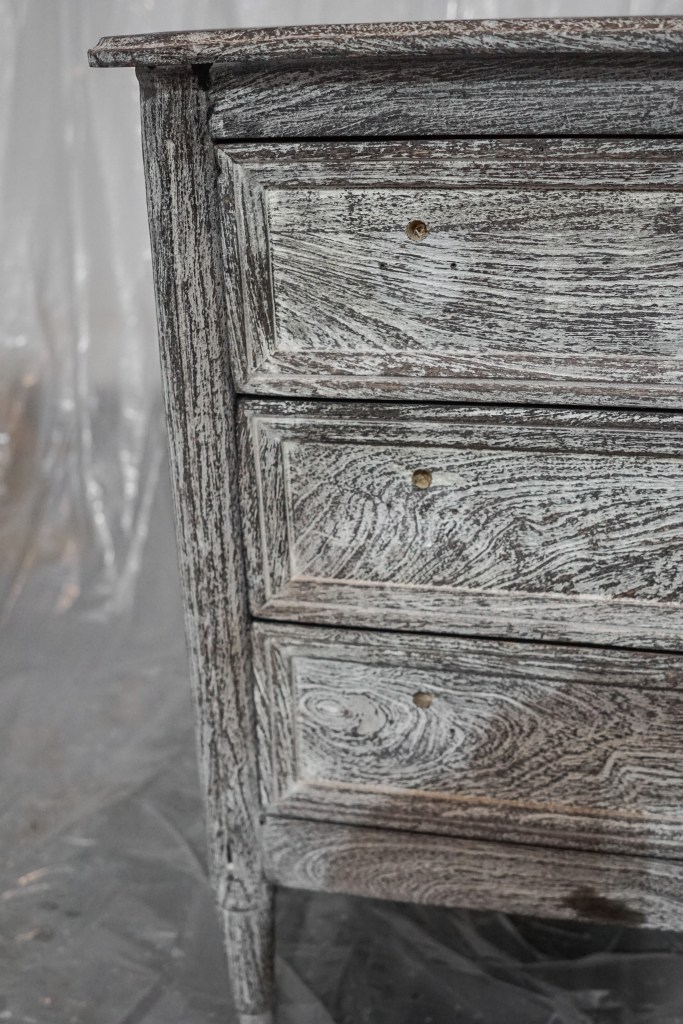
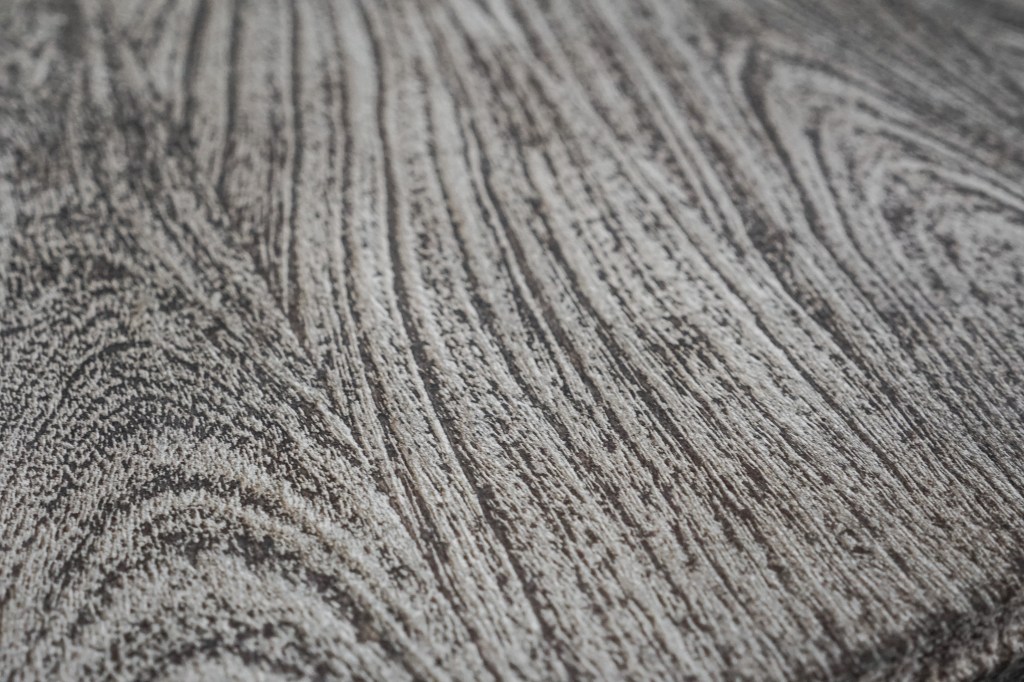
Since they are so textured and rather rough (see images below), I did not do any other prep work, such a sanding, and I had no problems with the paint I used adhering to the wood.
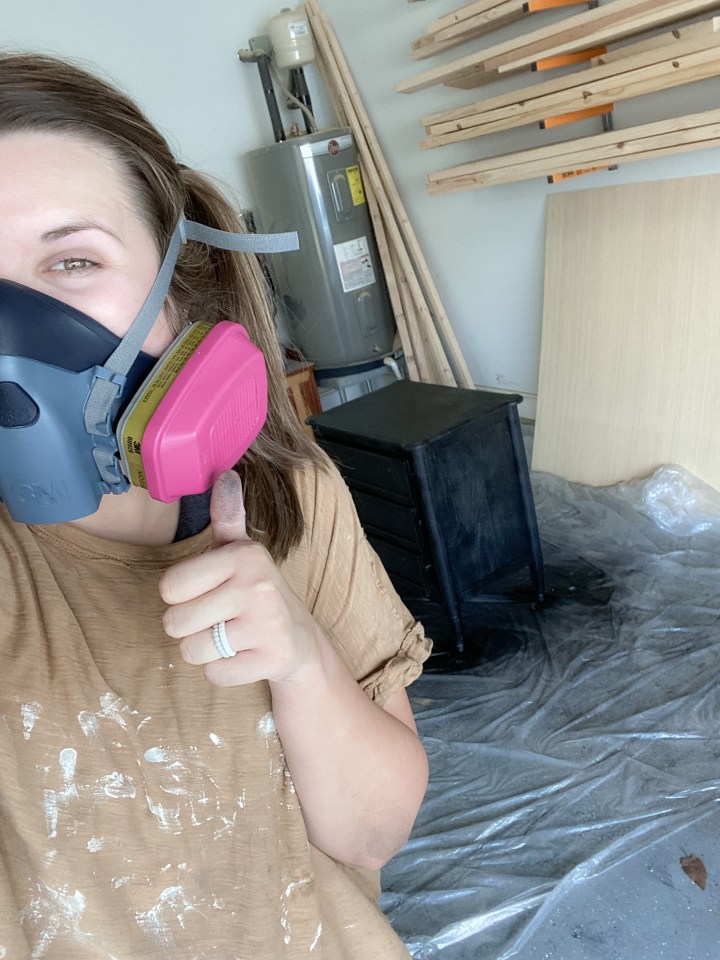
While I let the mineral spirits dry, I set up a plastic drop cloth in our garage to try to keep the paint splatter to a minimum. If you can do this outside in a completely open space, I would recommend doing that instead, but since we don’t really have a yard, we tend to do most of our painting and DIY projects in the garage.
Something I want to point out here is how I didn’t smooth out the drop cloth under the nightstand, and how the plastic is bunched up around the legs. This caused me some issues during my first coat of paint, because the plastic got stuck to the bottom of the legs, so, if you’re using a drop cloth, make sure to smooth it out underneath your nightstands before painting.
Whether you’re spray painting inside a semi open space (like a garage with the door open), or out in the open, it’s a good idea to use a respirator to help with the fumes. We have this 3M one and it is super easy to use and fairly comfortable (or as comfortable as a giant thing on your face can be 😆).
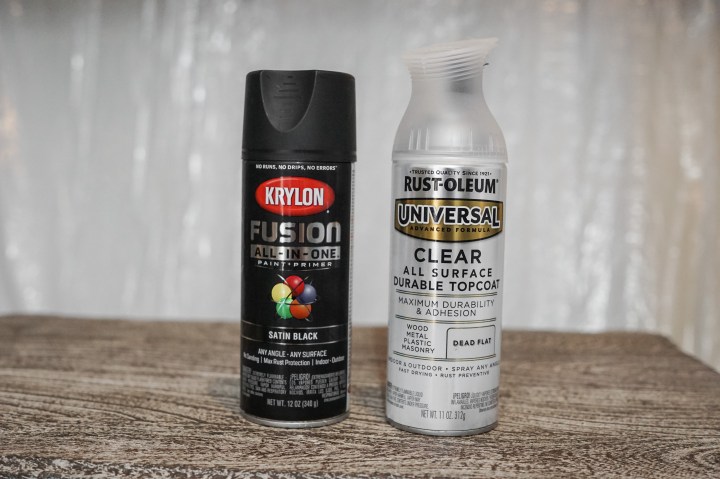
And speaking of spray paint, let’s talk about the ones I used for this project: Krylon Fusion All-in-One Paint and Primer in Satin Black and Rustoleoum Universal Clear All Surface Topcoat in a Dead Flat finish. I used two 12oz cans of the satin black, and one 11oz can of the clear topcoat to paint both nightstands. This allowed me to do two coats of the black paint, and one coat of the clear.
As another option, I want to mention that Molly over at heyfeatherstone told me that she actually brushed on the paint rather than using a spray paint on hers. So if you prefer to use a brush or roller, or want to use a color that isn’t readily available in a spray paint form, using a regular can of paint is totally an option for these!
For the first coat of black paint, I tried to do a very light layer to avoid any streaks or drips, and to just get a nice base layer of black covering the current finish.

This first coat was a little bit splotchy, but it dried fairly quick, and provided the perfect base for the second coat.
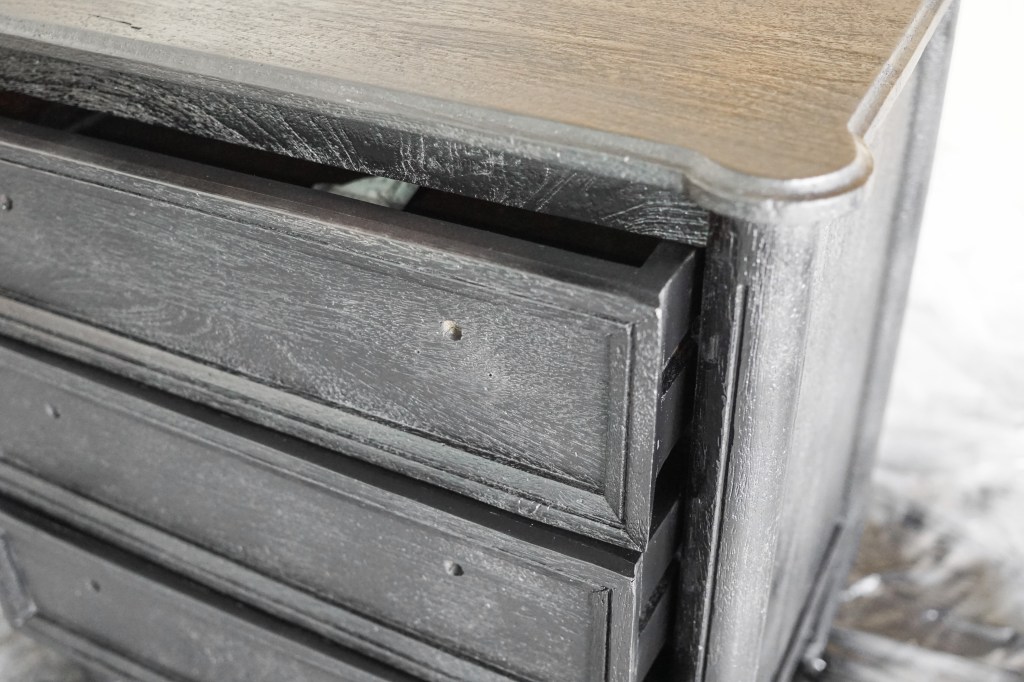
When I painted the first nightstand, I only opened the drawers a little bit, just so they wouldn’t get painted shut. On the second one, however, I pulled them out further and staggered them a bit so I could be sure to get in-between all the edges of the drawers and the legs, as well as the tops and bottoms of each drawer face.
Once the first coat of paint had completely dried, I went in with the second coat, doing my best to get smooth, even layers. This spray paint went on very easily, and had a lot of coverage, so it was definitely easier than I expected to get that smooth finish. Additionally, the texture of the wood made it easy to blend, so I didn’t have any problems with streaks.
Once I applied the second coat and let it dry, I went over the entire piece with the dead flat clear finish. This finish isn’t necessarily a requirement, but it definitely will help protect the top surface, which will get a lot of use in a primary bedroom. I wanted a very matte finish on our nightstands, but you could opt for a glossy top coat if you wanted a finish with a little bit more sheen!
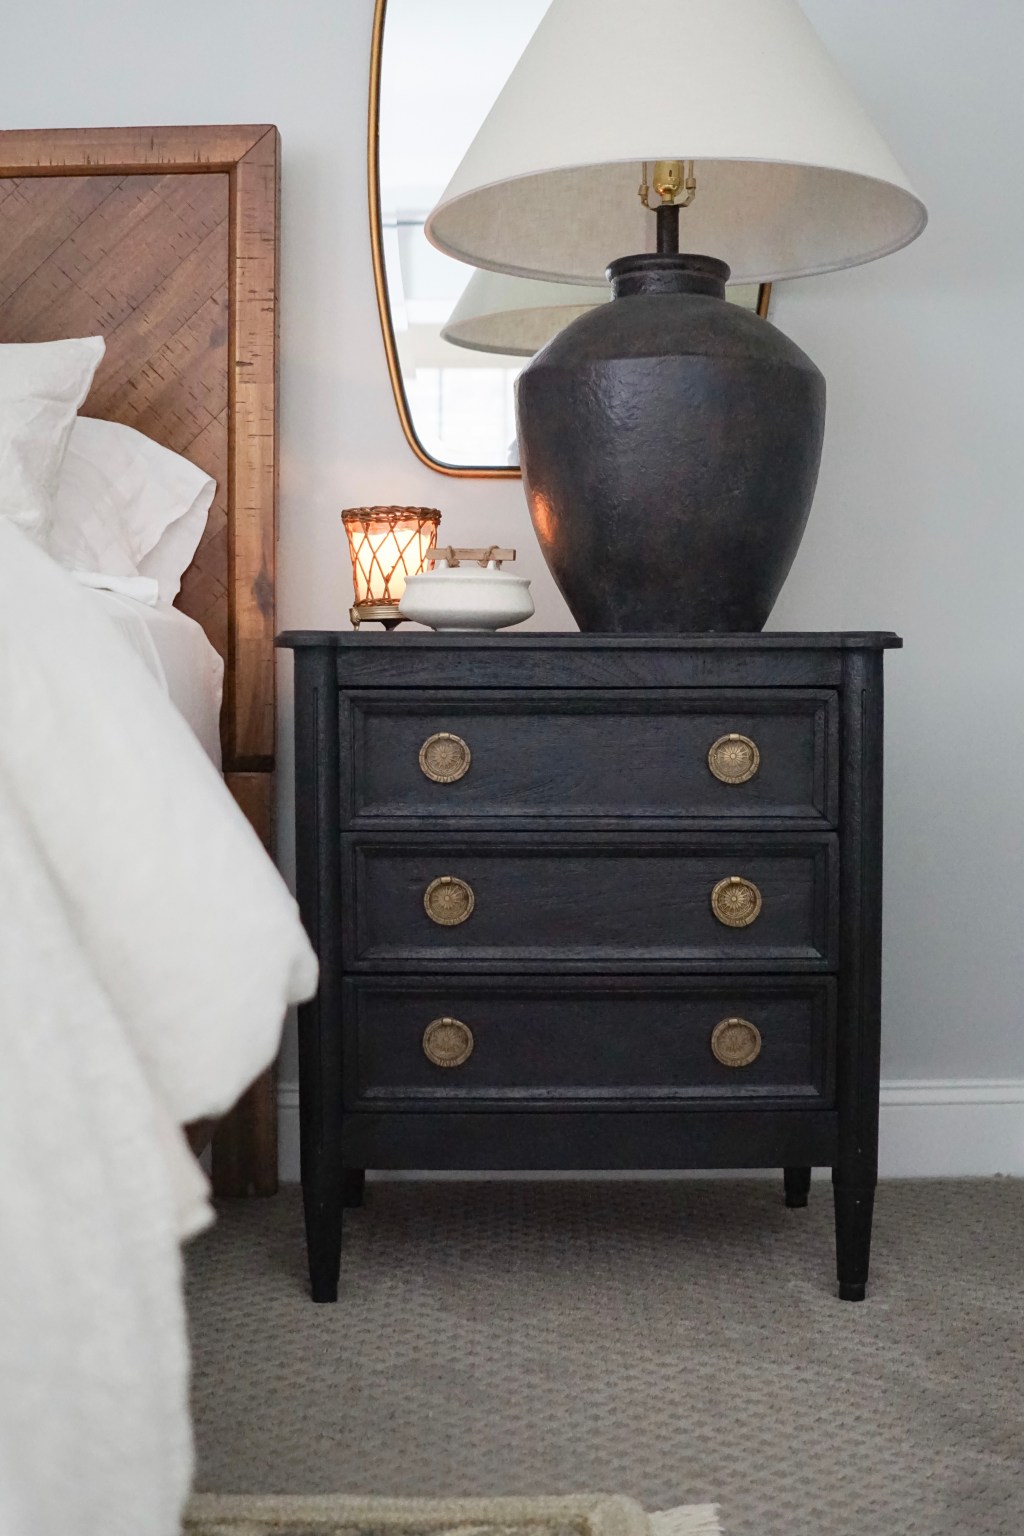
After the top coat had been applied, all we had to do was reattach the hardware and this Anthro nightstand flip was complete!
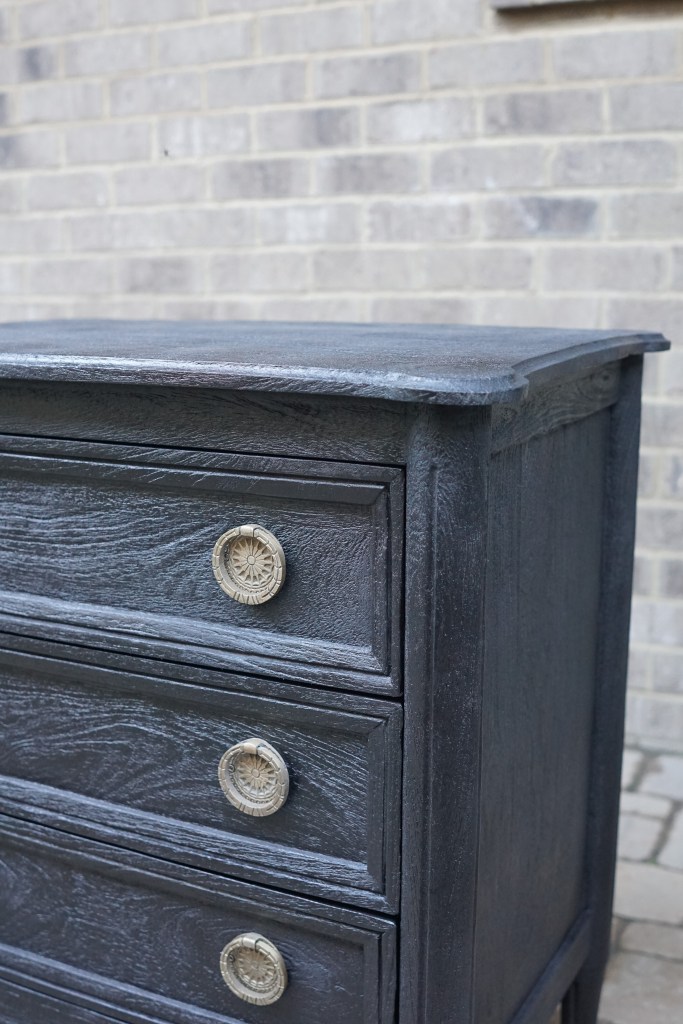
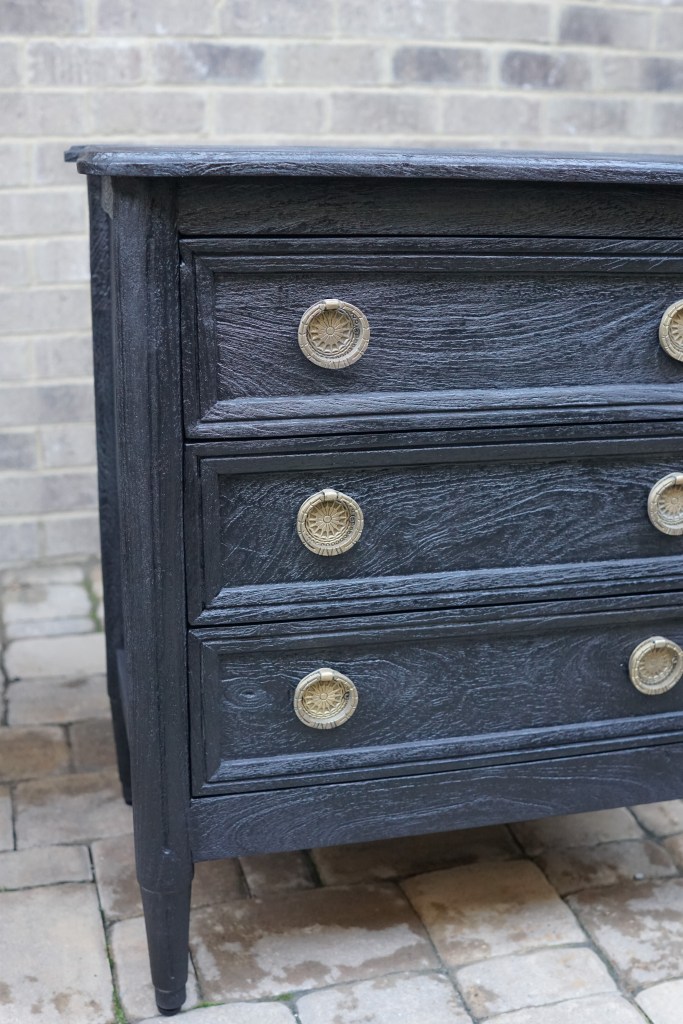

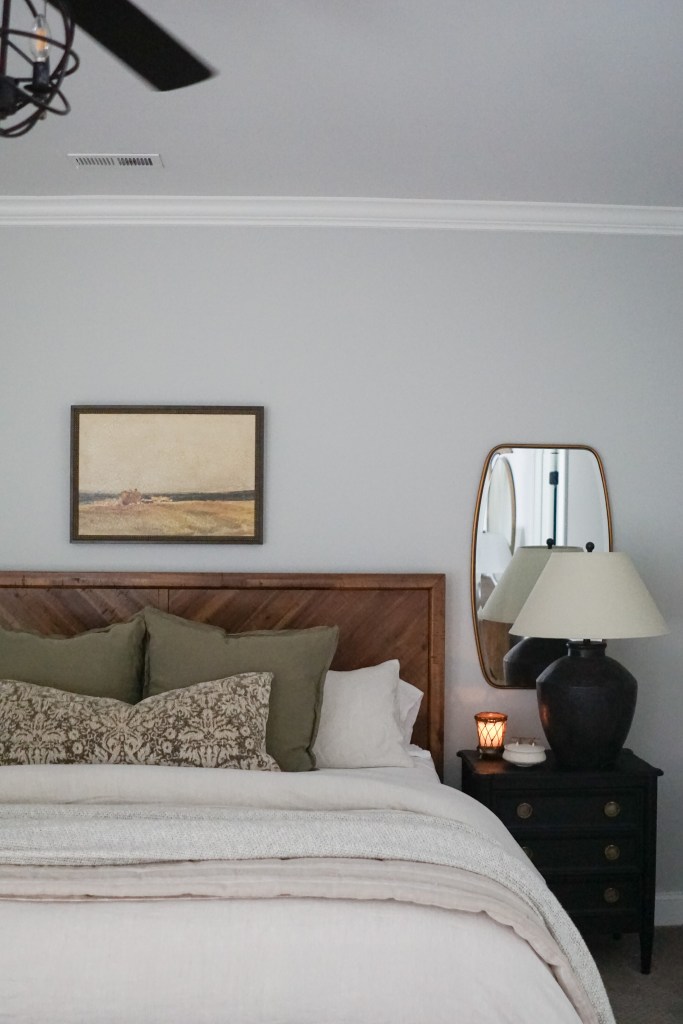
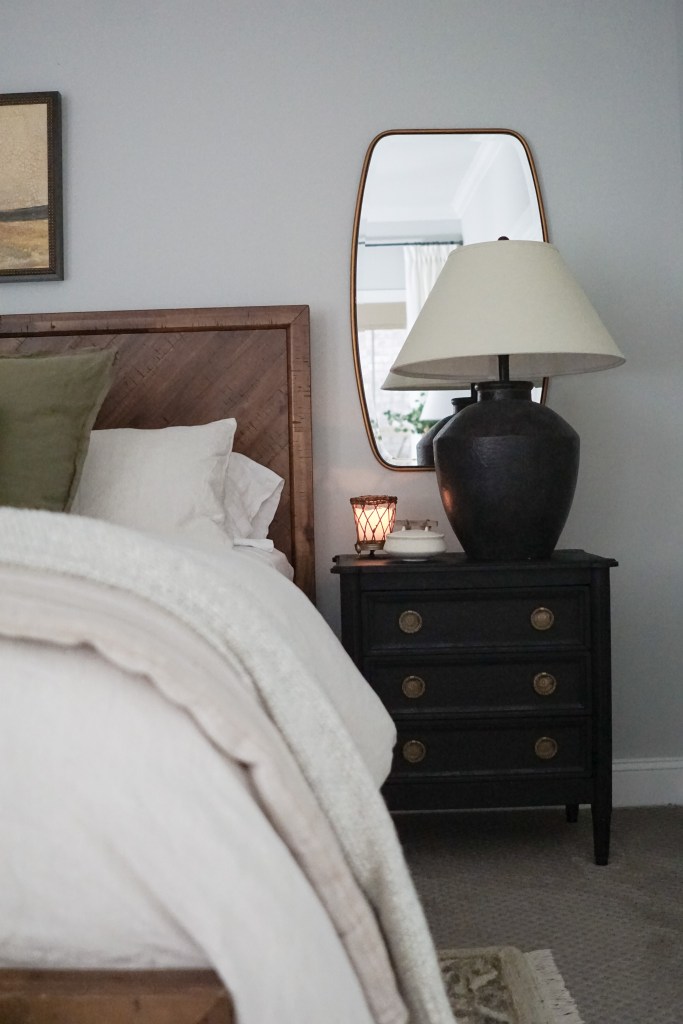
So that’s all there was to painting these Anthropologie washed wood nightstands. We’ve been using them for three months now, and we absolutely love them. They are the perfect height for our bed, provide us with so much functional storage, and the finish has held up so well so far (no chips or flaws in the paint). I love how you can still see all the details and the wood grain through the paint too — it just gives them such a high end look!
I hope this blog post gave you all of the tips, tricks, encouragement, reassurance, and whatever else you were looking for when you stumbled upon it! If you give this a try, I would love to hear about it in the comments below 🙂
Thank you for reading!

One response to “HOW TO SPRAY PAINT ANTHROPOLOGIE’S WASHED WOOD NIGHTSTANDS TO ACHIEVE A NEUTRAL, MODERN TRADITIONAL LOOK”
[…] worth splurge and the work IMO, and I documented the process of spray painting the nightstands in a separate blog post that you can read if you’re interested. Just click the image below to check it […]
LikeLike