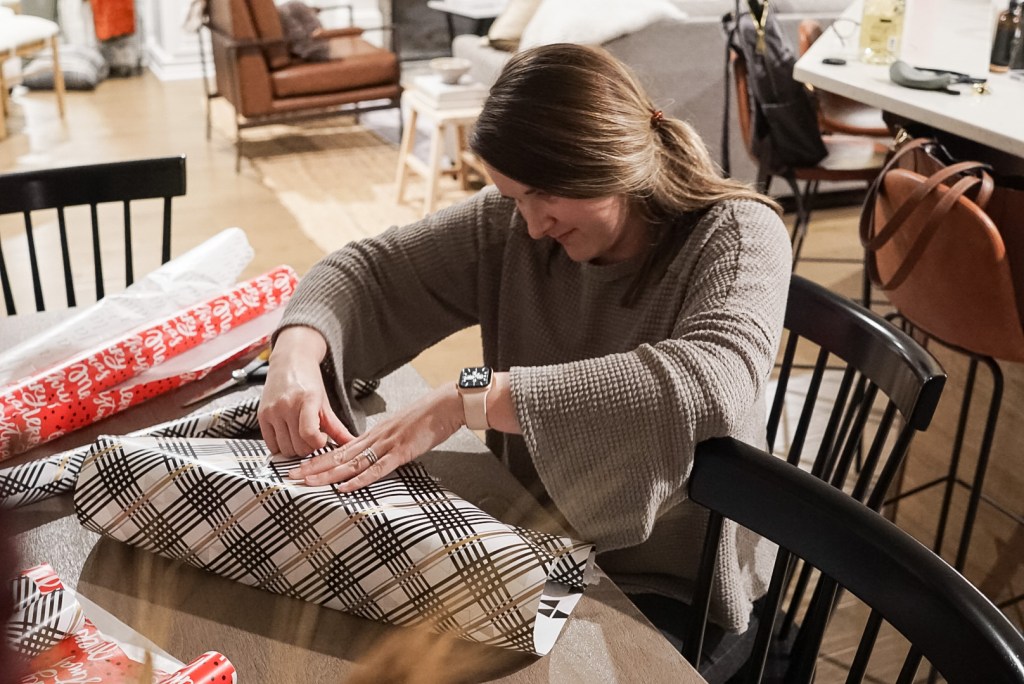
I’ll be honest , wrapping presents kind of snuck up on me this year! I’m usually ahead of the game with most things, but with just a few days left until Christmas, I’m just now wrapping up (haha, get it?) wrapping presents!
Since I put off wrapping until the last minute, I didn’t have a lot of time to go out and buy new wrapping paper, ribbons, and bows, so I decided to use what I had on hand and make it work. Maybe next year I’ll plan ahead so I can jump on the brown kraft paper and velvet ribbon train (y’all know neutrals are the way to my heart), but I have to say, I’m really happy with how this not so neutral Christmas wrapping paper theme turned out! In this post, I’m going to give you three last minute gift wrapping tips to work with what you have and create a beautiful, cohesive look underneath your tree!


Disclaimer: Some links contained in this post are affiliate links. That means that if you click on the link and purchase an item, I get a small percentage of that sale at no extra cost to you. As an Amazon Associate I earn from qualifying purchases. Please know that products and brands recommended here at stay home style are products that I use, love, and trust.
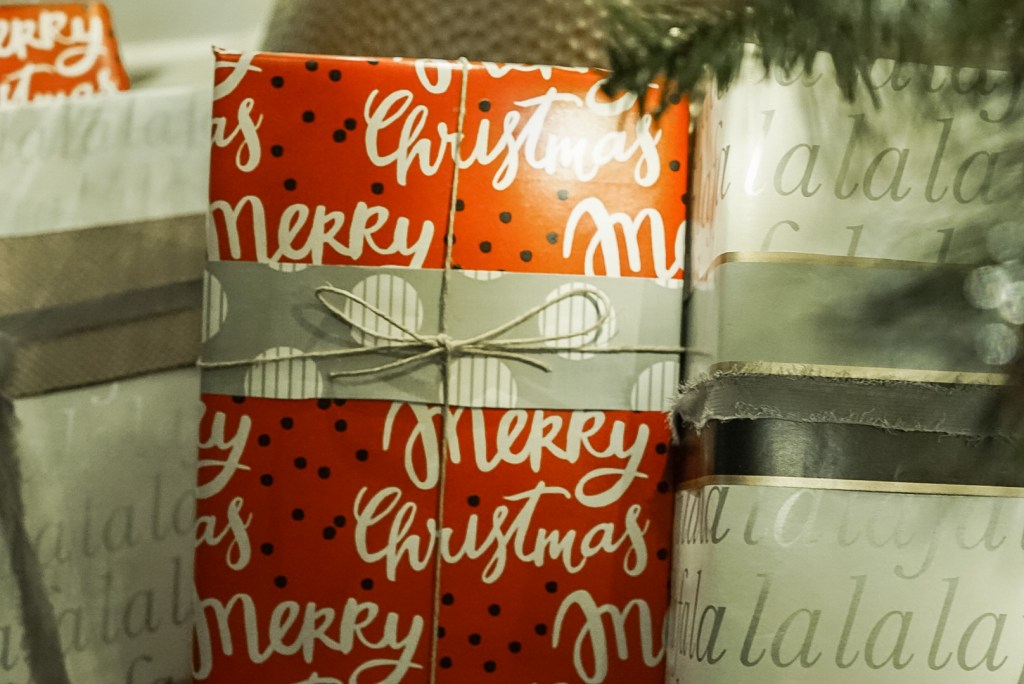
1. CHOOSE TWO OR THREE COORDINATING WRAPPING PAPER PATTERNS

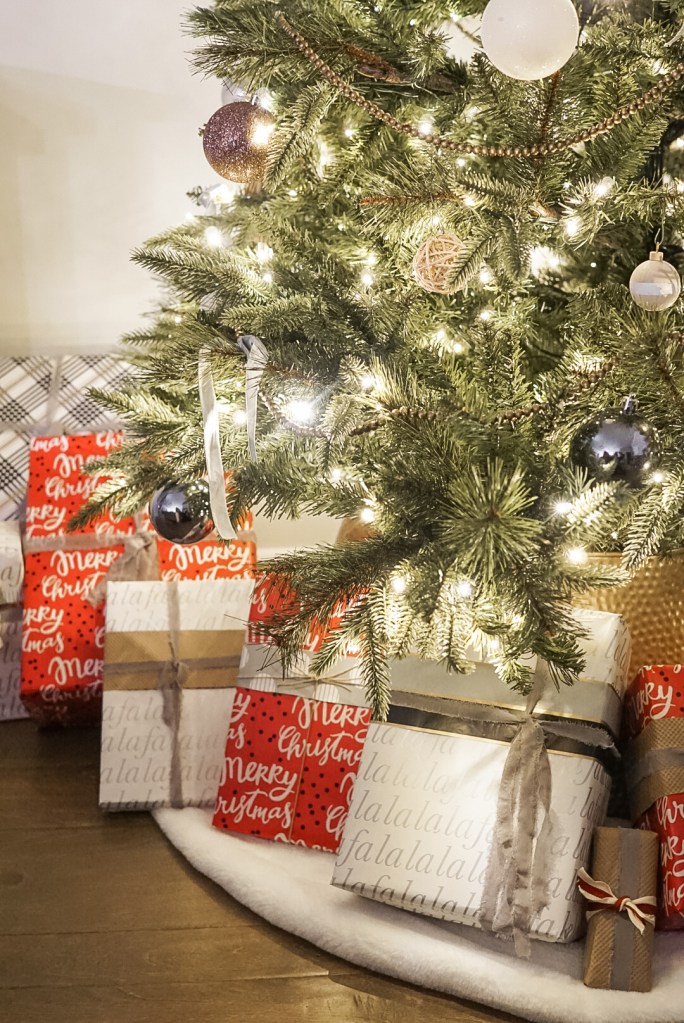
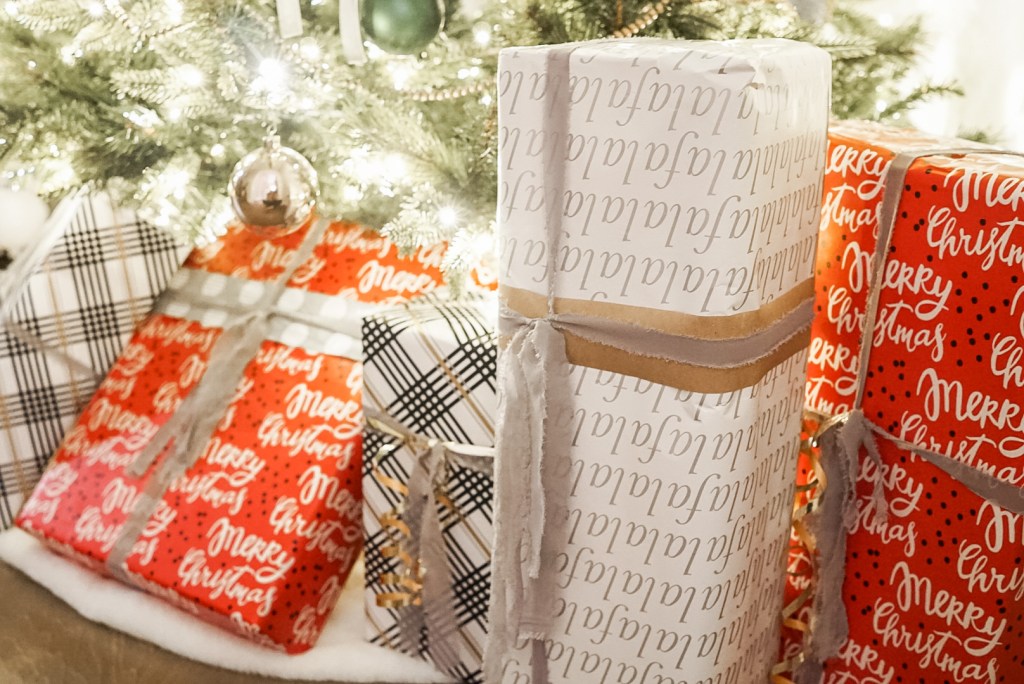
Okay, real talk. I’ve had the two Christmas wrapping paper rolls (shown on the right above) since I was a freshman in college. Pretty sure I snagged them off the Big Lots “After Christmas” sale that year, and I bought the other three as a set earlier this year to wrap a wedding gift! What you see here was all the wrapping paper I had to work with, so I decided to go with the two Christmas patterns and the plaid! These patterns don’t necessarily “match”, but they coordinate with each other.


The two Christmas rolls are quite different in every way (colors, fonts, styles), yet they work together to create interest and dimension. Meanwhile, the plaid paper gives your eyes a break from trying to read all the words, and ties together the colors from the other two rolls while bringing in a festive pattern and touch of gold!
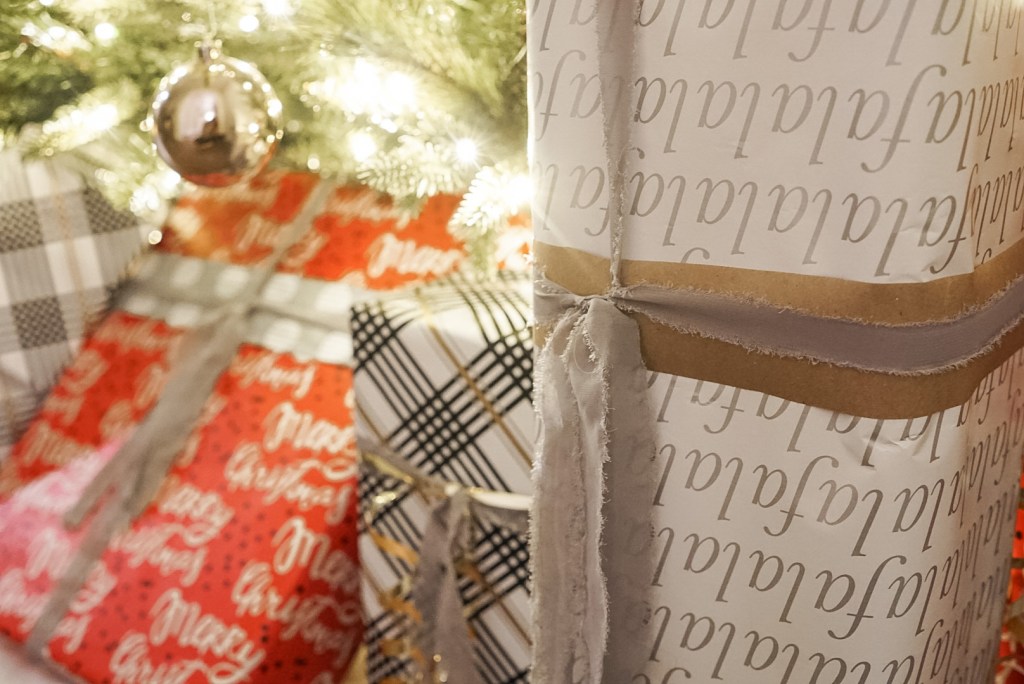
2. USE YOUR SCRAPS

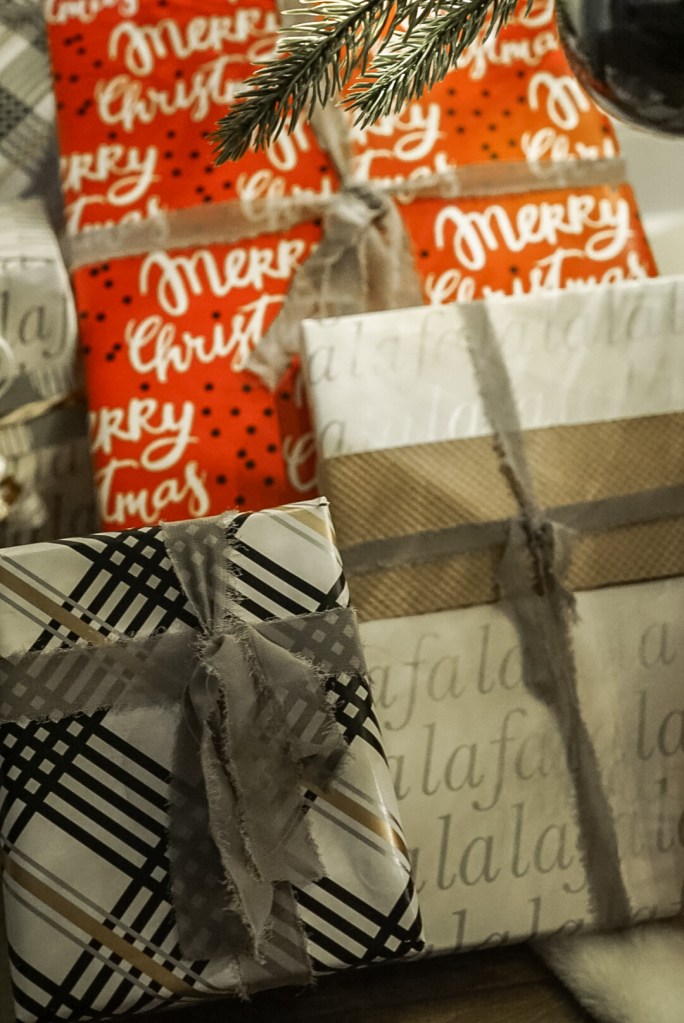
Okay so this is a trick I learned this year from Kassy Randazzo on tick tok, and it is SUCH a good idea! Instead of tossing those thin scraps in the trash, use them to wrap around your gifts to create a layered look. This is such a great way to tie your patterns together, create interest, and give your gifts that “wow” factor while using what otherwise would have been trash!
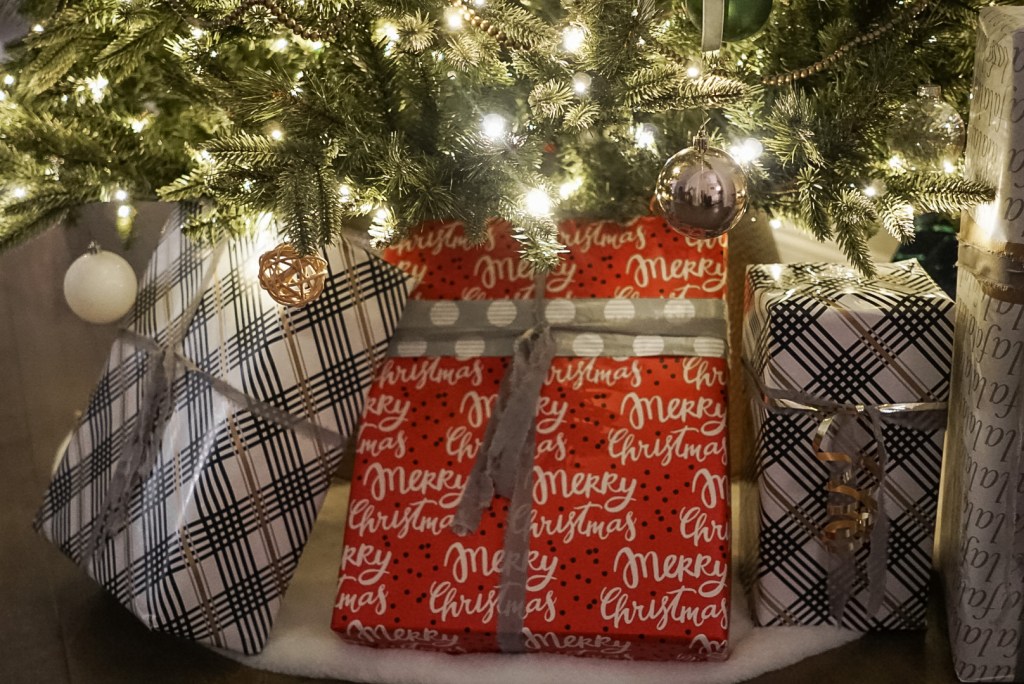
You’ll notice that the scraps I’ve used to layer are actually a little different than the three main patterns I chose to use. I had some scraps left over from wrapping a wedding gift earlier this year, and a small piece of brown kraft paper from a package I received recently, so I decided to make use of them instead of throwing them away!
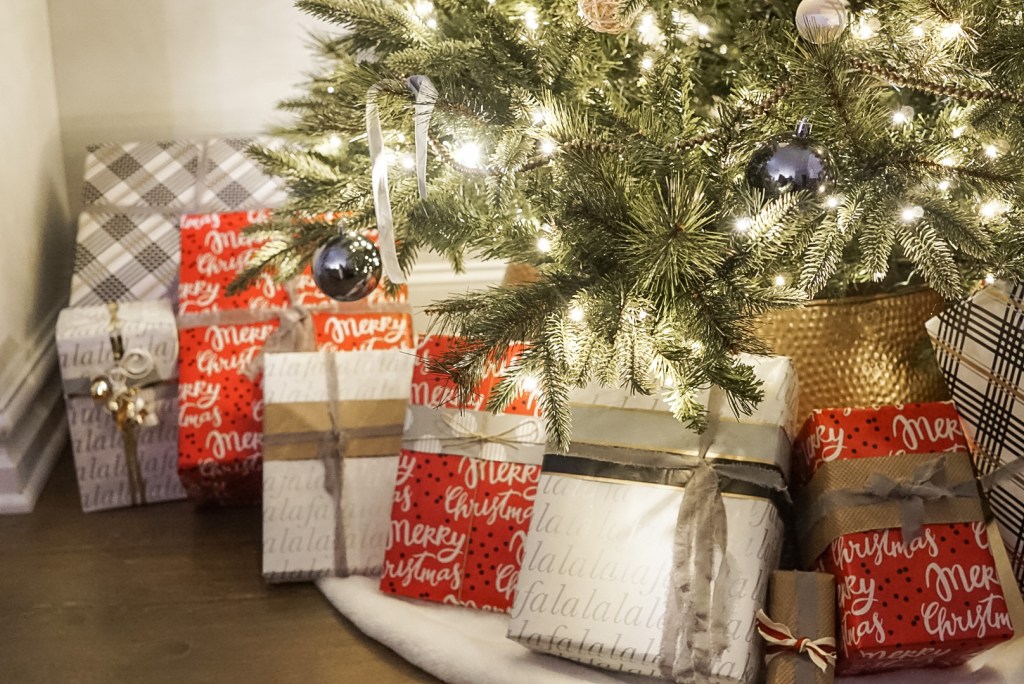
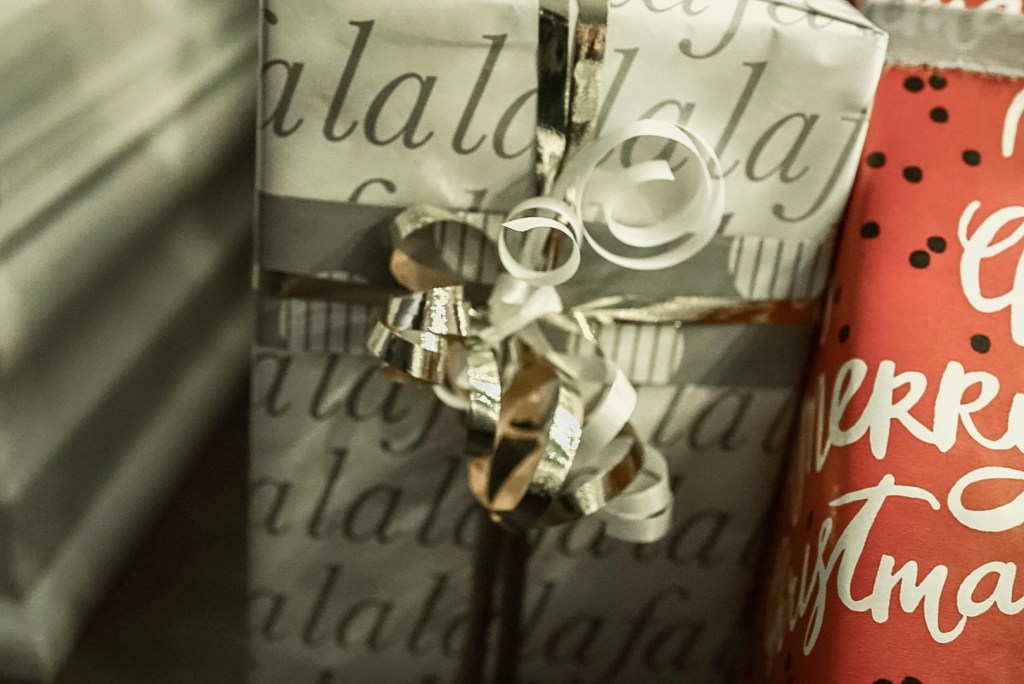
Also, a fun thing about the three neutral rolls… they’re reversible! The underside of the striped pattern is the polka dots you see layered over some of the gifts. The set also came with some gift tags and curly ribbon too! Linking it below for you guys.

3. USE RIBBON AND TWINE
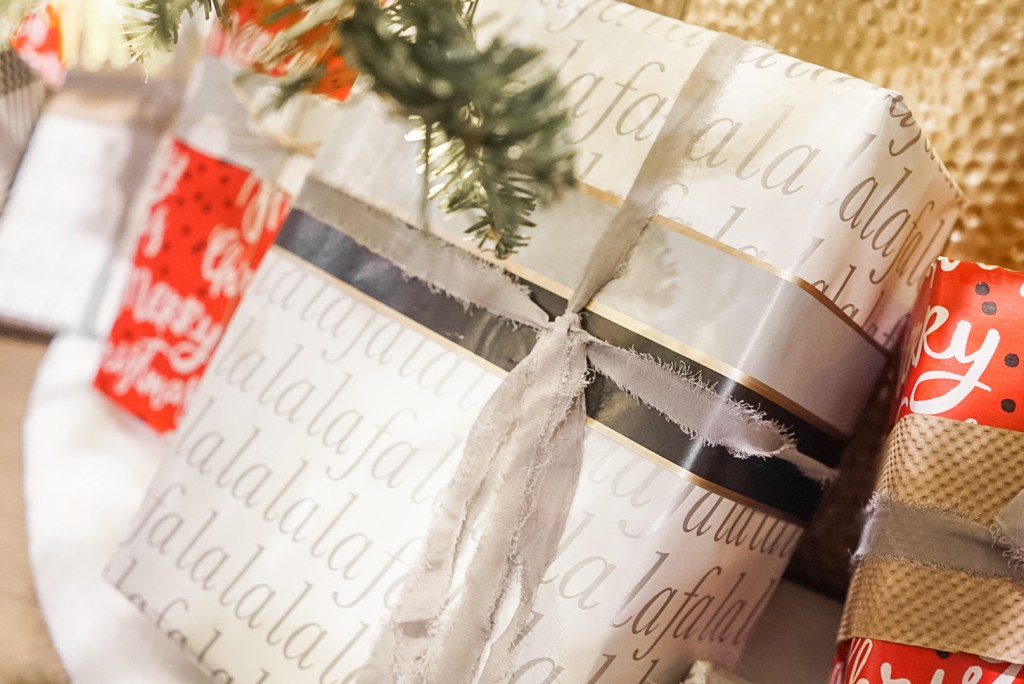
Last but not least, use ribbon and twine to tie together your look! Like I mentioned in the beginning, I didn’t have the chance to go out and buy a bunch of ribbon this year, but, I actually had a few different kinds lying around the house that I was able to use to tie together my gifts!


Just to give you some ideas for ribbon and string you might already have lying around the house, I’ll tell you how I came about the ones I used!
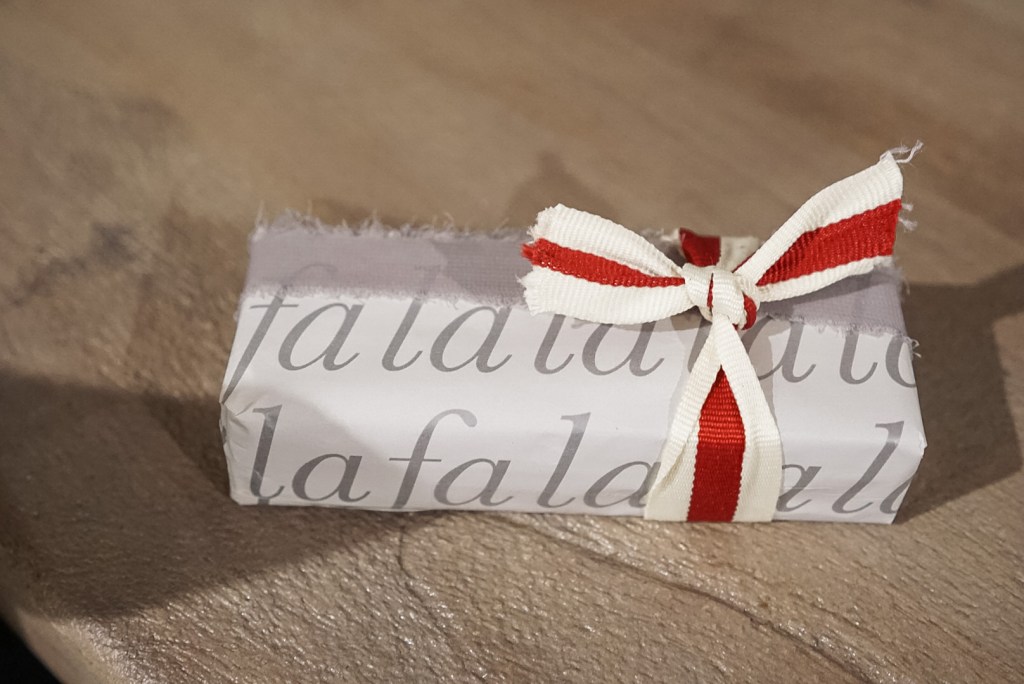
The red and white ribbon shown above is a piece I took off a small wreath. It was the perfect size to tie together this little package!
The skinny twine actually came off the same package as the brown kraft paper I used! Xasmin Interiors has the prettiest packaging 😍
The grey chiffon ribbon is actually left over from our wedding! This ribbon was a super easy DIY! If you’re looking for hand torn chiffon, it can get really expensive really fast, especially if you’re using it for something like wedding invitations (or lots of gifts)! Instead of buying rolls of hand torn chiffon, you can make your own by buying yards of chiffon fabric from somewhere like Hobby Lobby or Joann’s! It is surprisingly cheap to buy it by the yard, and it rips almost perfectly in a straight line, so it is super quick and easy once you get started! By doing it yourself, you also have the option to tear pieces into different widths, which can be great for mixing and matching on gifts!
Finally, the curly gold and white ribbon actually came in the gift wrapping set from Amazon! I don’t love working with this ribbon, mostly because I am NOT good at curling it, but I definitely loved using it to bring in some gold on a few of the gifts!
Sorry in advance for this pun, but that pretty much wraps up my last minute gift wrapping tips to creating a beautiful, cohesive look while working with what you have on hand! I hope this helps add some fun and creativity to your last minute gift wrapping! If not, the Michael Bublé Christmas album and a glass of wine always works for me too 🎅🏼